

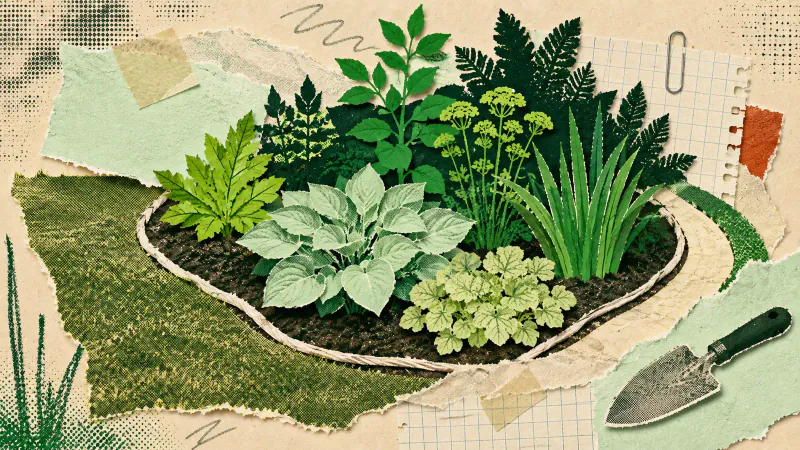
Useful flower bed ideas start with the bed's shape, not a shopping list. Choose the view that matters, protect the route beside it, mark the whole outline on the ground and live with that line for a few days. You can change a hose curve in a minute. Moving a finished bed is a different sort of afternoon.
This is about an ordinary in-ground bed, level with the garden around it. If you are planning a built volume with raised sides, use the guide to raised garden bed ideas instead. And if the routes and uses of the whole garden are still unsettled, begin with planning a garden layout. One bed should follow those bigger decisions.
Start with the view and the route
Stand where you will usually see the bed: perhaps at the kitchen door, on a seat or as you enter the garden. Pick one useful view rather than trying to make every angle equally important. Notice where the eye lands and how much open ground surrounds that spot.
Then walk the route beside the proposed bed. Carry a watering can, move a chair or open the nearby gate. A generous curve can look convincing from a window while quietly pinching the path at ground level. Keep daily movement clear before you give the bed any extra depth.
Do the same check for occasional access. You may need to reach a fence, clean a wall or get a wheelbarrow past the end. Mark those requirements now, while nothing more expensive than a length of hose is in the way.
Mark the complete outline and test its depth
Lay down a hose, rope or a line of small pegs around the entire bed. Avoid drawing only the attractive front curve. The ends and back edge determine how the shape meets existing paving, lawn and boundaries.
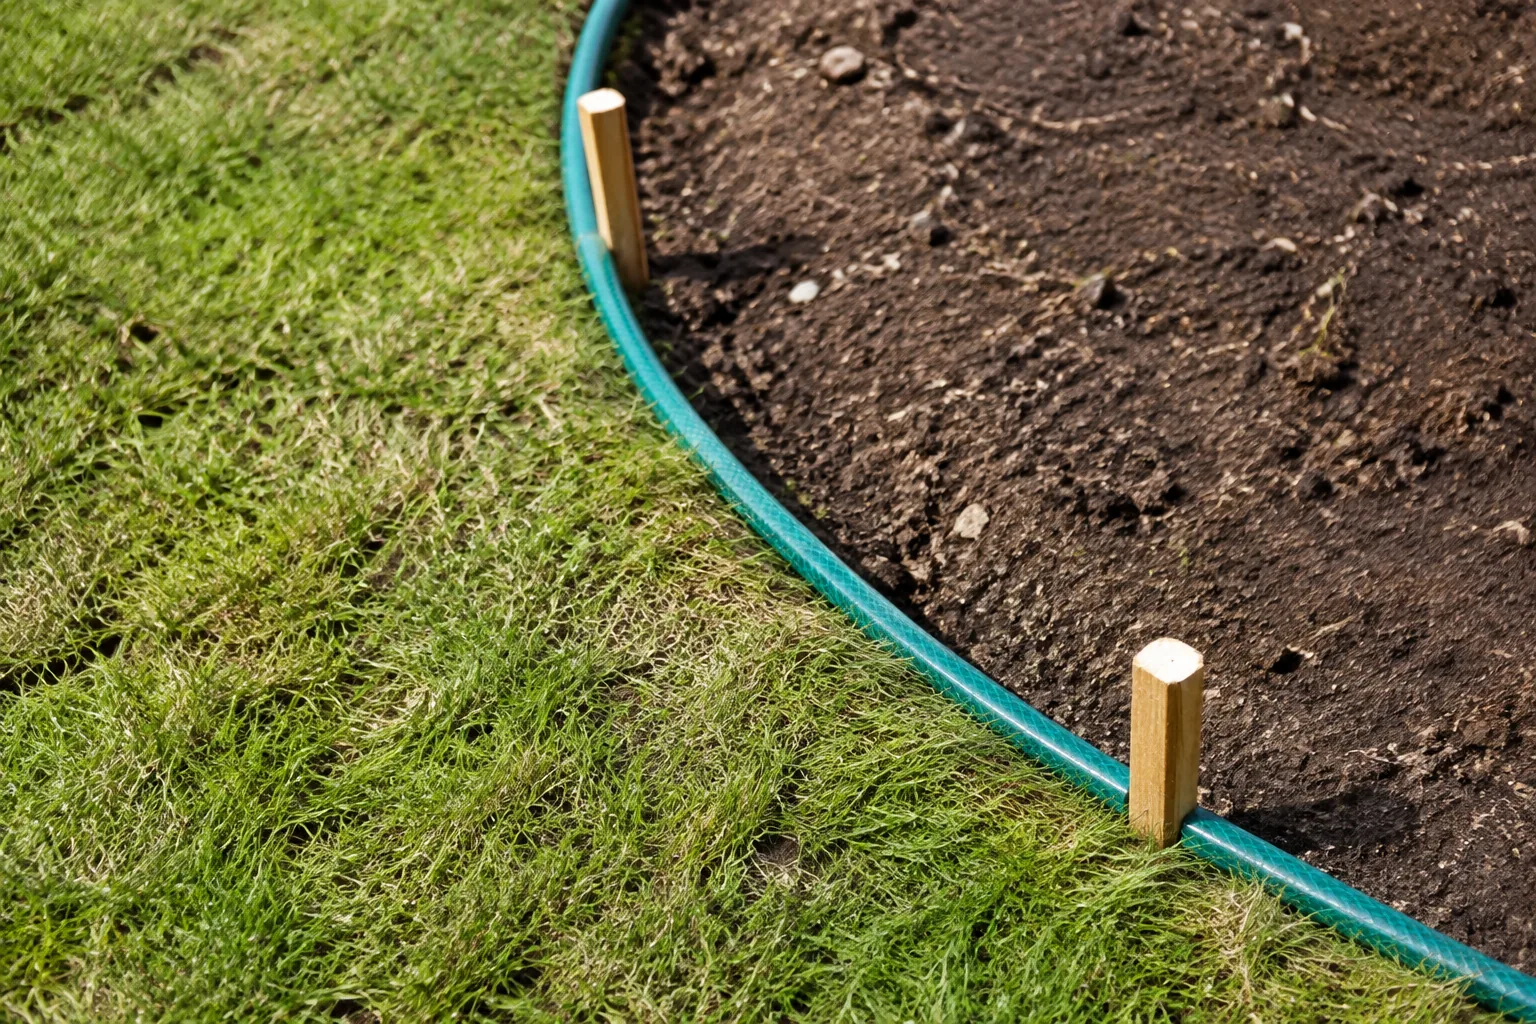
View the outline from your chosen spot, then walk around it. If it looks timid, move the whole line rather than adding a random bulge. If it swallows useful open ground, pull it back. Straight sections and curves can sit together, but each change in direction should feel deliberate.
Test reach before planting. From every edge where you can stand, can you tend the middle without stepping on the soil? A deeper bed may need a discreet stepping point or a narrow access gap. Those small interruptions are easier to accept than a lovely mass of plants that can only be weeded by climbing through it.
Compose broad masses and leave some ground open
Treat the marked bed as a composition of low, middle and taller masses. Use buckets, empty pots or loose paper shapes to stand in for them. Group forms broadly instead of assigning a different plant to every patch. You are testing weight and rhythm, not pretending to know the final species.
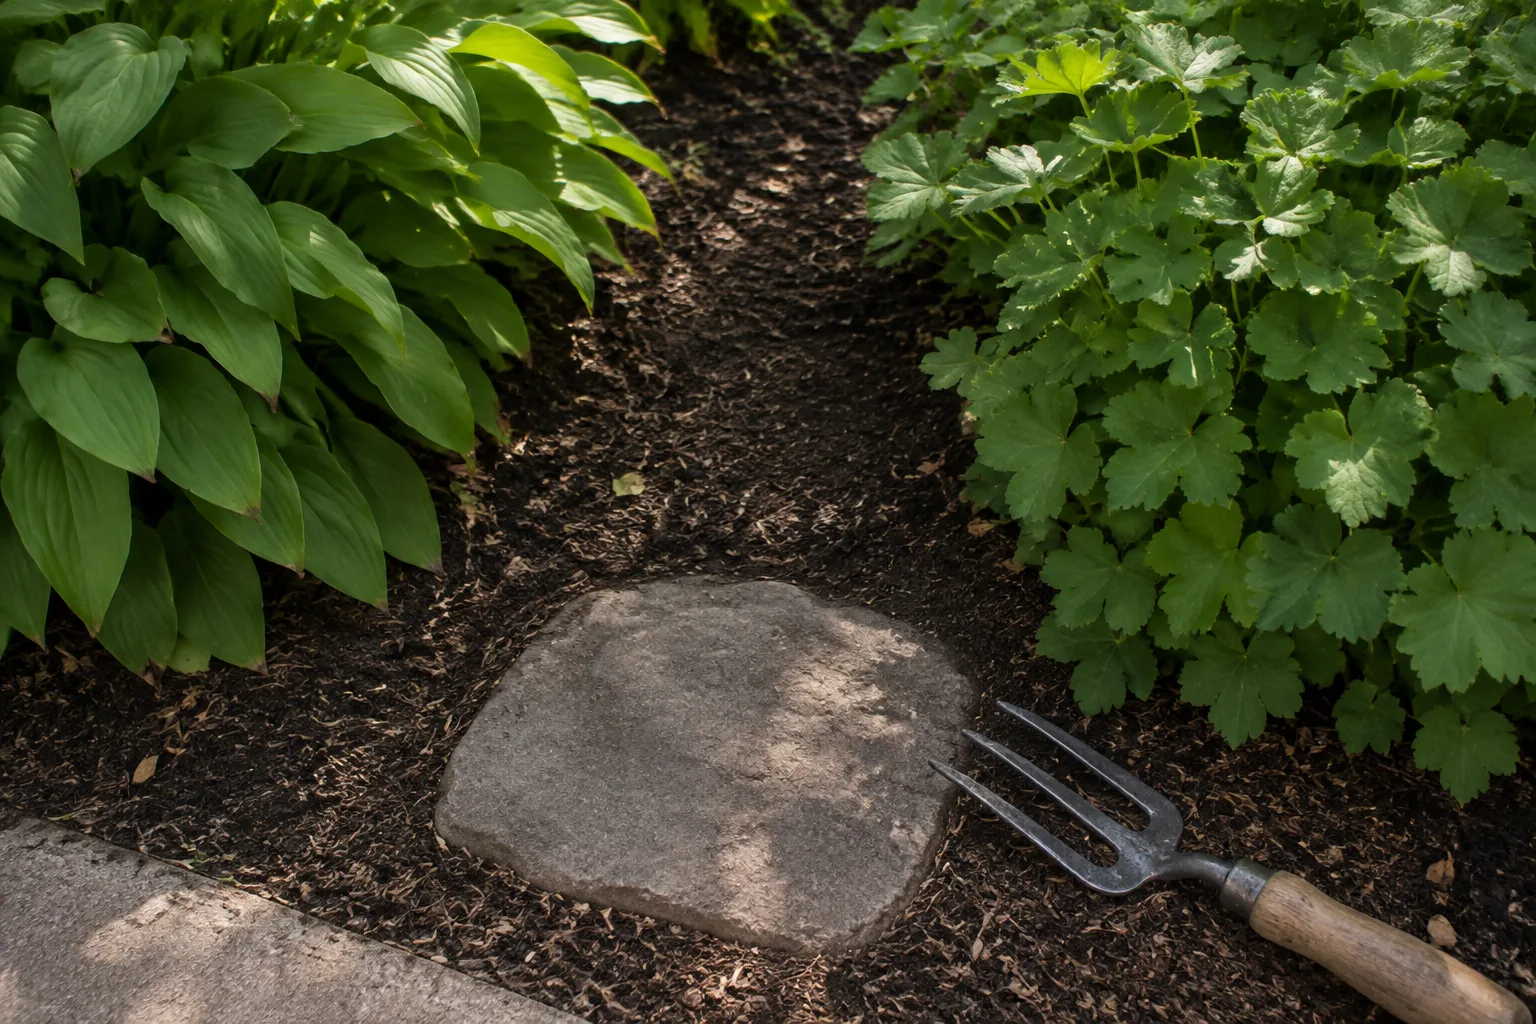
Leave deliberate open ground between some groups, especially near the front and around access points. A little visible soil or mulch can separate two masses and keep the bed from reading as one solid wall. It also leaves room for plants to mature instead of forcing a finished effect on day one.
Hold off on a species list. Light, soil, moisture, climate, mature size and the amount of care you want will decide what belongs here. The guide to making plant choices after an AI garden image covers that later handoff. First settle where the bed sits and how its main shapes relate.
Inspect the edge and water junction
Look closely where the proposed bed meets lawn, paving or gravel. Check the real levels and notice where loose soil, mulch and water are likely to meet the route. This inspection may change the outline. It does not require you to choose a decorative border yet.
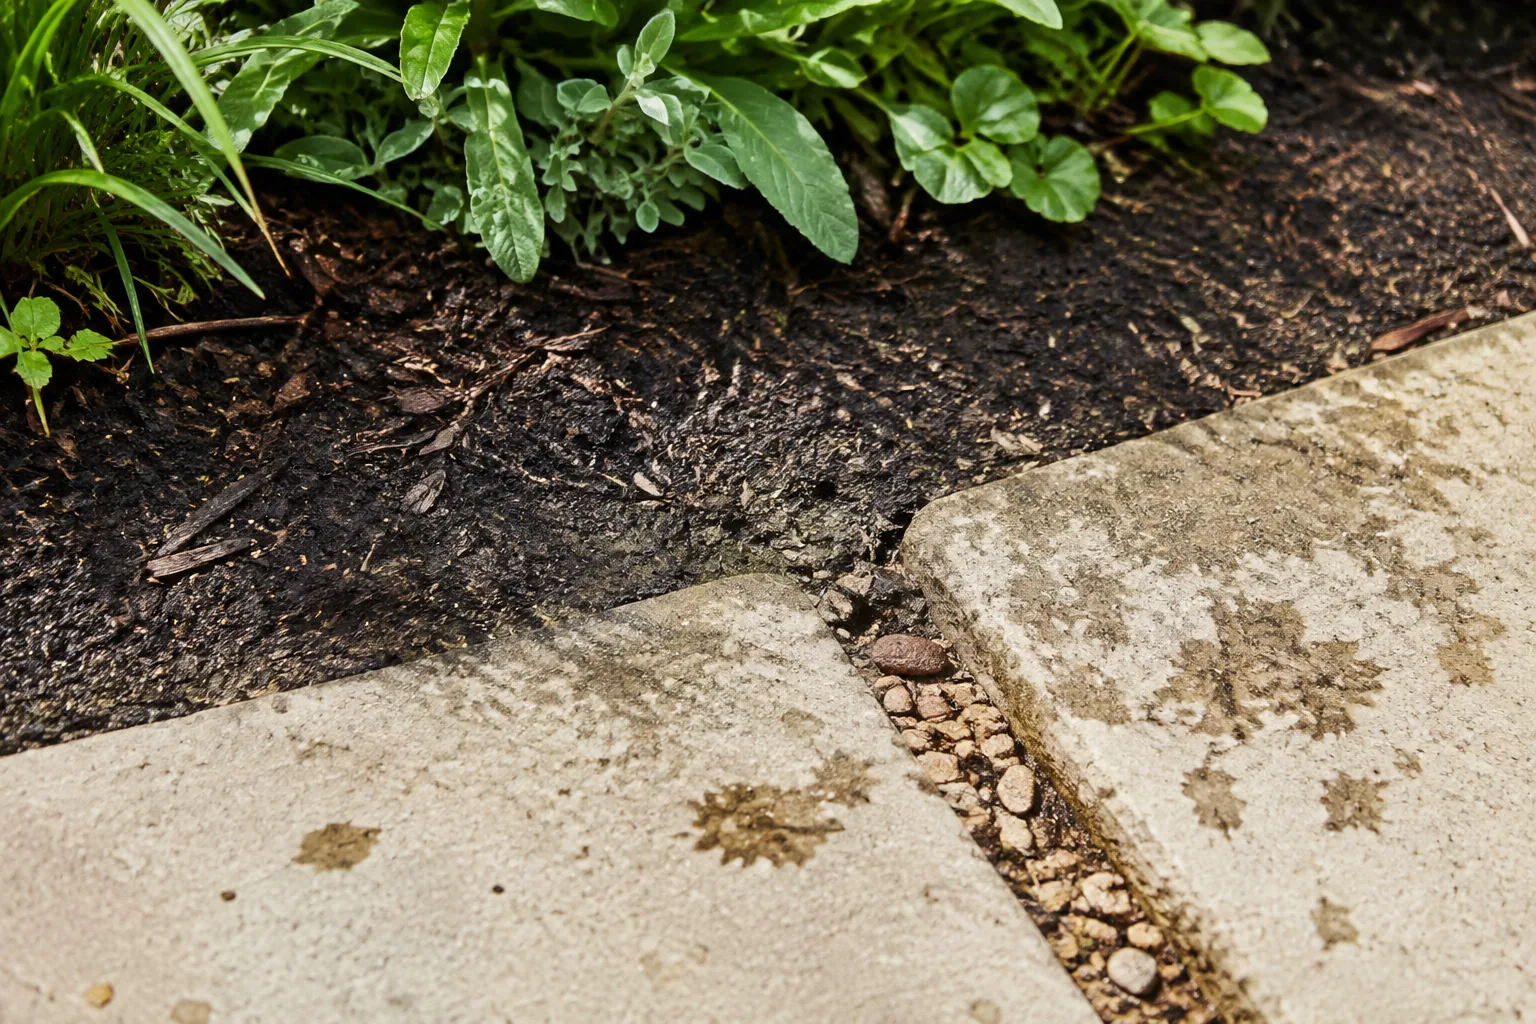
The whole bed comes before its boundary detail. Once the shape works, the garden edging ideas guide can help you decide what the junction must hold and how both sides will be maintained. Unclear runoff, drainage, levels or construction need a real site check rather than a guess from a photograph.
Compare the shape with one Gardenly render
Take a current photo from the useful view, with the route and complete marked area visible. Choose one option from the Gardenly style gallery and make a single render. The image model is instructed to leave the house, hardscape, camera position and lighting unchanged while it redraws planting and beds. That is an instruction, not a guarantee.
Compare the render with the original photo. Ignore the exact flowers. Ask whether the broad bed shape improves the view, leaves enough open ground and respects the route. If the render moves paving, changes a level or invents a boundary, discard that part.
Then return outside. Adjust the temporary outline, record the access points and note the broad height and texture masses you liked. Species suitability, drainage, construction, final dimensions and local requirements still belong to real-world checks. The render has done enough when it helps you choose a shape worth measuring.