

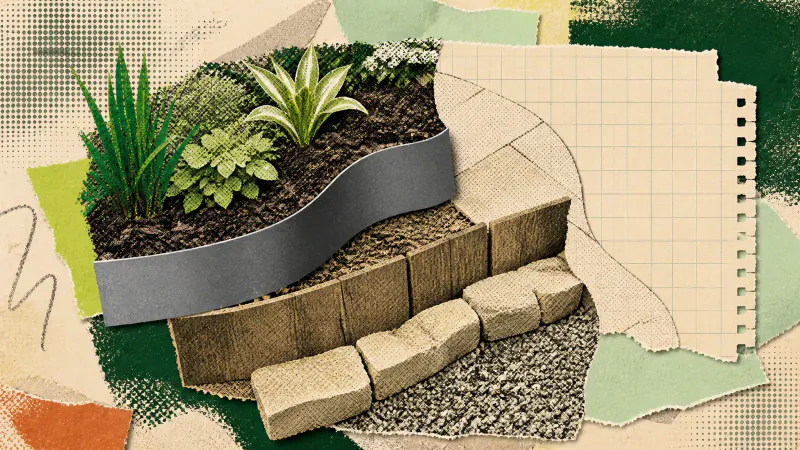
Garden edging ideas make sense only after you name the job at the boundary. An edge may need to hold gravel, keep soil off a path, guide a mower or give a planted bed a clean finish. Choose its height and material for that job, not for the sample photo.
A border strip is a small object with an awkward amount of responsibility. If it sits too low, loose material travels over it. If it stands too high, it catches feet, wheels and tools. Start at the junction itself.
Decide what the edge must hold
Look at both sides of the proposed line. Loose gravel needs a firm stop at a path or planting bed. Mulch needs less force, but it can still wash or kick onto paving. Raised soil needs an edge that can take pressure without leaning into the route.
Write down which side is likely to move and why. Rain can carry fine material downhill. Shoes and wheels push gravel away from a turn. Roots and settling soil can change a neat line over time. The answer tells you whether you need a visible retaining edge, a flush separator or no added strip at all.
Do not add edging where two stable surfaces already meet cleanly. A sound row of pavers beside a lawn or bed may already do the work. Another material can create a narrow dirt trap without solving anything.
Set the height before choosing the finish
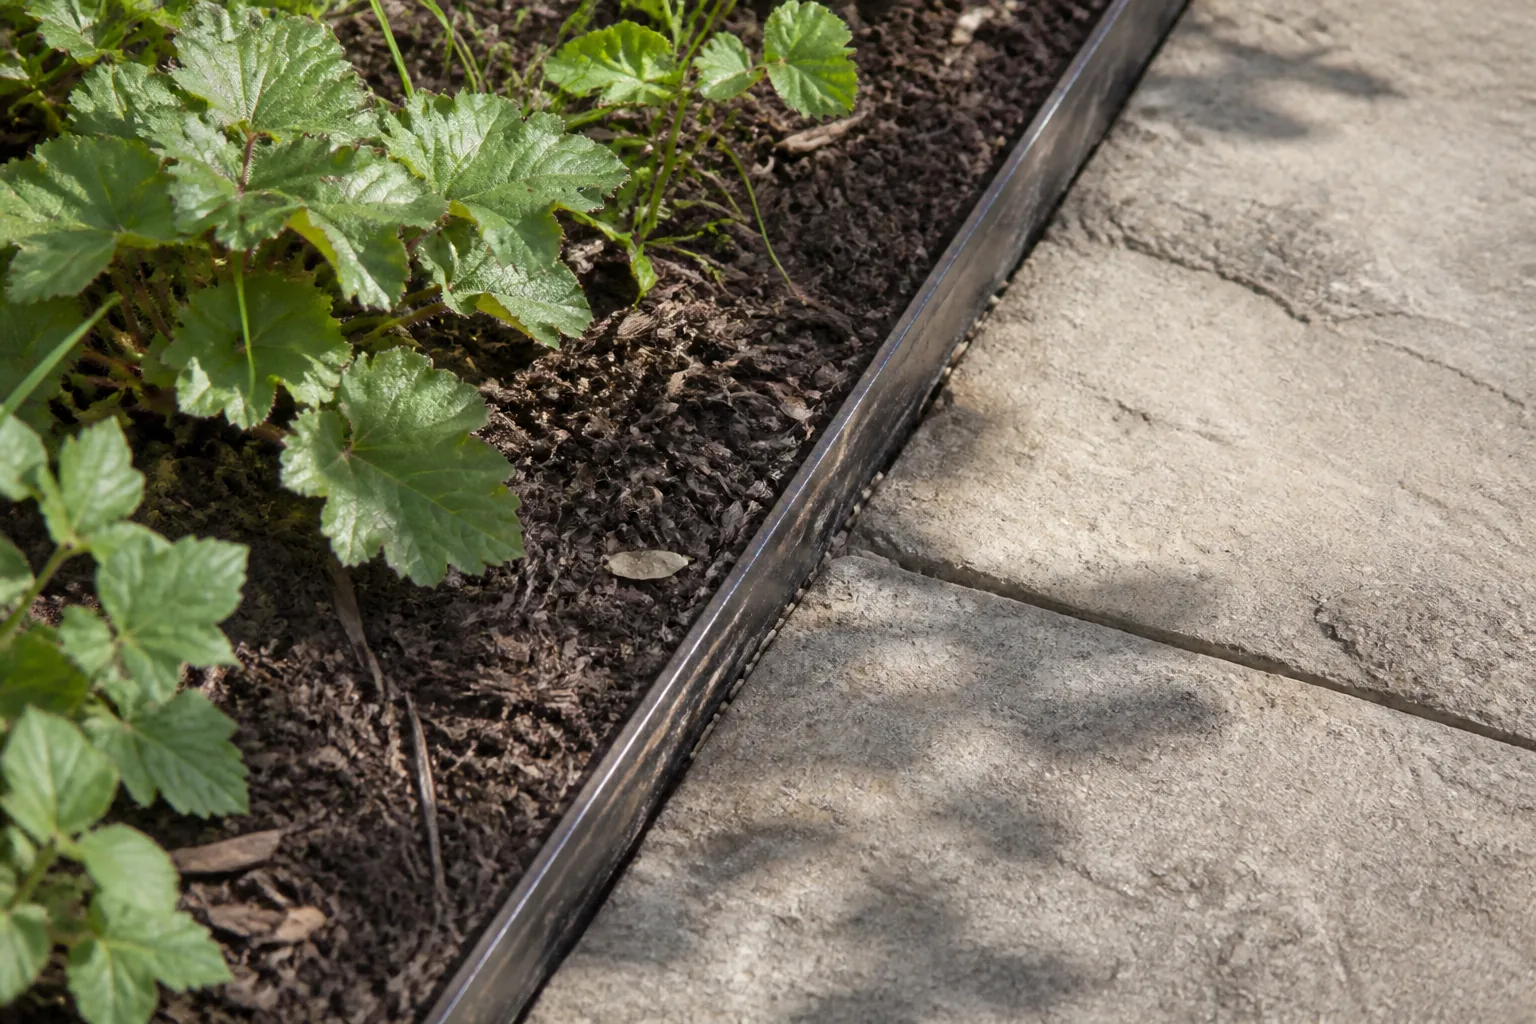
Place a straight board or spare sample across the junction and check the real levels. The top of a flush edge should be easy to cross with the tool or wheel that uses the route. A raised edge must be high enough to hold its material but low enough to remain visible and avoid becoming a trip point.
Allow for the surface below the loose material. Gravel that looks deep at the centre may thin out near a path. Mulch settles. Soil can slump after watering. Measure at several points instead of trusting the tidiest section.
Water also needs somewhere to go. An edge that creates a sealed little wall can leave water sitting on paving or against plants. Keep existing drainage routes open, and ask a landscaper for site advice when levels or runoff are unclear.
Pick a material you can repair
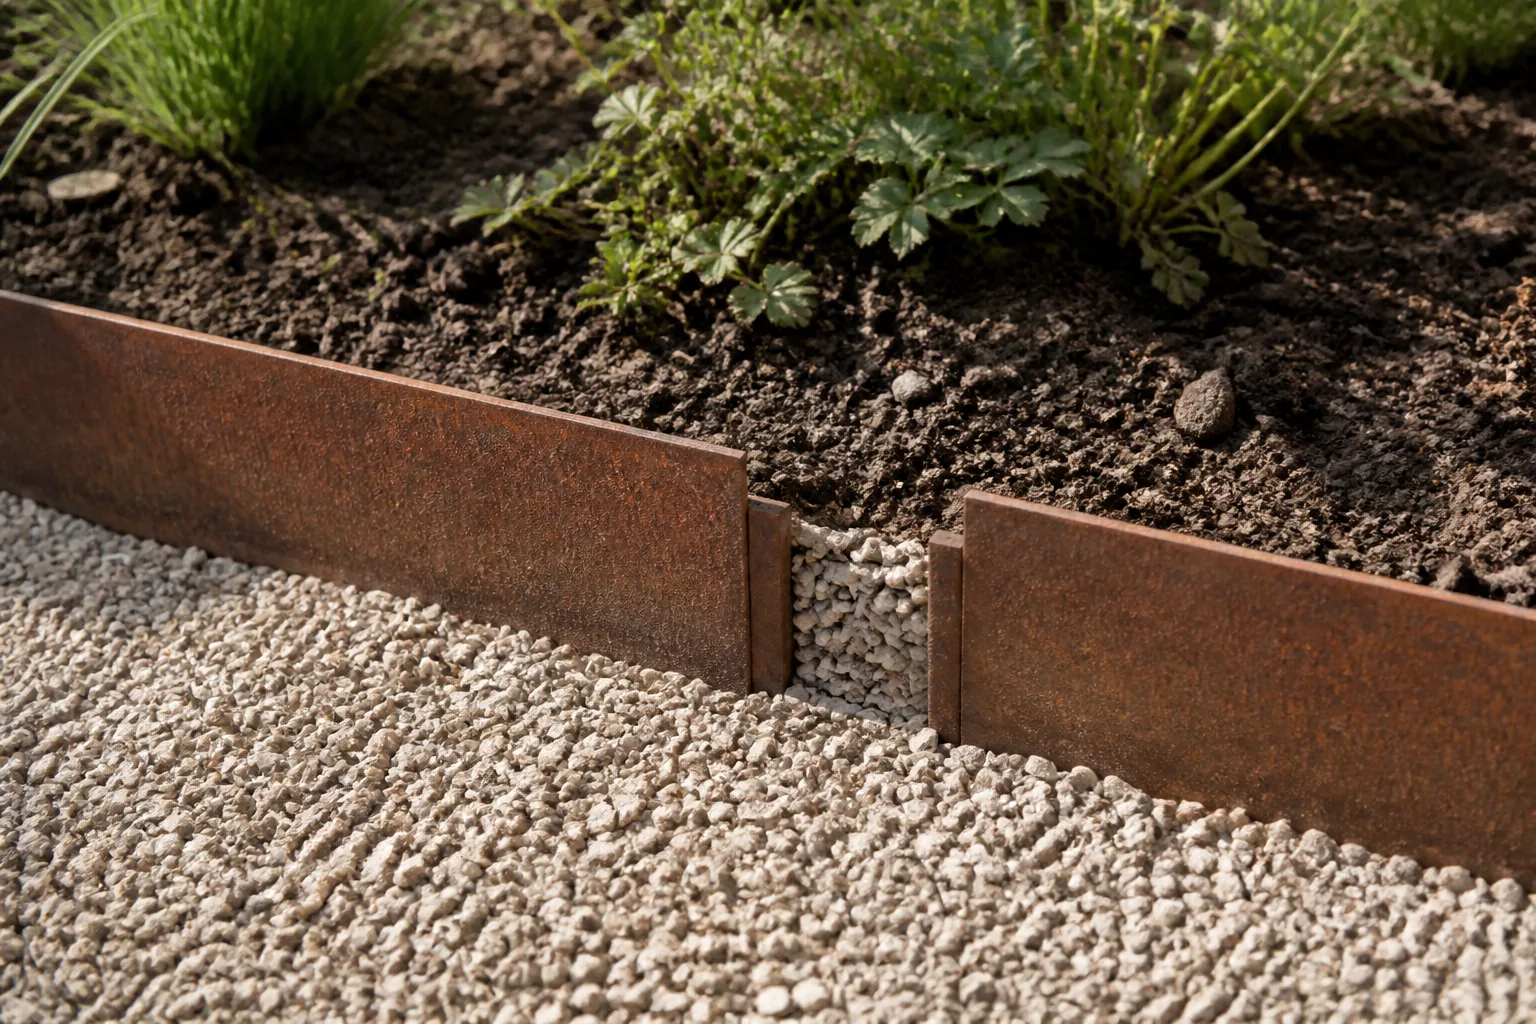
Steel can make a thin line, stone can repeat existing paving and timber can bring a softer finish. Each option has different joints, supports and ageing. The best choice is often the one that already makes sense beside the materials you have.
Inspect the places where pieces meet and where the edge ends. A long clean product photo hides the joint you will notice every day. Ask how a bent, rotten, loose or chipped section is replaced. If one damaged piece requires the whole line to come out, a tidy first week may lead to an irritating fifth year.
Use one edging material for connected areas. Switching from steel to brick to timber around the same bed makes the boundary busier than the planting. Save a material change for a real change in function or level.
Leave room to maintain both sides
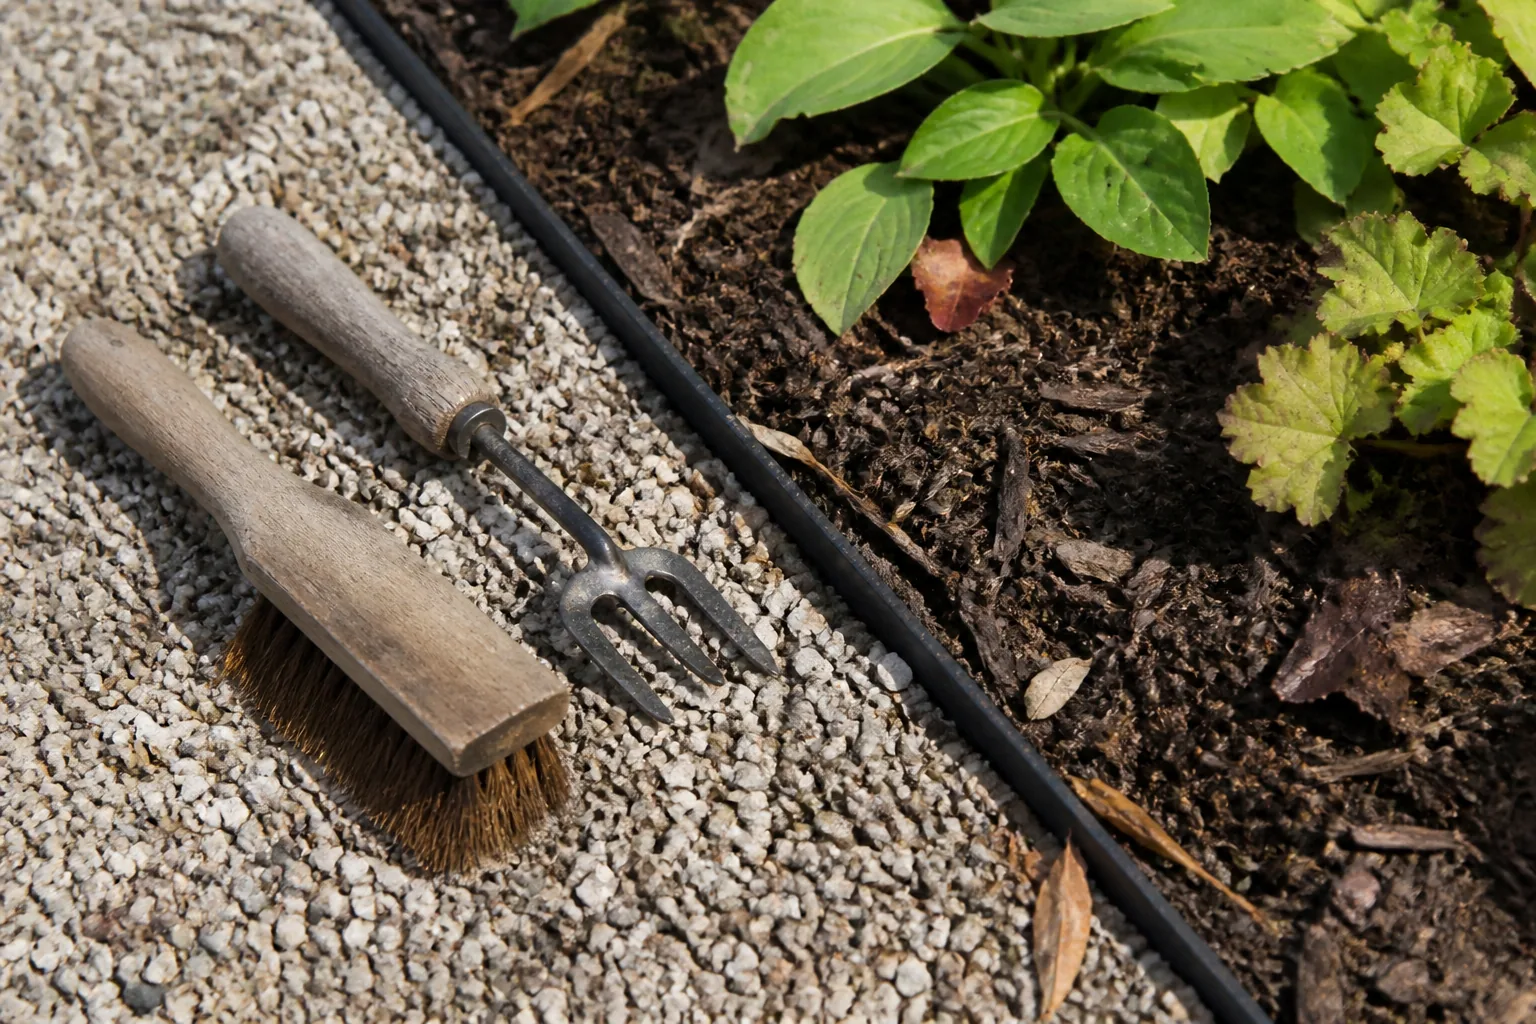
An edge should make maintenance easier. Leave enough open surface to sweep gravel back, trim growth and reach weeds at the line. Plants that cover the edge completely may look soft, but they also hide loose fixings and make the path feel narrower.
Check corners with the tools you use. A tight inside angle can collect leaves and be awkward to sweep. A very narrow strip between edging and a wall may fit no hand tool at all. Soften or remove a corner that exists only on the plan.
For a lawn-free layout, settle the main route and surfaces first with our no grass backyard ideas guide. Edging comes later, when you know which material must stop where.
Test the line on the garden you have
Photograph the junction from the angle where you usually approach it. Mark the proposed edge on a copy of the original photo, then place a real sample on the ground. The sample shows height, shadow and colour more honestly than a catalogue crop.
You can use the Gardenly style gallery to compare broader planting and surface relationships on your own garden photo. The image model is instructed to keep existing paths and other hardscape unchanged while it redraws planting and garden elements. That is an instruction, not a guarantee, and it will not give you an edging detail or construction plan.
Use the render to decide where a planted mass should stop or how much open ground the route needs. Return to the original photo for the actual edge. Check the levels, drainage, joints and maintenance access on site before buying a full run of material.