

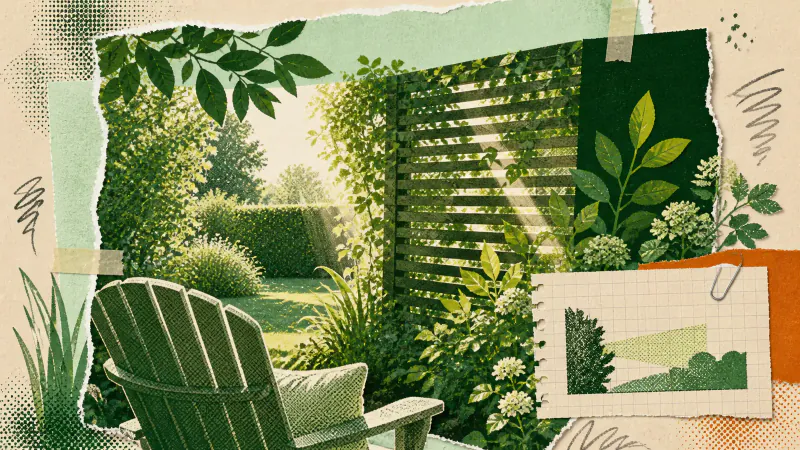
Useful garden privacy ideas do not begin with the tallest fence you can find. Start from the seat or window that feels exposed, trace the view that reaches it, and interrupt that view in one well-chosen place. A focused screen or planting group can provide privacy while leaving the rest of the boundary open to daylight and longer views.
That usually feels better than enclosing the whole plot. It also gives you less structure or planting to buy, build and maintain.
Map the view from the place that matters
Sit where you normally sit and look towards the window, balcony, path or neighbouring seat that creates the unwanted view. Privacy is specific to eye level and position. A screen that works from the dining chair may miss the view into a kitchen window when you stand up.
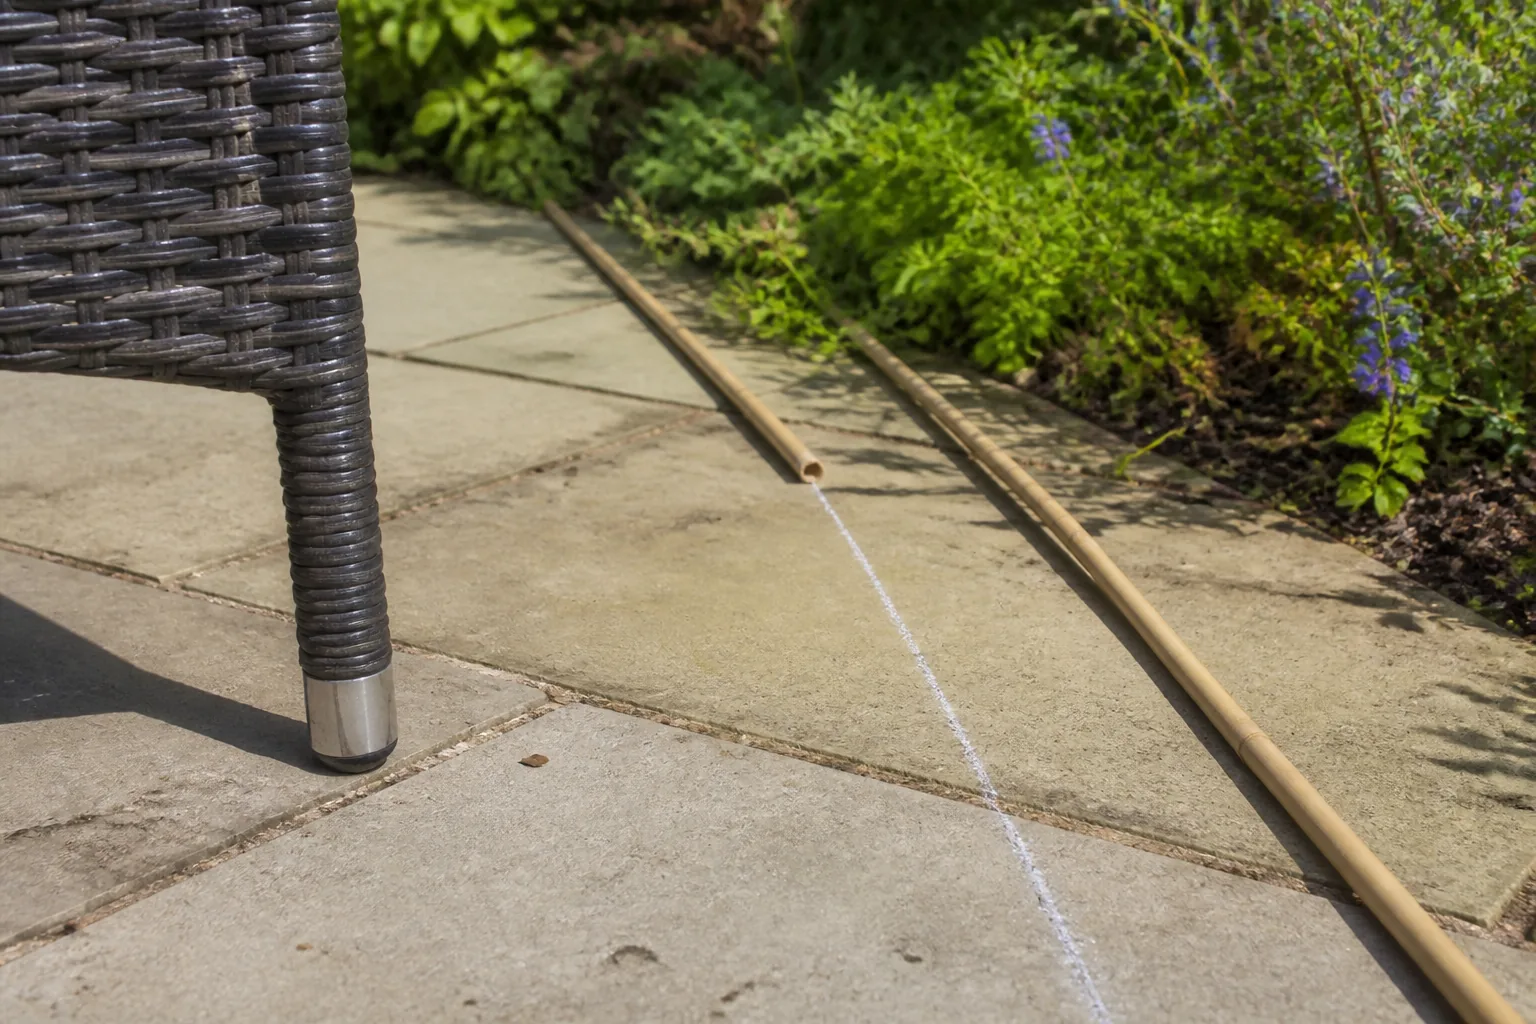
Mark both ends of the sightline on a rough plan. Then move a bamboo cane, tall cardboard strip or other temporary marker along that line. Test it near the boundary and closer to the place you want to protect. A screen brought nearer to the seat can sometimes interrupt the same view at a lower height, although it may also feel more present.
Repeat the check while standing and from any indoor window that matters. You are looking for the smallest useful screening zone, not a new wall around every edge.
Choose a screen for that particular angle
A direct side view may need only one narrow panel, trellis or group of upright plants. Gaps can break a recognisable view without creating a solid dark surface. If the view comes from above, moving the protected seat or placing a small canopy shape closer to it may be more practical than trying to raise the entire boundary.
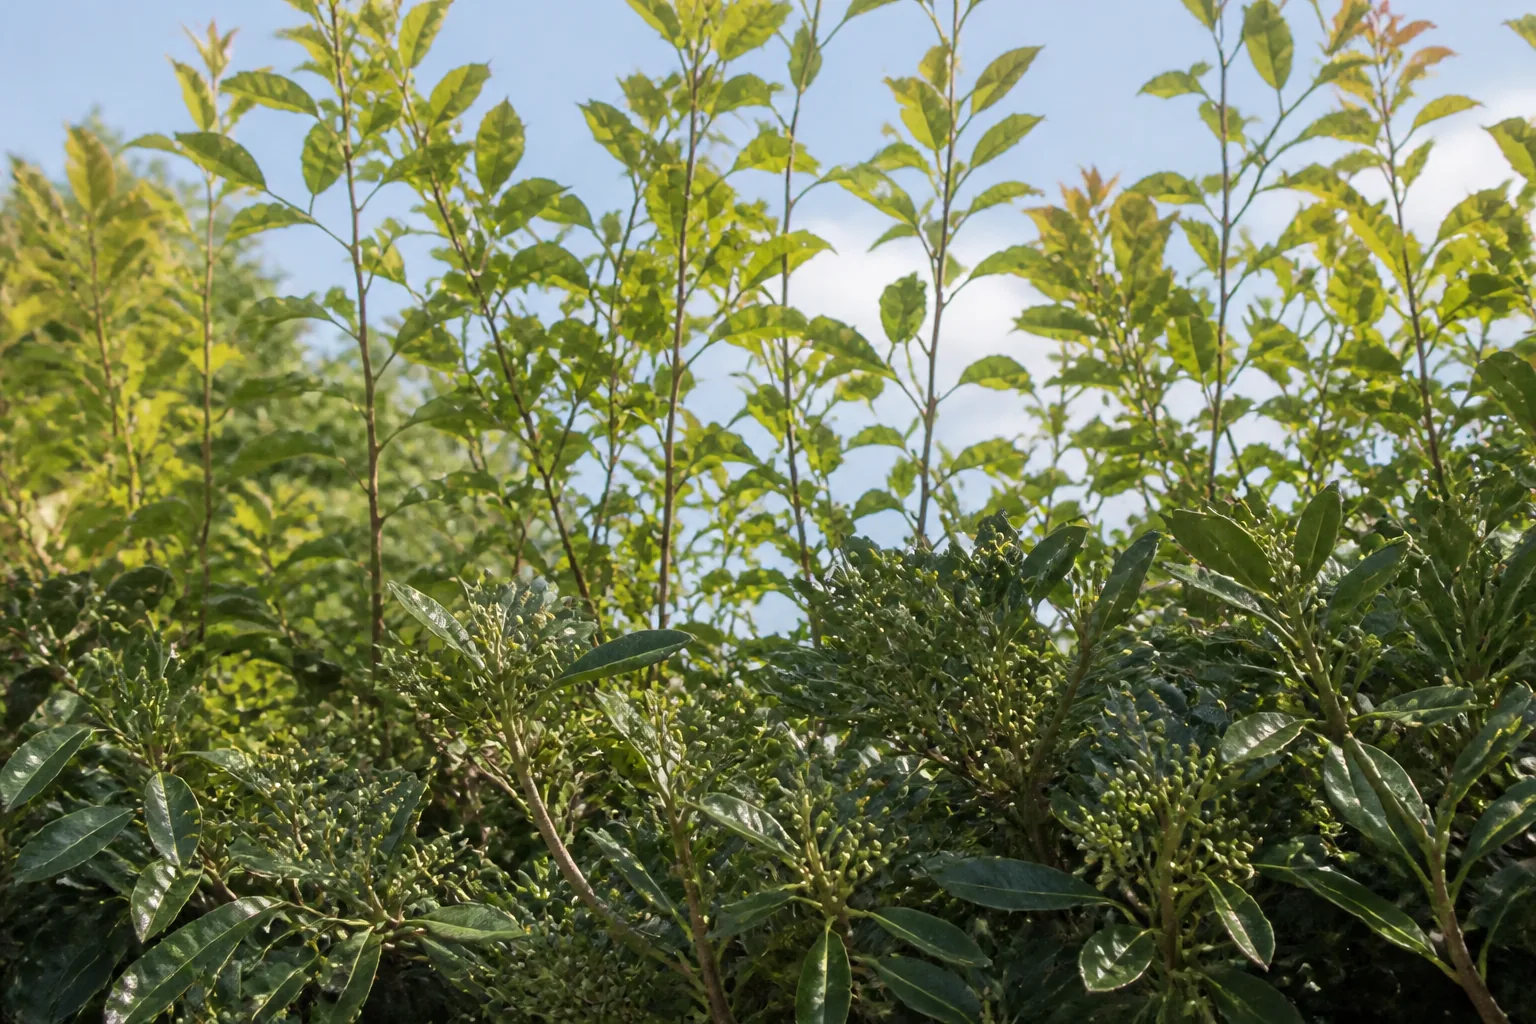
Planting makes a softer screen, but decide what it must do before choosing plants. Record the light, soil, exposure and space available for mature growth. A young shrub should not be bought on the assumption that constant cutting will eventually turn it into the exact rectangle on your sketch. Ask a local nursery for options suited to the site and the finished height you need.
A built screen needs the same discipline. Check how posts meet the ground, whether a panel can cope with wind, and how you will reach both sides for maintenance. Local rules and neighbour agreements may affect the position, height or construction, so check those before making the temporary marker permanent.
Keep the light you actually use
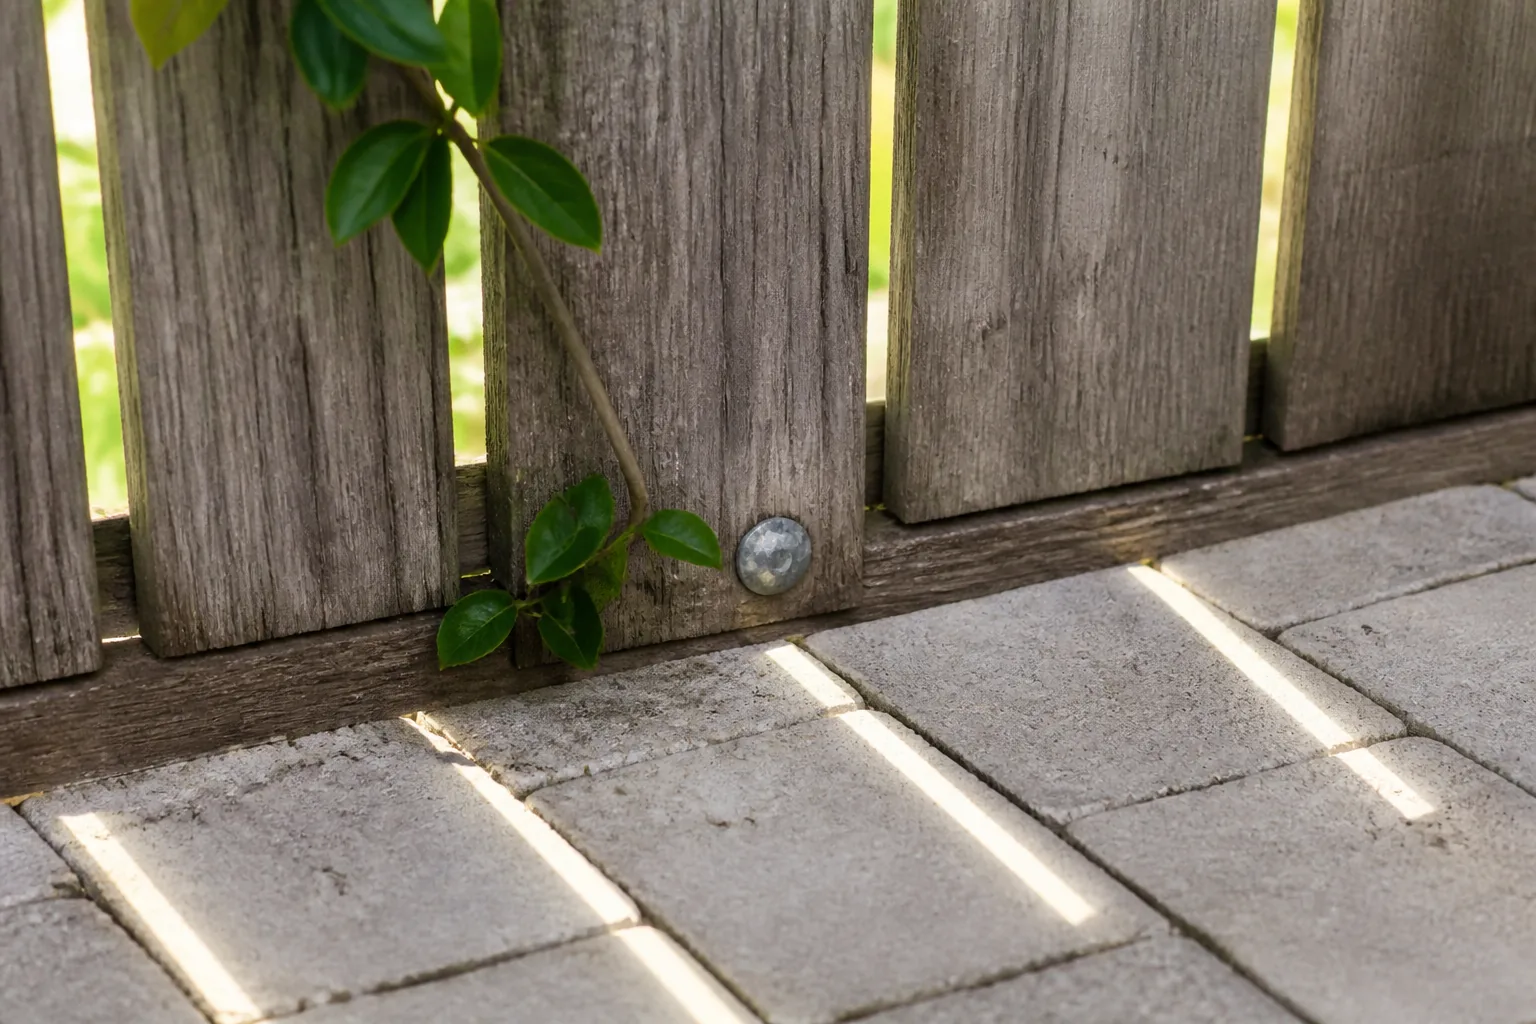
Watch the screening zone at several points during a bright day. Note when sun reaches the seat, nearby planting and the windows facing the garden. The useful question is not whether a screen casts any shade. It is whether that shade lands where you value the light.
Open slats, a trellis with loose growth or planting with visible gaps can filter a view while allowing light and air through. Layering a lower dense group with a lighter taller shape often works better than one opaque block. The lower part handles eye-level views; the upper growth interrupts a higher angle without filling the whole sky.
Leave a deliberate opening towards the view you want to keep. It could frame a deeper bed, a tree beyond the boundary or simply the brightest part of the garden. Privacy feels less confining when your eye still has somewhere to travel.
Test the temporary version for a week
Use a sheet of reed screening, shade cloth, cardboard or garden canes to mark the proposed width and height. Secure it safely, then live with it for several days. Check the view while seated and standing, open nearby doors and gates, and notice whether the new position steals space from the route.
Look again in wind and at a different time of day. A panel that seems discreet in still morning light can flap, rattle or throw an awkward afternoon shadow. Move the test rather than defending the first line you drew.
If you are planning privacy in a front garden, our guide to a small front yard covers street sightlines, the entrance and useful storage. Those public-facing checks differ from protecting one backyard seat or window.
Use a render for atmosphere, not a shadow study
Gardenly can help you compare how a denser planting direction feels around an existing seat. Photograph the space from the viewpoint you want to protect, then try a direction from the Gardenly style gallery. Look at the balance between open ground, planting and the place where a focused screen might sit.
The image model is instructed to leave fences, walls, paths, camera position and lighting unchanged while it redraws planting, beds, lawn and garden furniture. That is an instruction, not a guarantee. A render cannot tell you the legal height, structural fixing, mature plant size or real shadow cast by a proposed screen.
Keep the sightline marks and daylight notes as the plan. The render is the picture you take to a landscaper to discuss the intended level of enclosure, not proof that the screen will work.