

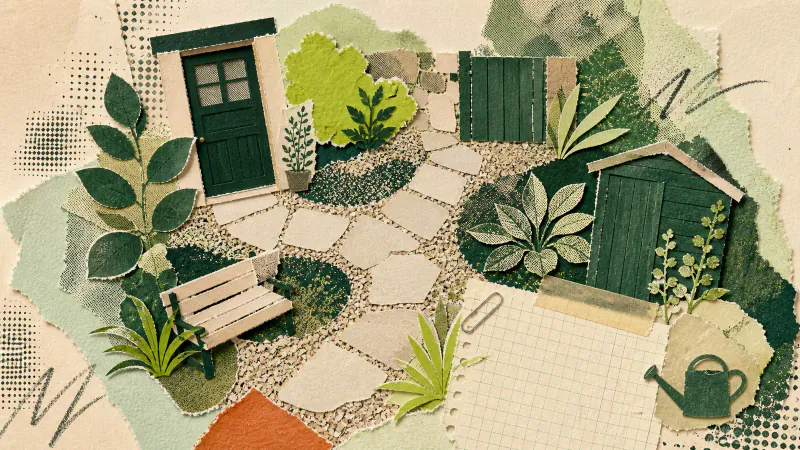
Useful garden path ideas begin with the walk you already make. Mark the door, gate, shed, tap and main seat, then connect the places that need a reliable route. Test the line while carrying the things that usually travel along it. Only then should paving patterns, gravel colours and stepping stones enter the conversation.
The route has to work when the gate is open, a chair is pulled out or a bin needs to reach the street. Start with those ordinary moments.
Mark destinations before drawing the line
Stand at each entrance and look toward the next place you need to reach. A main path usually connects the house to a gate, shed or regular seating area. A secondary path may only need to reach a border for pruning. Those two routes do not need the same width, surface or visual weight.
Watch where people walk now, especially across worn grass or around an awkward corner. You can shift that line to protect a plant or avoid a drain, but a decorative curve that ignores the direct walk will invite a shortcut through the bed.
Put the destinations on a rough sketch and draw the shortest sensible connection first. Then mark doors, steps, downpipes, inspection covers and anything else the route must meet.
Test the width with real movement
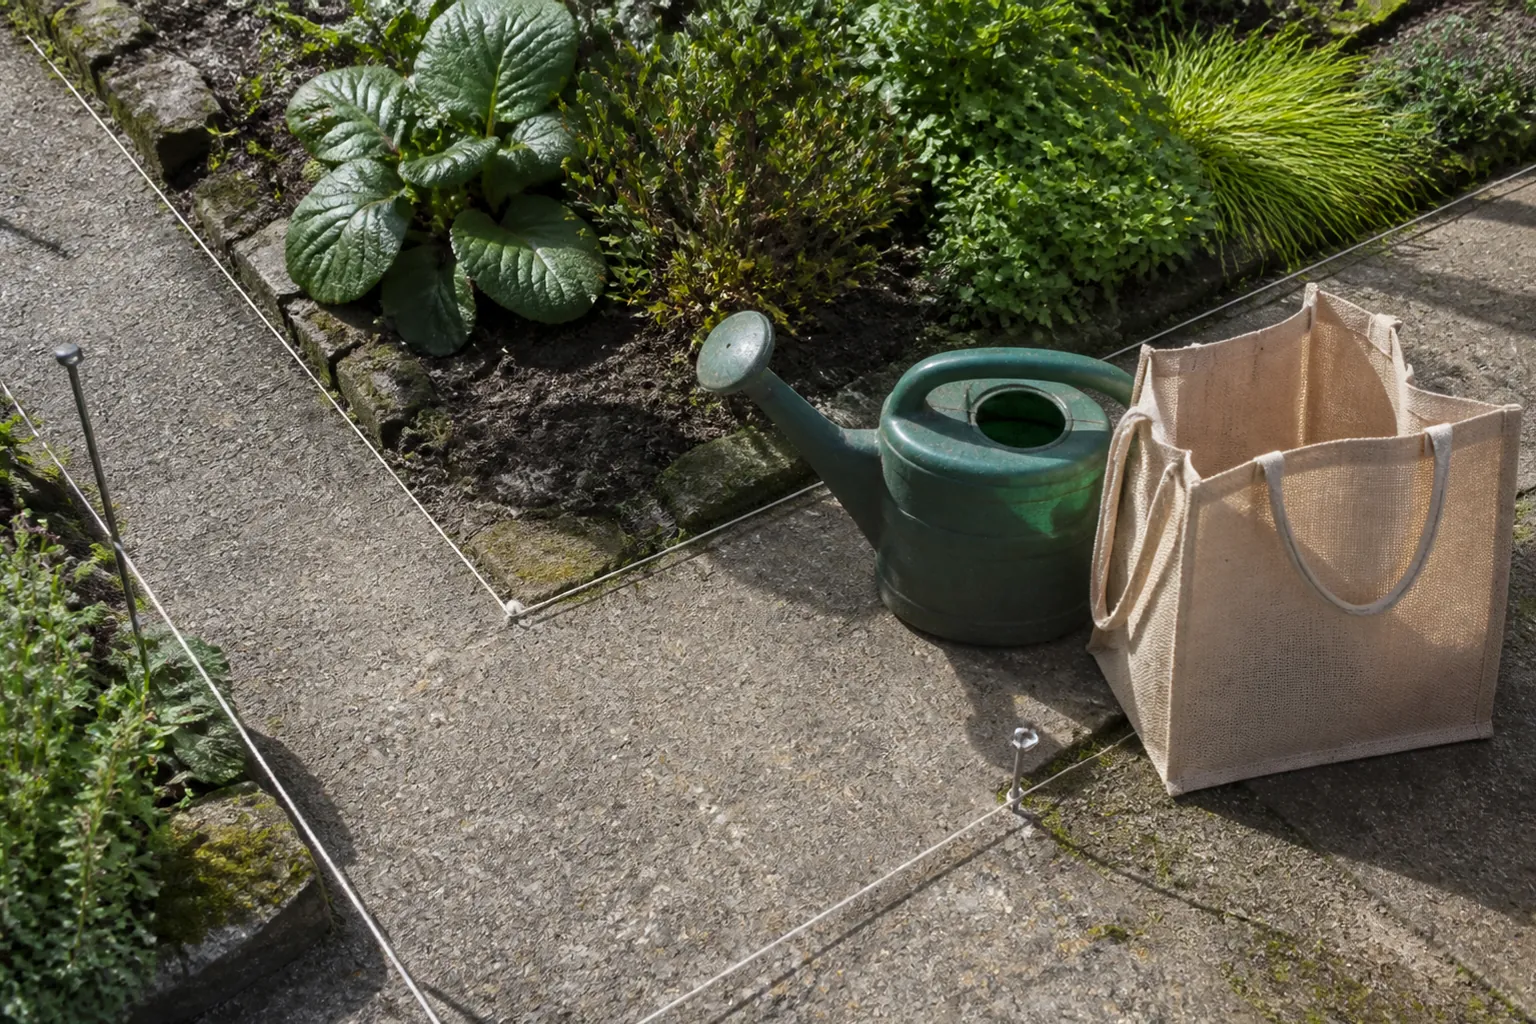
Lay out both edges with a hose, string or spare pieces of cardboard. Walk the route with a shopping bag, watering can or whatever you normally carry. Open the gate fully. Turn a bicycle. Pull a chair back from the table. The useful width is the space those movements occupy, not the narrow strip left over on the drawing.
Corners need particular attention. A tight right angle is easy to measure but awkward with a wheelbarrow. A broad curve consumes planting space quickly. Test the turn from both directions and adjust only as much as the movement needs.
Do the same check in wet weather if you can. Overhanging leaves, soft ground and water at a low point can change which part of a route feels usable. If levels, drainage or safe construction are unclear, take the marked line to a landscaper rather than solving them from a photograph.
Choose the surface at each junction
The route tells you what the surface must tolerate. A main path used in every season needs stable footing and transitions that do not catch feet or wheels. A short maintenance route through a bed may manage with spaced stones. Loose material can suit one area and become a daily nuisance beside a threshold or on a slope.
Look closely at every place the path meets something else: the back step, lawn, planted bed, gravel area, gate track or patio. Check existing levels and where water can move before deciding how a material should finish.
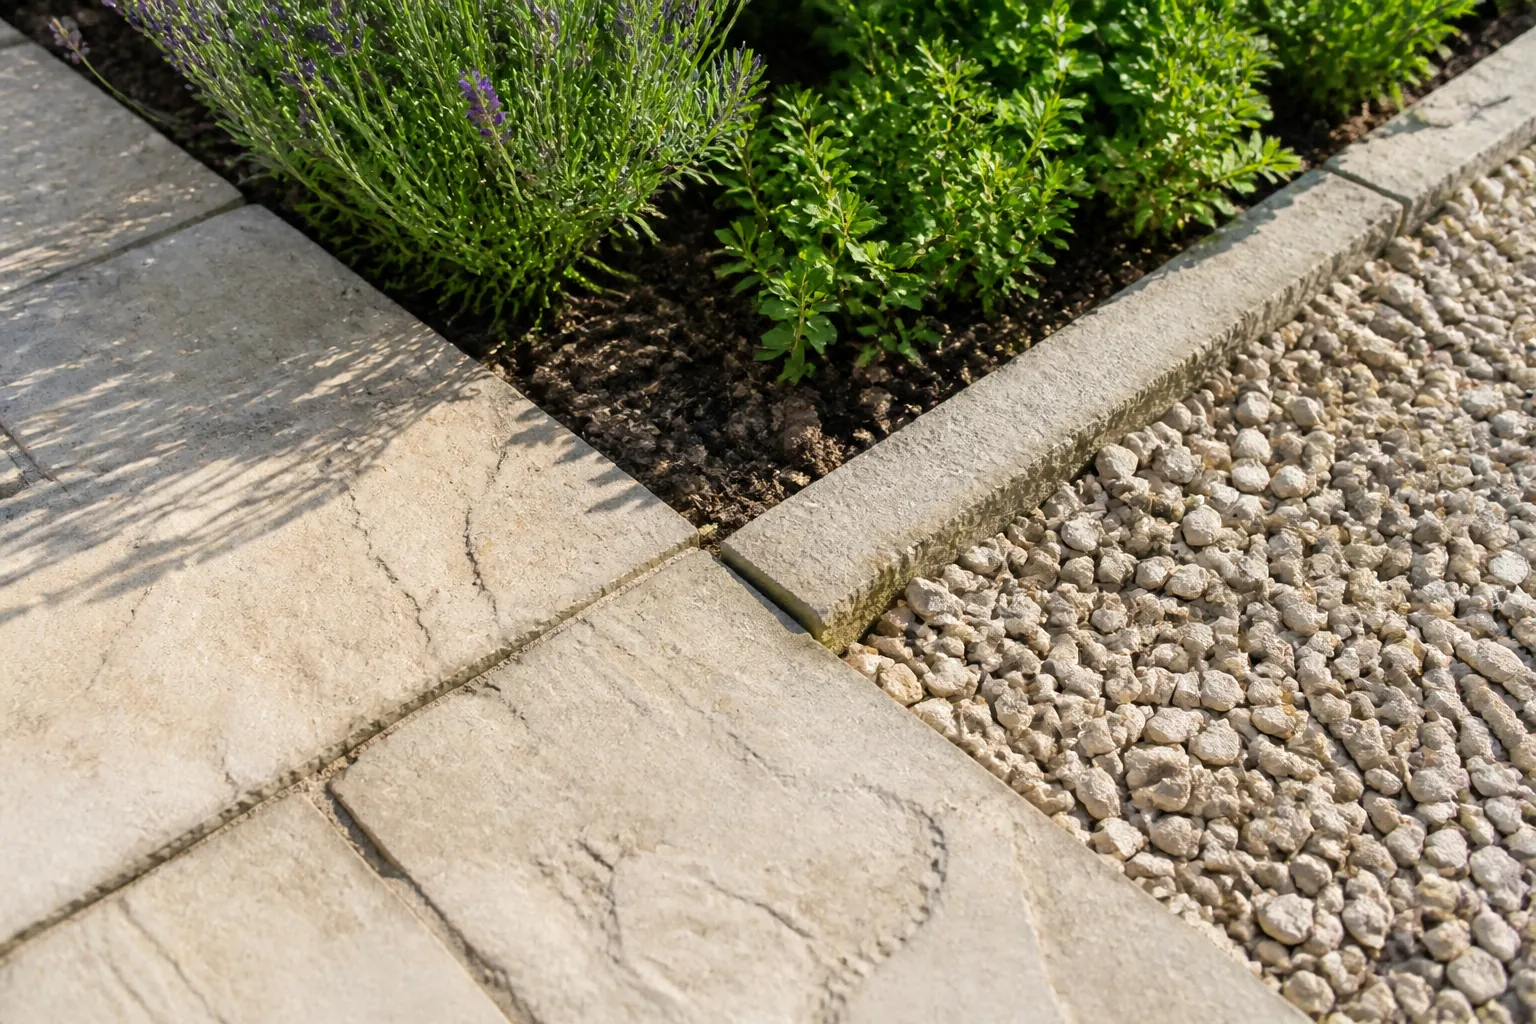
Keep the palette short. Repeating paving already used near the house can make a new route belong to the site. If a second material has a job, introduce it at a clear change of use rather than halfway along for decoration. Our guide to garden edging ideas covers how to hold loose material, set the height and leave access once the surfaces are settled.
Plan the path edge for the fifth year
Freshly laid paths have neat edges because nothing has had time to move. Think about the later version. Plants spread, gravel travels and joints collect seedlings. Leave enough access to sweep, weed and cut back growth without standing in the bed.
Low planting can soften a hard line, but keep wet leaves, thorns and stiff stems outside the carrying width. Check mature plant sizes instead of placing young plants against the paving. A slight overlap can look relaxed; a route that gets narrower every summer is simply unfinished maintenance planning.
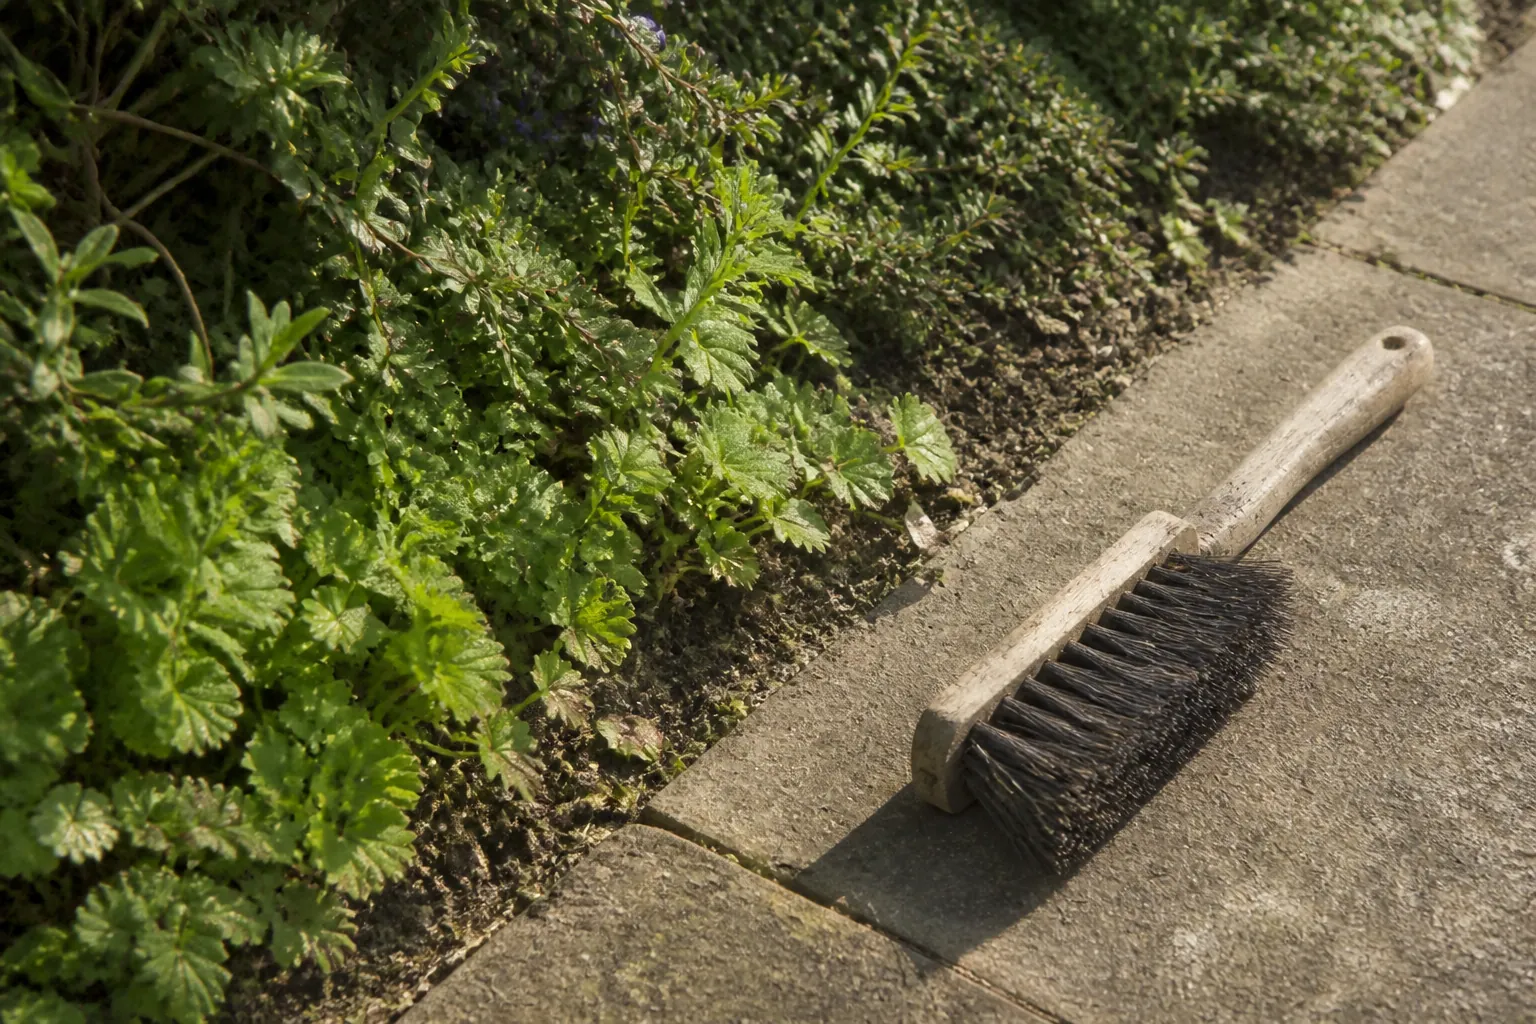
Decide how damaged sections can be repaired too. Individual pavers may lift locally, while a continuous finish can make a small failure harder to isolate. The right construction depends on the site and needs checking before the path is built.
Preview the surroundings, not a new path
Gardenly can help compare how planting and open ground sit around an existing route. Choose a direction from the Gardenly style gallery and use a photo that shows the path, its destinations and the surrounding beds.
The image model is instructed to leave paths and other hardscape unchanged while it redraws planting, lawn and garden furniture. That is an instruction, not a guarantee. It also means a Gardenly render is not the tool for inventing or measuring a new path. Mark a proposed route on the original photo or a measured sketch instead.
Use the render for the adjacent questions. Does taller planting make the turn feel cramped? Is the route still obvious from the door? Would one deeper planted edge work better than several little interruptions? Keep the path geometry grounded in measurements and daily movement, then use the image as the picture you take to a landscaper, not as a construction plan.