

Useful raised garden bed ideas begin with the space around the bed. Decide what it needs to hold, mark its full footprint and check that you can reach it without blocking a door, path or chair. The shape comes before the timber, brick or metal finish.
Give the bed one clear job
Start with the reason for raising the bed. It might bring herbs close to the kitchen, collect flowers at a sunny boundary, make a deep planted edge easier to tend or separate a sitting area from open ground. One clear job helps you place it and stops an attractive box from landing in the garden with nothing to do.
Look at what is already fixed. Doors must open, bins and bicycles still need to pass, and a path should not become a squeeze beside a new wall of soil. Judge a decorative bed from the window or seat where you will see it most. For a bed you will tend often, give the working route priority.
Do not use a raised bed to disguise a site problem you have not understood. Standing water, uncertain boundaries, unstable walls or a large change in level need local assessment first.
Mark the full footprint on the ground
Lay out the outside edge with string, a hose or pieces of cardboard. Include the thickness of the proposed sides, not just the soil inside. Then walk past it with a watering can, open the nearby gate and pull out any chair that shares the space.
Reach across the marked bed from the places where you could actually stand. If the middle is out of reach, make the bed narrower, add access on another side or split one broad shape into two. Stepping into fresh soil every time you weed is a sign that the drawing won the argument and the gardener lost it.
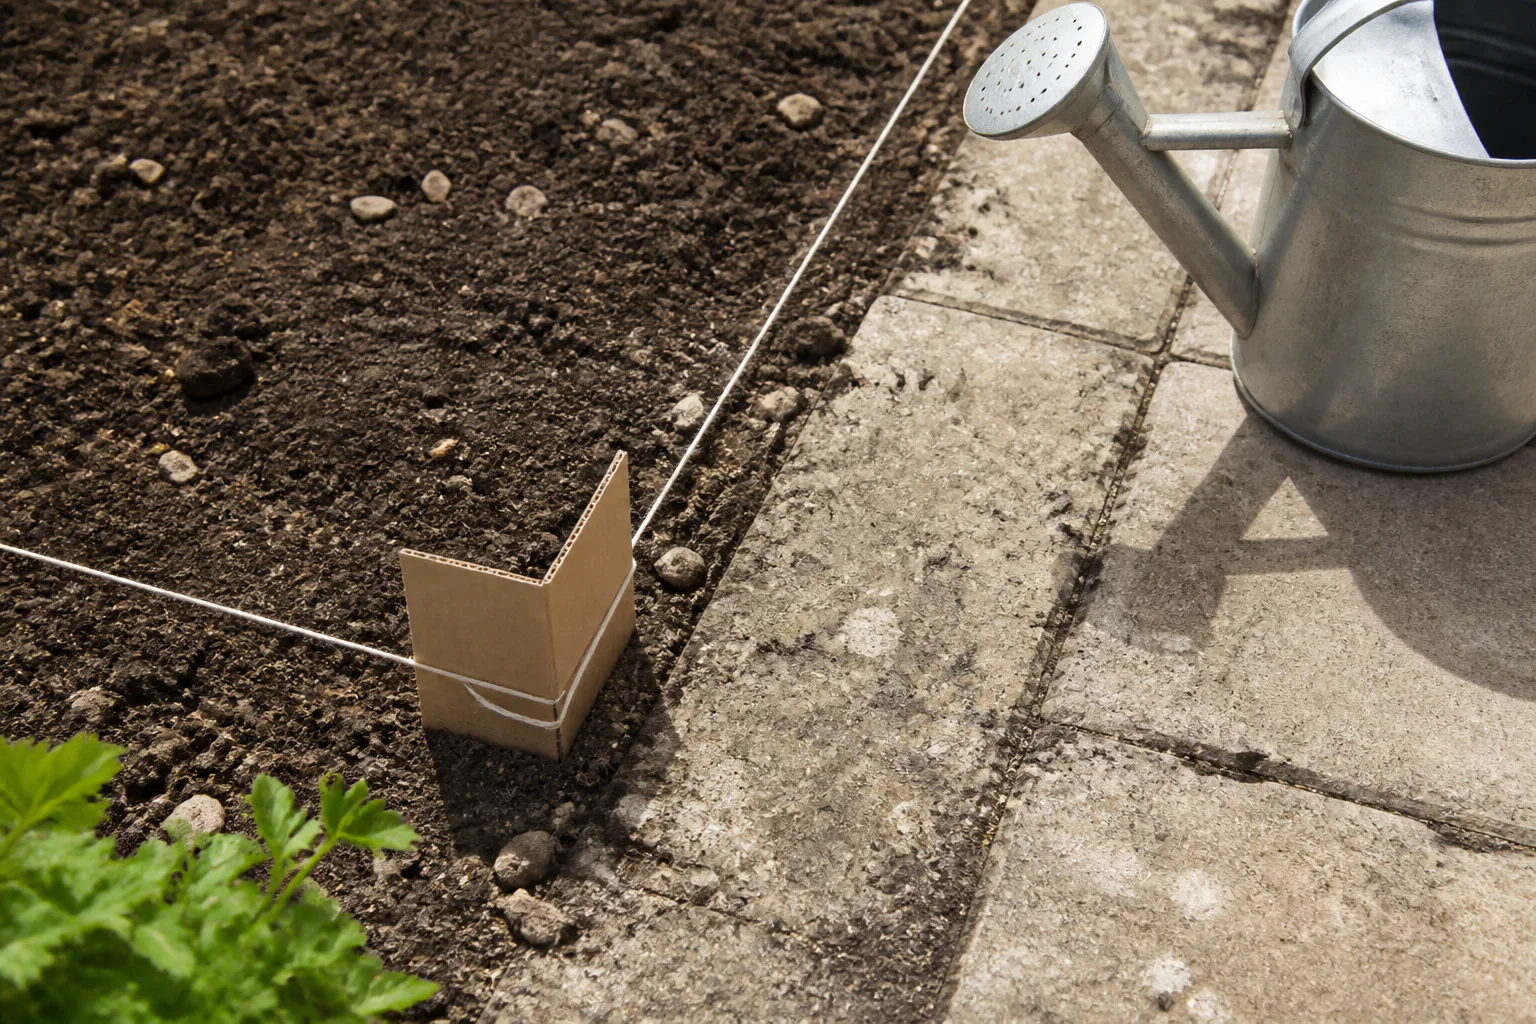
Check the route in ordinary conditions too. Plants may lean over it, bags of compost need carrying and wet ground changes where you can stand. Keep that working space in the design.
Make the layout belong to the garden
A long bed can reinforce an existing boundary. Two shorter beds can leave a useful crossing point. An L-shape may define a corner, but its inside angle must still be reachable and easy to clear. Pick the arrangement that supports the bed's job and the route around it.
Use lines that already exist in the house, paving or fence as a starting point. The bed does not have to copy every angle, but a deliberate relationship usually looks calmer than a box set down at a near miss. Our guide to garden path ideas covers how to test the daily route before a new bed claims part of it.
A pair of beds may frame a view or organise two growing areas. A row of little boxes often creates more corners, narrow gaps and edges to maintain without adding useful planting room.
Choose height and material after the site check
Mock up the proposed height with empty boxes, stakes or a board. View it while sitting and standing. A bed that looks modest on paper can interrupt a view or make a small space feel hemmed in once it rises above the surrounding ground.
The construction needs to suit the soil, the surface below and the way water moves through the site. Ask how corners are joined, how a damaged section can be repaired and where water can leave before choosing by colour alone. A landscaper can check retaining, drainage and foundations when they are uncertain.
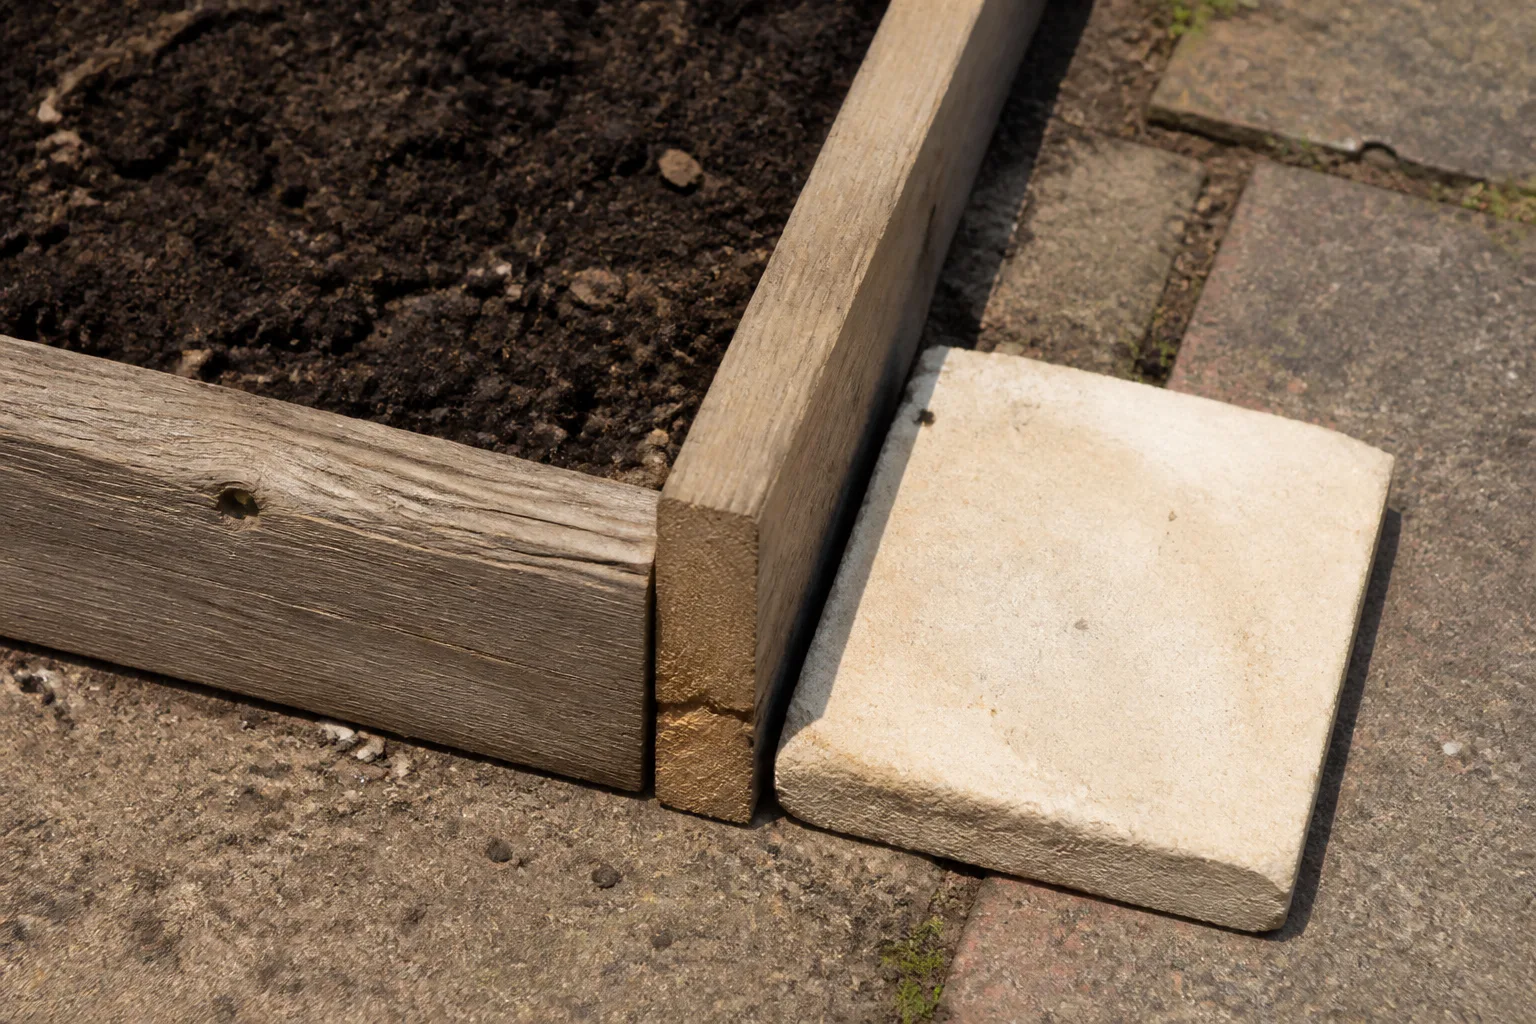
The junction deserves its own look. Loose soil should not spill onto the route, and the outer face should not create a thin strip that no brush or tool can reach. The garden edging guide explains how to think through levels, moving material and maintenance at that boundary.
Preview the proportion, then return to measurements
Gardenly can help you compare how a deeper bed, a larger planting mass or more open ground might feel in a photo of your own garden. The image model is instructed to redraw beds and planting while leaving the house, paths, paving, camera and lighting unchanged. That is an instruction, not a guarantee, and the render is not a measured plan.
Choose one direction from the style gallery and judge the broad relationship: does the raised planting crowd the route, cut off a useful view or divide the space in a way that helps? Ignore the exact plants and construction details produced by the image.
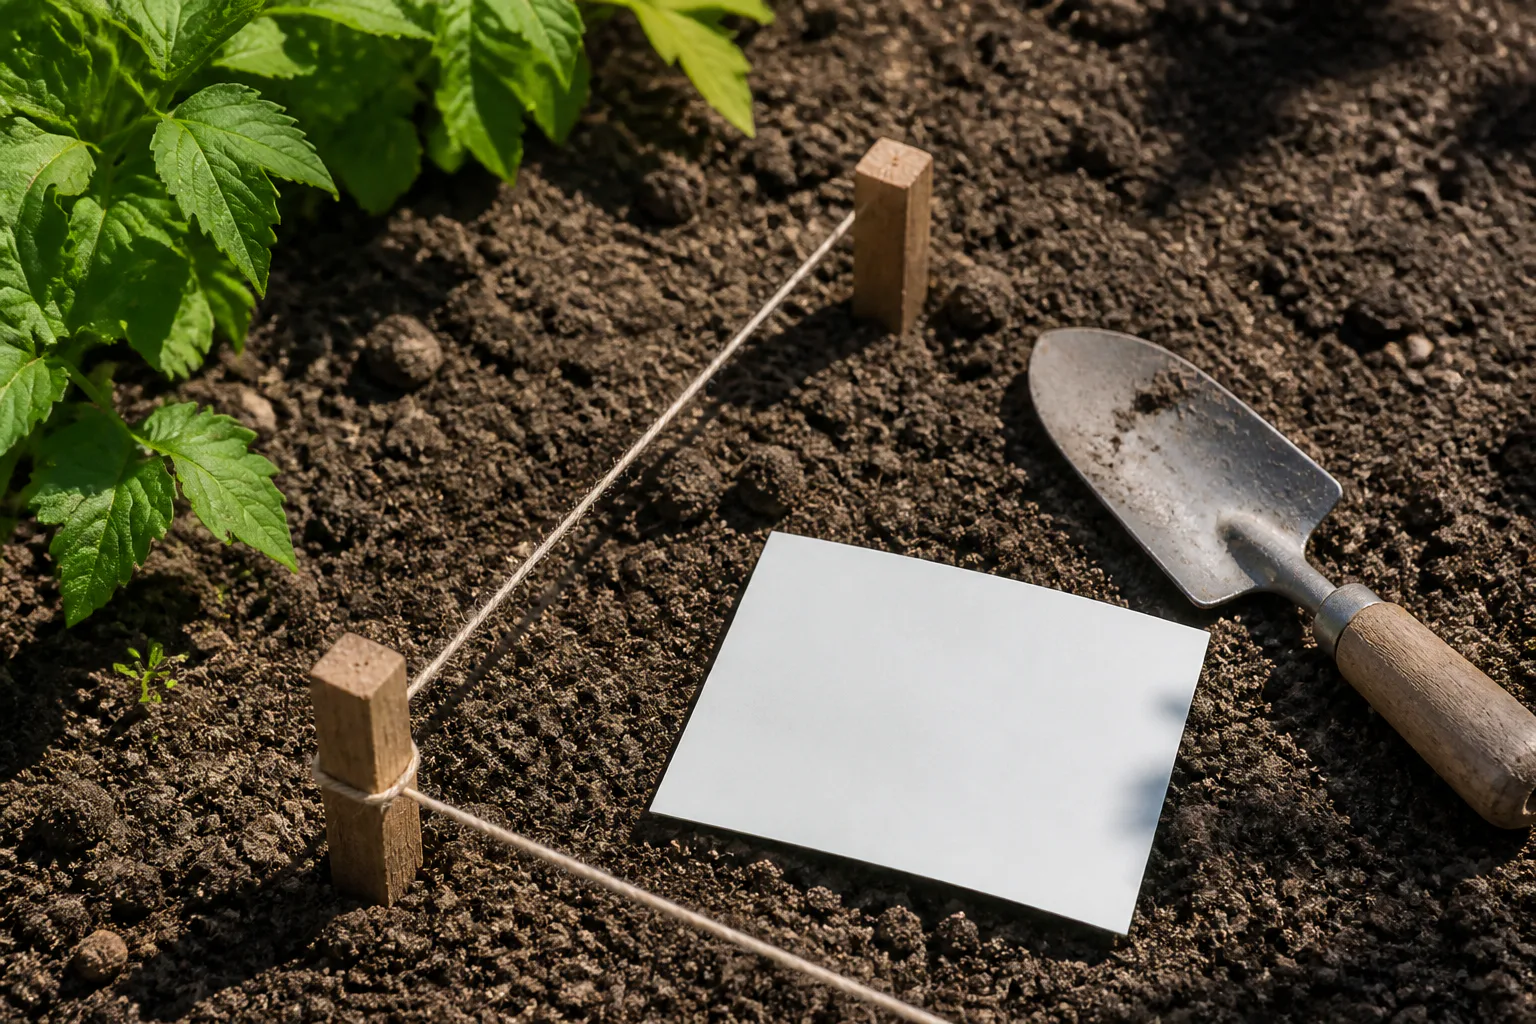
Return to the marked footprint when the picture has done its job. Record the outside dimensions, access points, proposed height and any drainage or level questions. Take that sketch, the original photo and one preferred render to the person who will check and build the real bed.