

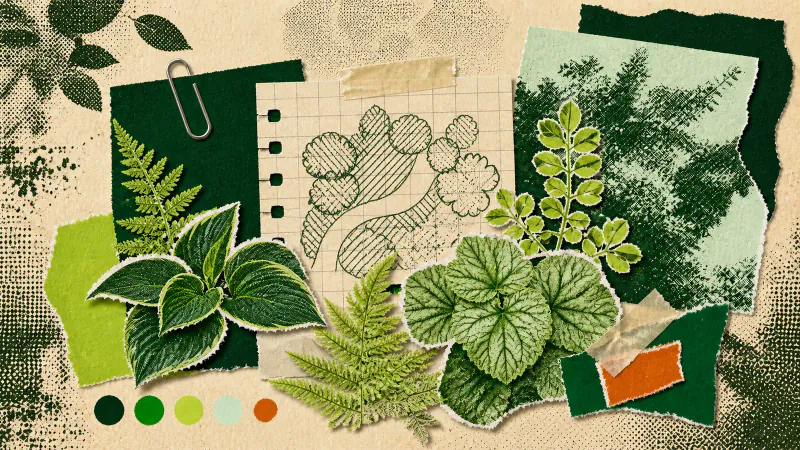
The most useful shade garden ideas begin with the shape of the space, not a shopping list of plants. First record where the shade falls, protect the route through the area and decide how much open ground you want to keep. Then build a few planting layers that can be matched to local conditions later.
This order saves you from buying a collection of shade-tolerant plants that still has no clear composition. It also gives a landscaper or nursery something more useful than a mood board: a measured area, known light conditions and a simple job for each layer.
Map the shade you actually have
Look at the area several times during a bright day. Mark where direct light reaches the ground in the morning, around midday and later in the afternoon. Repeat the check when the season changes if a deciduous tree or nearby building strongly affects the light.
Do not reduce the notes to "sun" or "shade" too quickly. One edge may get a brief patch of direct light while the back stays dark and damp. The ground close to a wall may remain dry even though it receives little sun. These differences belong on your sketch because they affect where a planting layer can realistically sit.
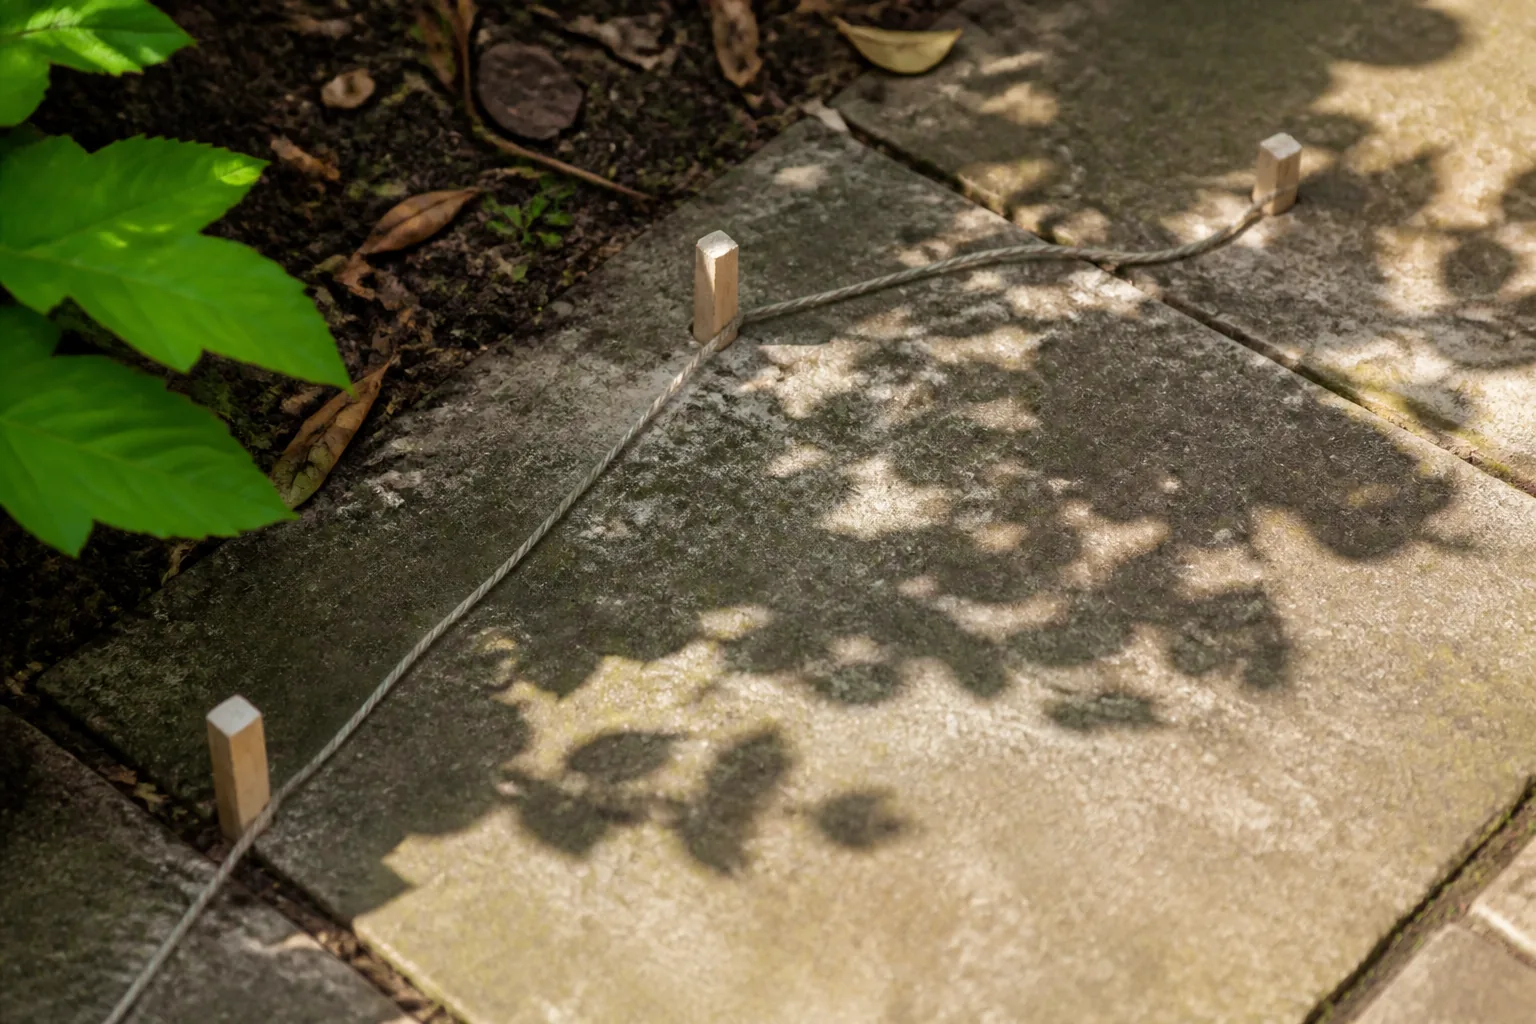
Use removable markers, string or small stones to record the border of each light zone. Photograph the markings from the viewpoint you use most. A rough map that matches the ground is more helpful than an elegant plan based on a single glance.
Keep a route and a patch of open ground
A shaded corner can feel cramped long before it is full. Begin with access. Walk the route you need for a gate, shed, tap or compost bin, and carry the widest object that regularly passes through. Mark that working width before drawing a bed around it.
Next, leave one calm patch of ground. It might be a short stretch of path, a gravel pocket or the visible soil beneath a larger plant. This gap separates the planting masses and makes the arrangement legible. Filling every dark strip with another small plant usually produces clutter and makes maintenance awkward.
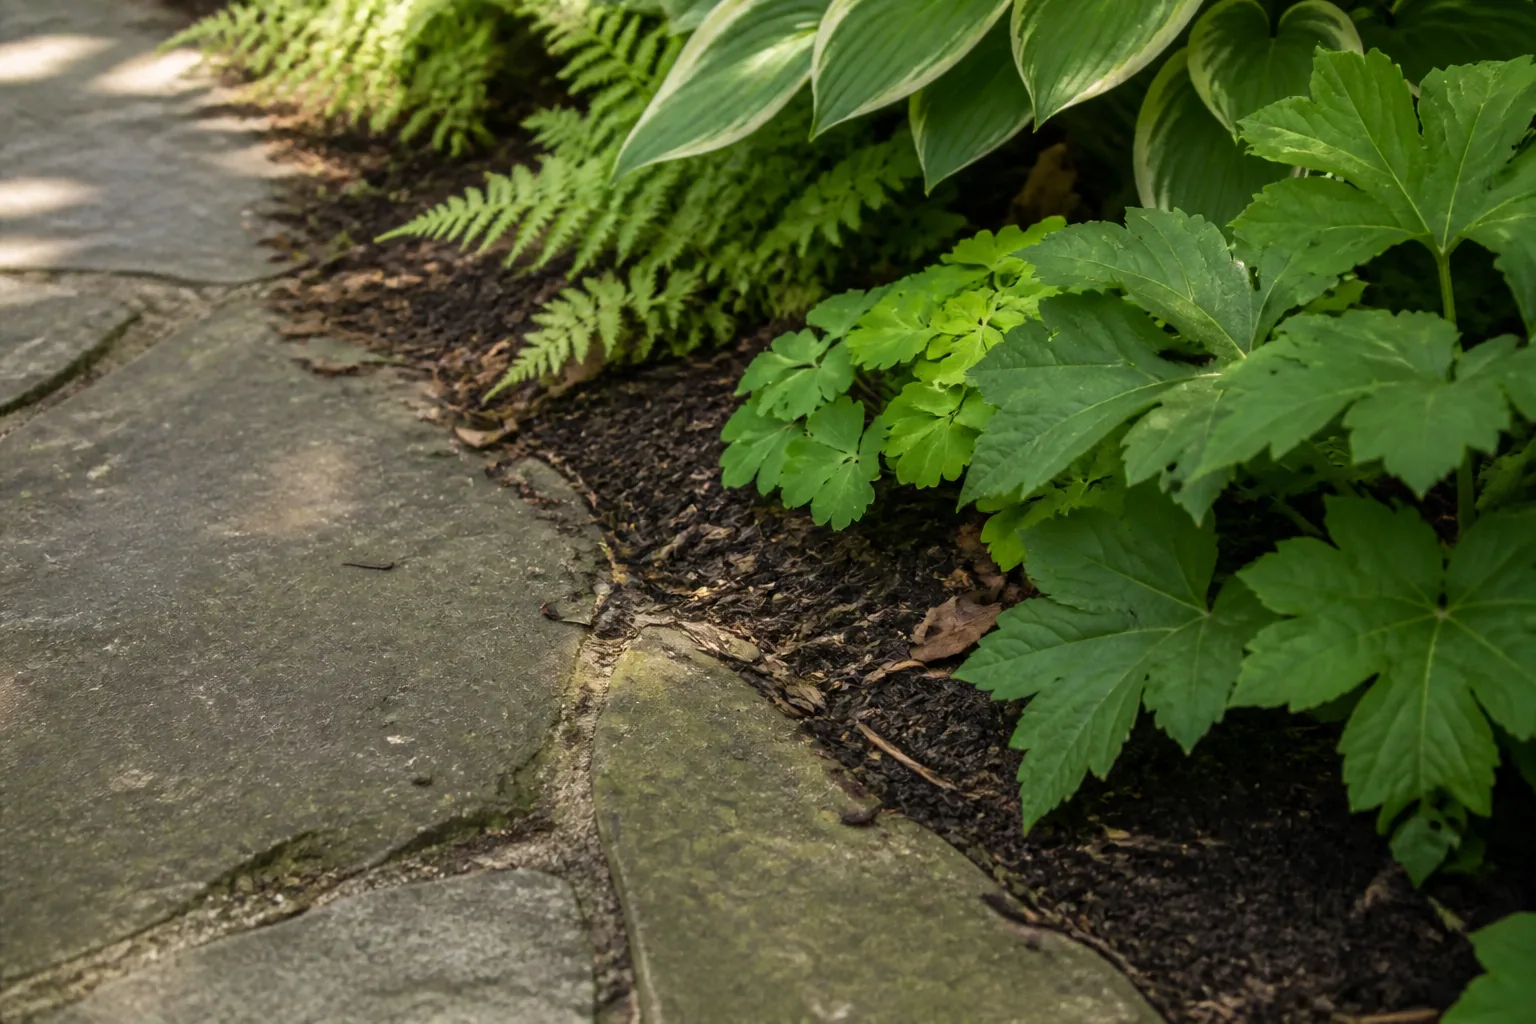
Check the edge where the route meets the proposed bed. It needs to cope with soil, mulch and feet without becoming a permanent trip hazard. The garden edging ideas guide explains how to choose that junction after the wider layout is settled.
Build layers before choosing species
Draw the planting as broad height and texture groups. Start with one durable upper layer where the space can carry it, then add a middle mass and a lower edge. The upper layer might be a shrub or a group of tall leafy plants rather than a tree. What matters at this stage is the volume it occupies and the shade it will add.
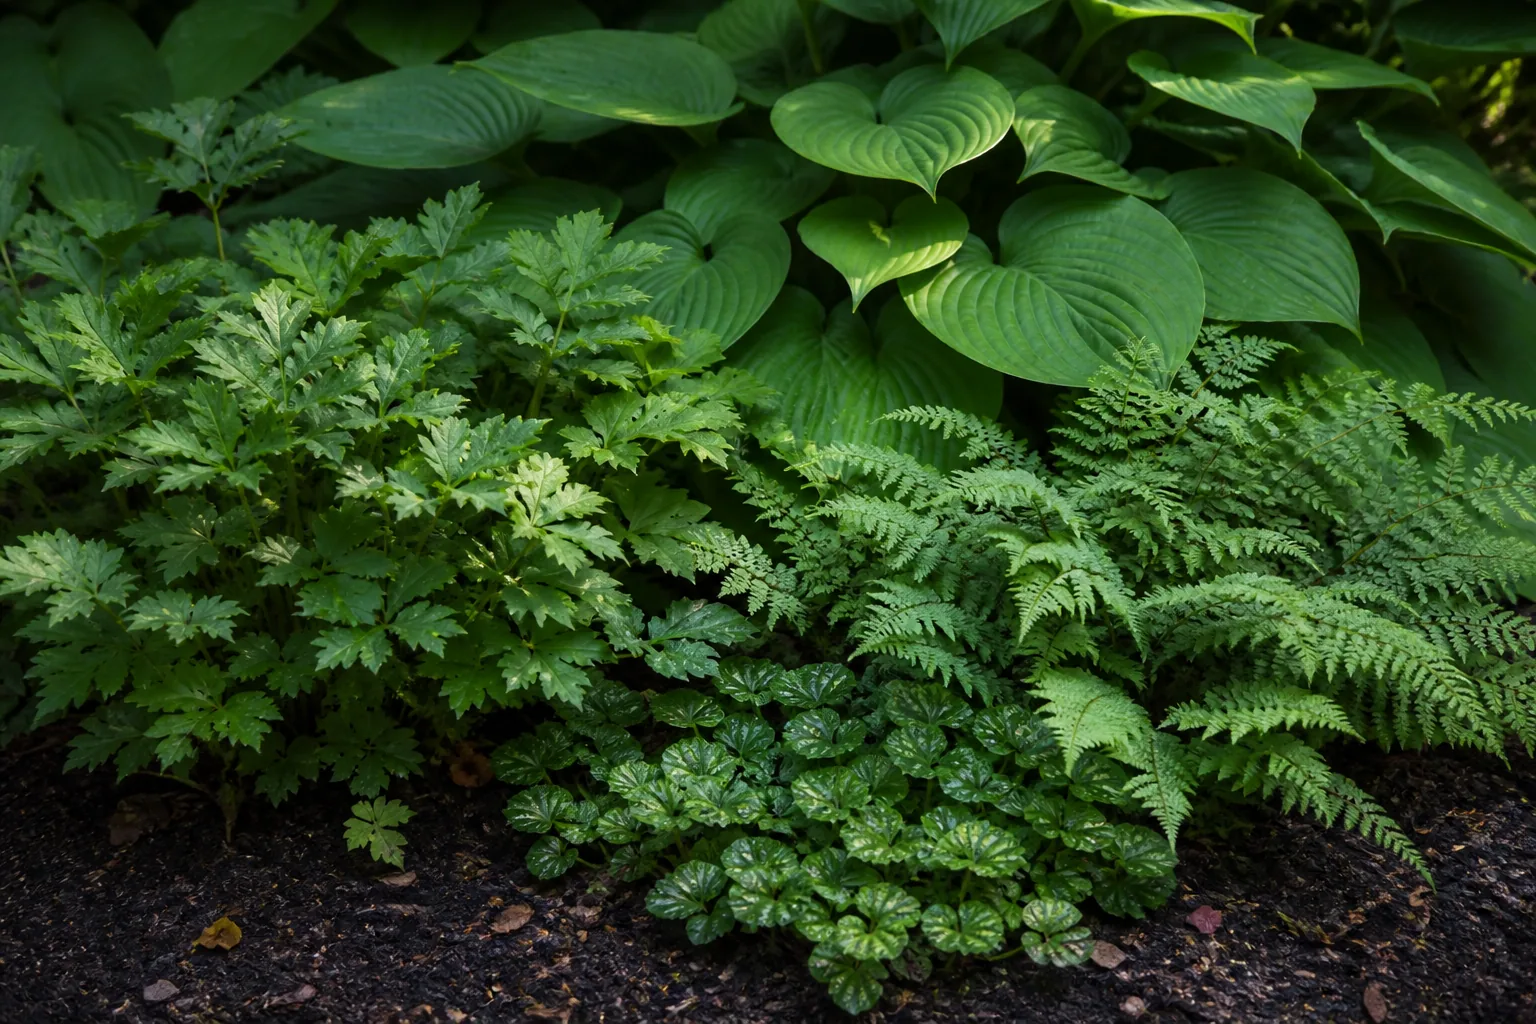
Repeat a few leaf shapes instead of assigning a different plant to every gap. A broad leaf beside a finer texture can make the composition readable without relying on flowers. Keep the lowest planting away from the route if it is likely to flop across the edge.
Only then match real plants to the plan. Take your notes on light, soil moisture, available depth and maintenance to a local nursery or garden professional. Check mature width and height rather than the size of the pot on the day you buy it. The plant-choice workflow goes into more detail on turning visual groups into a site-aware brief.
Test the composition without treating it as a planting plan
A visual test can help you compare the amount of open ground, the height of the planting and the relationship to the existing path. Photograph the area from one useful viewpoint, then make two versions: one with a stronger upper layer and one with more open ground.
In Gardenly, the image model is instructed to leave the house, hardscape, camera and lighting unchanged while it redraws planting, beds, lawn and garden furniture. That instruction is not a guarantee. Use the result to discuss mass, rhythm and atmosphere, not to predict real shadows or identify plants.
Return to the marked ground after comparing the images. Keep the version whose route still works and whose planting volumes fit the measured space. That combination of a photograph, a light map and a few dimensions is the useful brief. Species, drainage and construction details still need to be checked on site.