

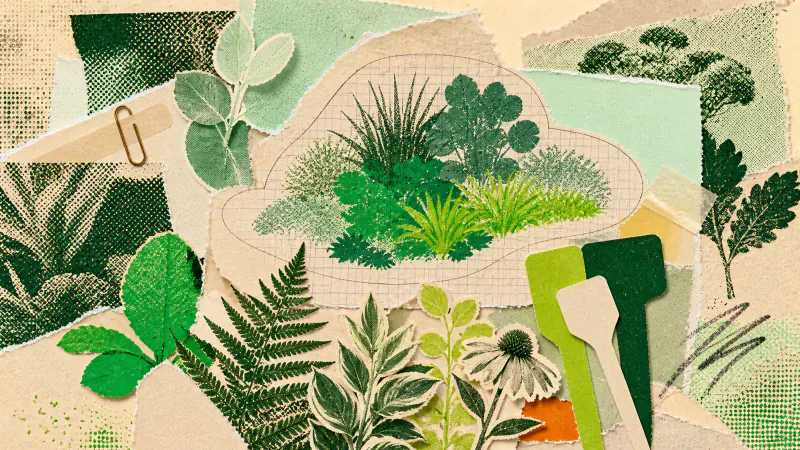
An AI landscape design tool can show how deeper borders, taller planting or a simpler colour range might change your garden. It cannot tell you which plants will thrive there. Use the image to choose the visual job of each planting area, then use real site conditions to choose what goes in it.
Keep those jobs separate and the render stays useful. You can decide that a bed needs a low edge, a loose middle layer and one taller accent without assuming that every leaf in the picture is a real or suitable species. The image gives you a direction. Light, soil, climate, mature size and maintenance turn it into planting.
Read the shape before you read the plants
Start with the broad relationships in the image. Look at how much ground belongs to planting, where the tallest mass sits and whether the border feels calm, loose or strongly repeated. These choices are easier to judge in a picture than a list of plant names.
Write down what the image is doing in plain terms:
- low planting keeps the edge of the path visible;
- one taller group screens a fence without closing the whole view;
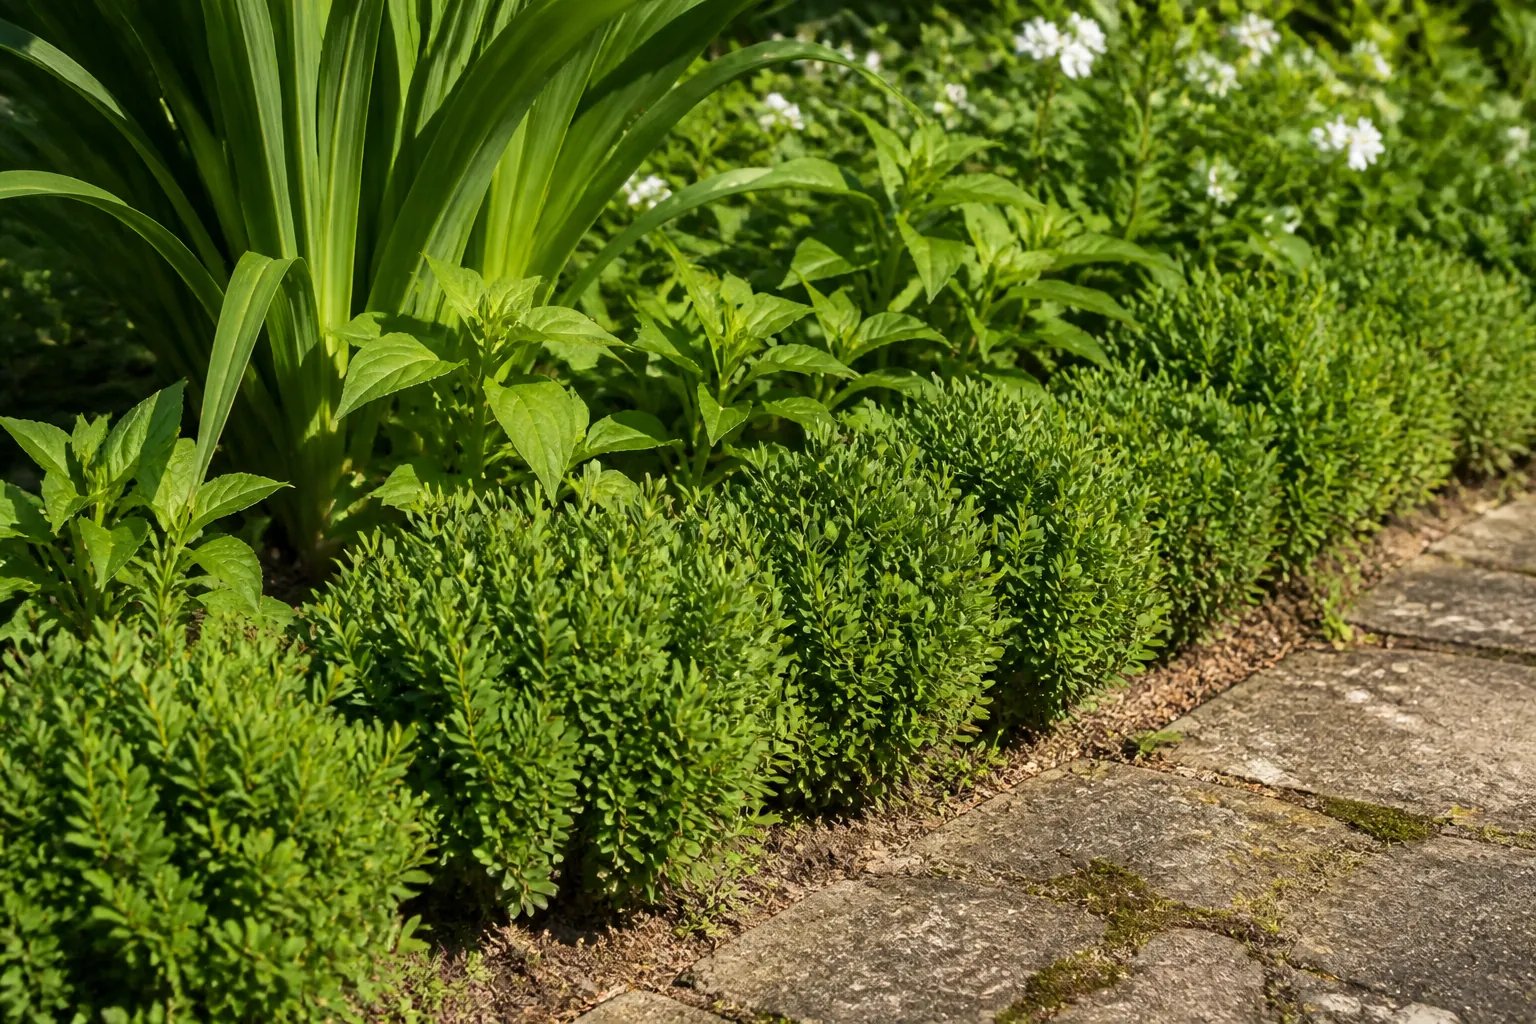
- repeated rounded forms make a long border feel connected;
- a small colour range keeps several plant textures from looking busy.
Do not spend too long identifying a perfect-looking shrub produced by an image model. Record the composition instead. A real planting plan can reproduce it with different species.
If the bed shape itself is wrong, fix that first. A beautiful planting effect will not rescue a border that blocks the route, leaves no room for a chair or becomes too narrow to hold the layers shown.
The render cannot choose plants for your site
A generated image does not inspect the soil, track winter cold or know how long direct sun reaches a corner. It also shows plants at one attractive moment. It does not show their dormant season, their growth rate or how much pruning and watering they will need.
Treat specific flowers and foliage as visual shorthand. A silvery mound may mean “soft, pale edge” rather than one exact plant. A tall haze of flowers may mean “light screen” rather than a promise that the pictured species suits your garden.
Real selection starts with a short site record:
- hours of sun and where shade falls;
- soil that stays wet, drains quickly or changes across the plot;
- local winter and summer conditions;
- available width and height at mature size;
- the amount of seasonal work you will actually do.
At this point, ask a local nursery, planting designer or landscaper for advice. They can match the desired height, habit, colour and season to plants that suit the site. The broader comparison of AI garden design and a garden designer explains where that handoff fits in a project.
Turn the picture into a planting brief
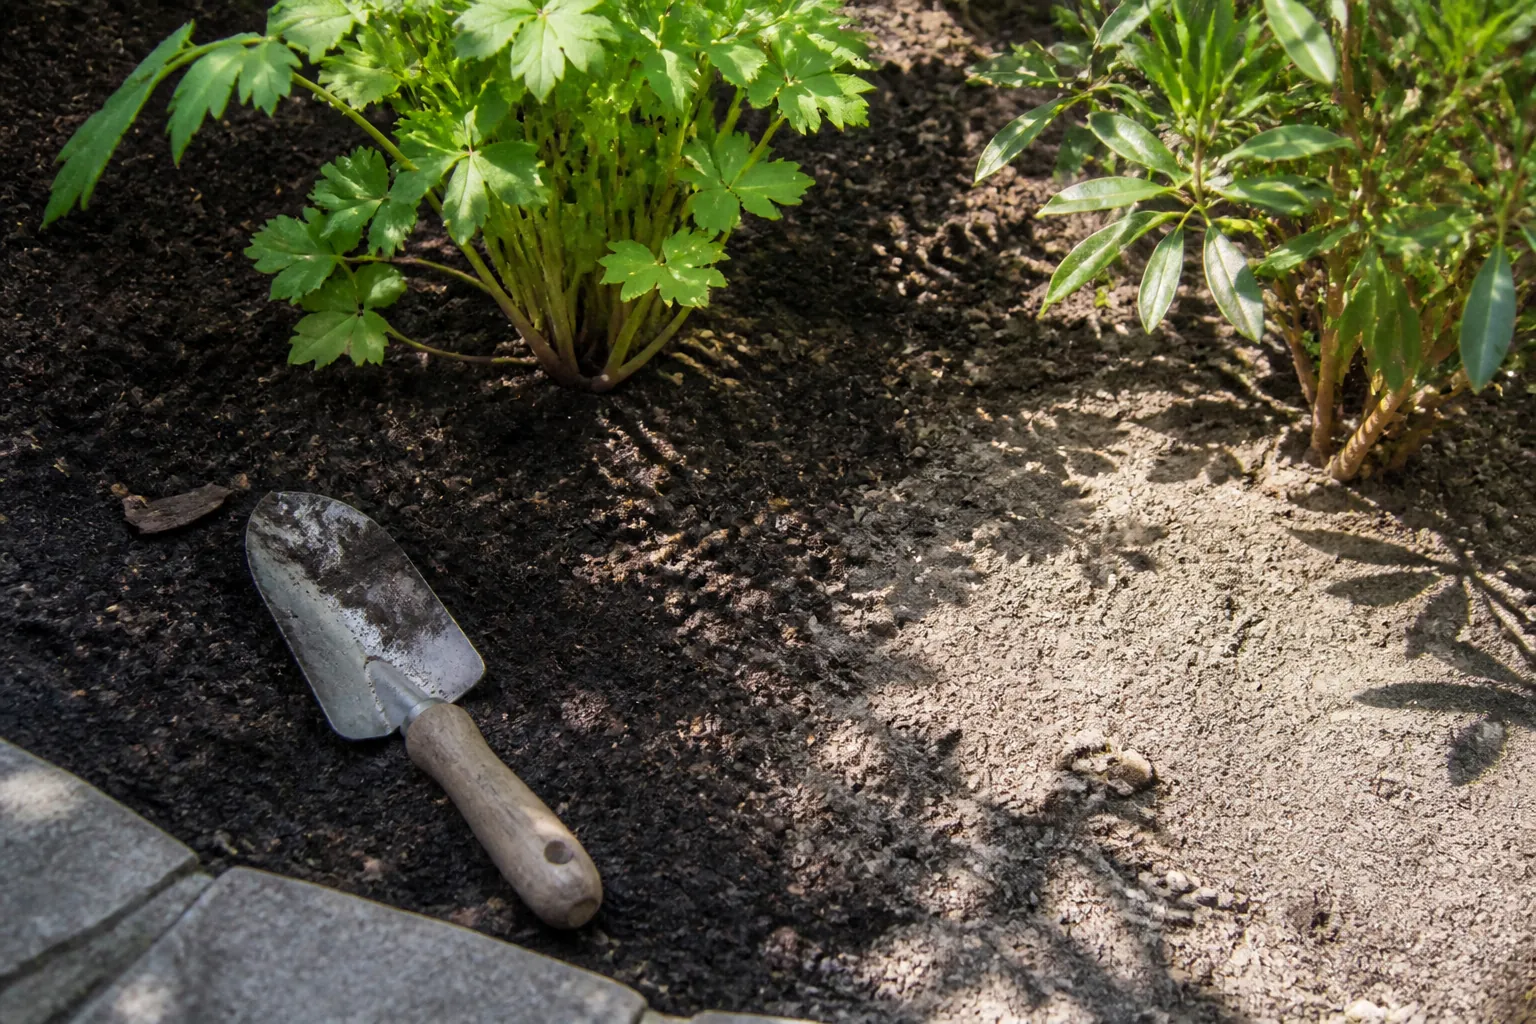
Print the render or mark it up on your phone. Draw around the main planting groups and give each one a job. “Evergreen screen, about shoulder height” is a useful instruction. “Use the exact hedge in this AI image” is not.
For each group, note four things: approximate height, overall shape, leaf or flower texture and the season when you want it to work hardest. Then add the site conditions beside it. You now have a brief that can support sensible plant choices instead of a visual guess.
Keep the palette short at first. Choose structural plants for the main shapes, then add seasonal interest and ground cover. Check mature spread before you decide quantities. A render often makes a bed look full on day one, while real planting needs room to grow.
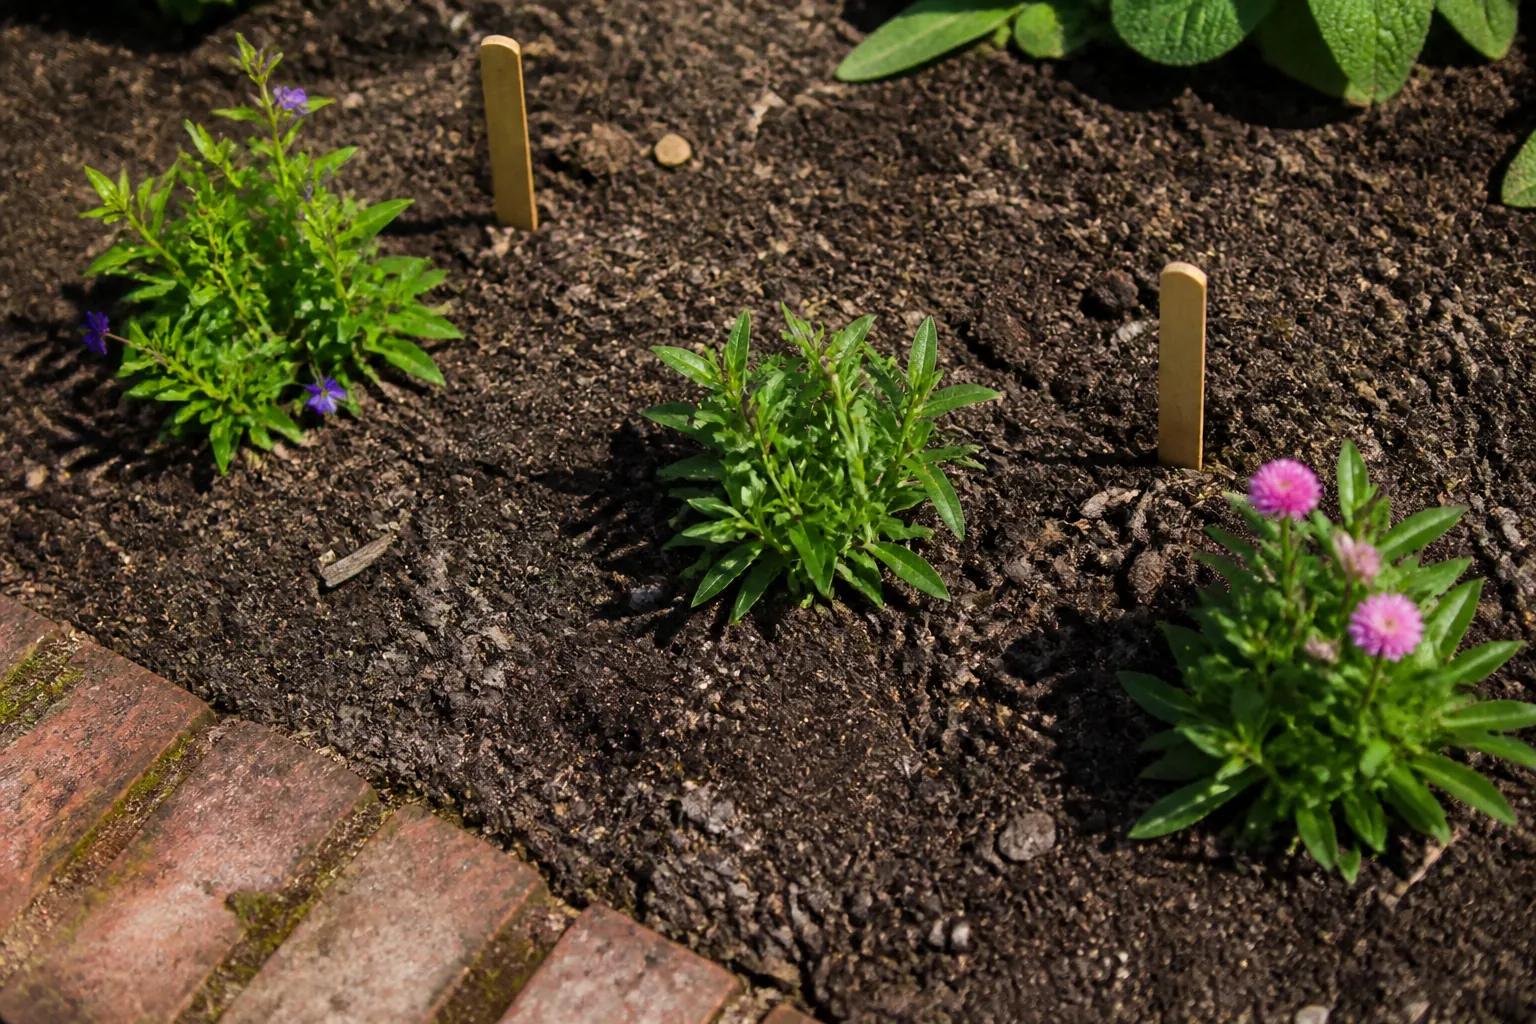
When you compare possible plant lists, return to the brief rather than the pixels. Different species can create the same low edge or airy screen. That flexibility is useful when a preferred plant is unsuitable or unavailable.
Use Gardenly for direction, not identification
Gardenly starts with one garden photo and a selected style. The image model is instructed to redraw planting, beds, lawn, furniture and decorative garden elements while leaving the house, hardscape, camera and light unchanged. That instruction is not a guarantee, so compare the result with the original before you trust any boundary or proportion.
Try two or three clearly different options from the style gallery. Compare border depth, planting height, open ground and repetition. Keep the parts that solve a visual problem, then ignore any invented plant detail that has no site information behind it.
For more on what happens to the photo and what the result can and cannot support, read how an AI garden design app works. A render can make the planting direction easier to discuss. It stops being useful when attractive pixels get mistaken for site-aware choices.