

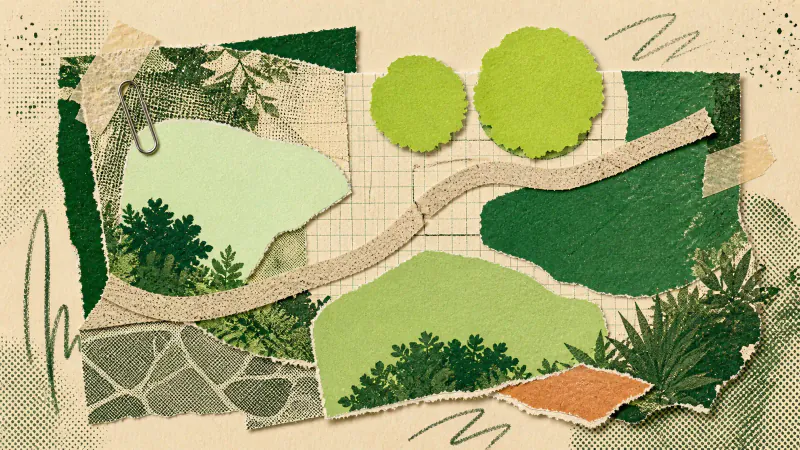
Planning a garden layout gets simpler when you make decisions in a useful order. Record what is fixed, decide where you need to go, give each part of the garden a job, and only then shape the planting. This keeps an attractive detail from forcing the rest of the plan into an awkward corner.
The aim is not a finished construction drawing. It is a clear direction you can measure, question and take to a landscaper or garden designer. Plant species, drainage, levels, construction details, local rules and final dimensions still need checks on site.
Start with the facts that will not move
Make a rough plan of the garden as it is. Mark doors, gates, the shed, outdoor taps, drains, boundaries and any trees or structures that are staying. Add the places where the ground visibly changes level. Note where water lingers after rain and where sun or shade falls at the times you normally use the garden.
Keep observations separate from guesses. A damp patch is worth recording, but a photograph does not tell you why it is damp or how to fix it. A boundary that looks straight in a phone photo may not be straight when measured. Put both on a list for a proper site check.
This plain inventory is the page you return to whenever a new idea appears. If a proposed seat blocks the shed door or a border removes access to a drain, the plan has answered the question before you have bought anything.
Decide destinations before drawing paths
Write down the places the layout must connect: the back door, gate, bins, shed, table, play area or washing line. Then trace the routes used on an ordinary weekday. Carrying a bin or watering can exposes awkward turns that an empty-handed stroll can hide.
Separate the main daily route from occasional access for pruning, cleaning or repairs. The route can remain a simple line at this stage. Surface, edge and exact width come later, after measuring. The guide to garden path ideas goes further into testing a route once its destinations are settled.
Give the remaining ground a job
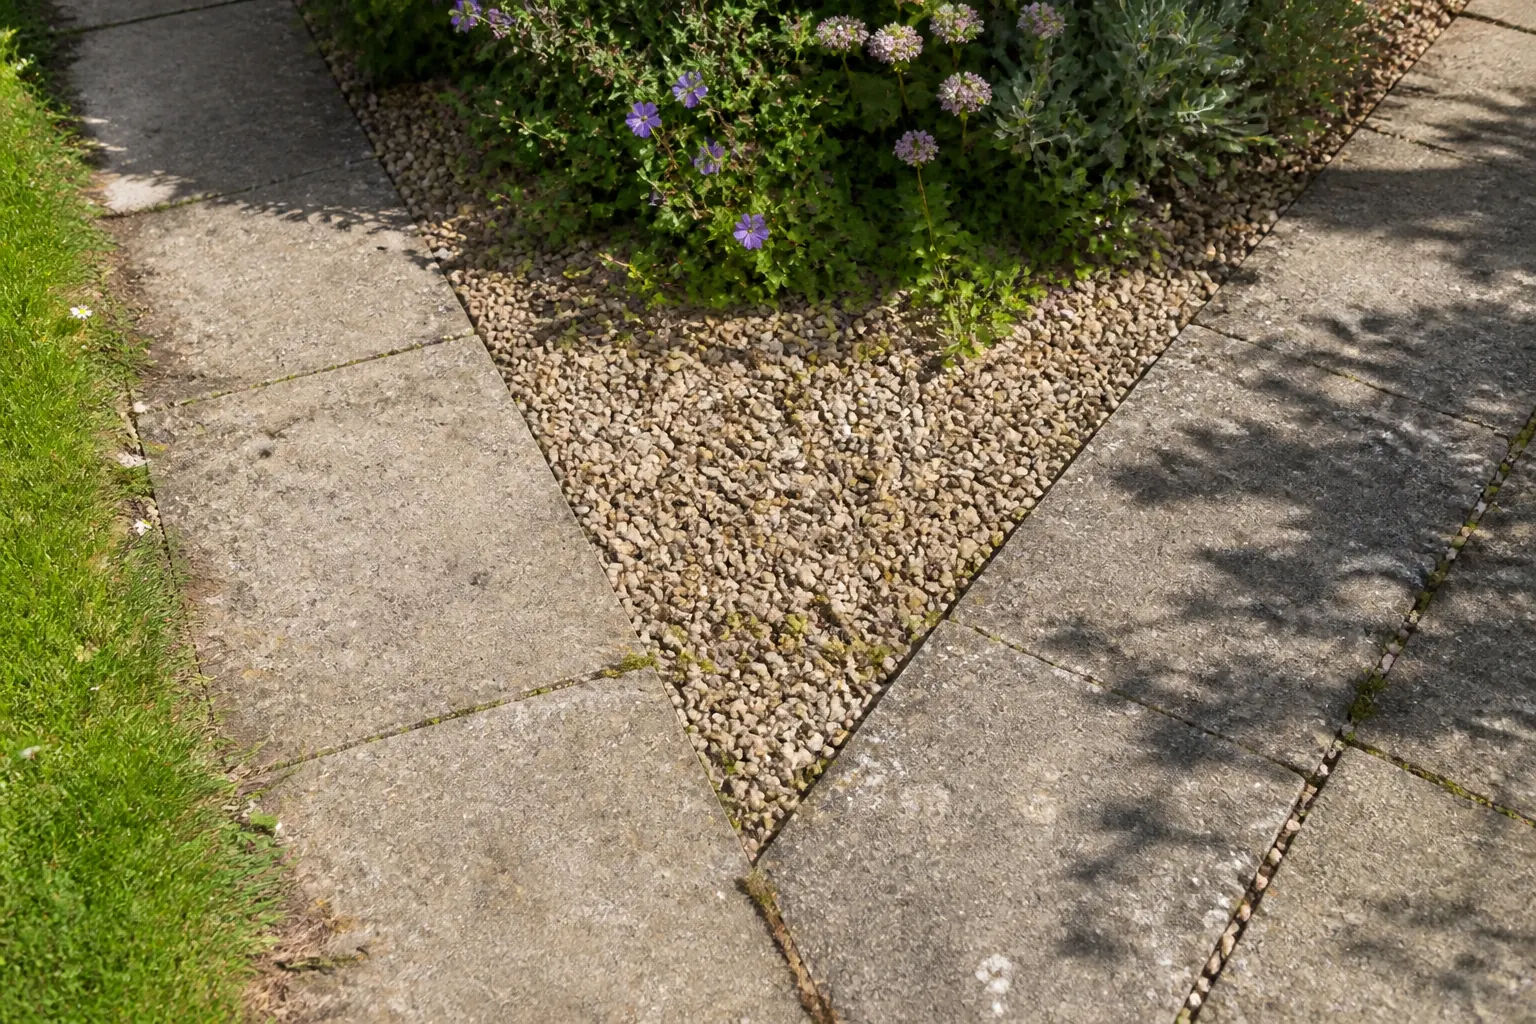
With the routes visible, divide the rest into broad use zones. You might need a dining area, open ground, storage access and planted edges. Do not draw each as a perfect box. Look for useful overlaps: a main path may widen beside a seat, while occasional maintenance access can pass through open ground.
Check each zone at the hour it will be used. A breakfast seat and an evening table do not ask the same thing of light. Leave enough open ground for the garden to feel usable and for routes to remain legible. This is allocation, not furnishing. Chairs, pots and decorative objects should not be doing the structural work yet.
Shape planting as mass before choosing plants
Draw planting as a few large shapes. Decide where it should frame a view, soften a boundary or create separation between uses. Compare the depth, height and visual weight of those masses with the open ground. A thin ribbon of plants around every edge often behaves differently from one or two deeper areas.
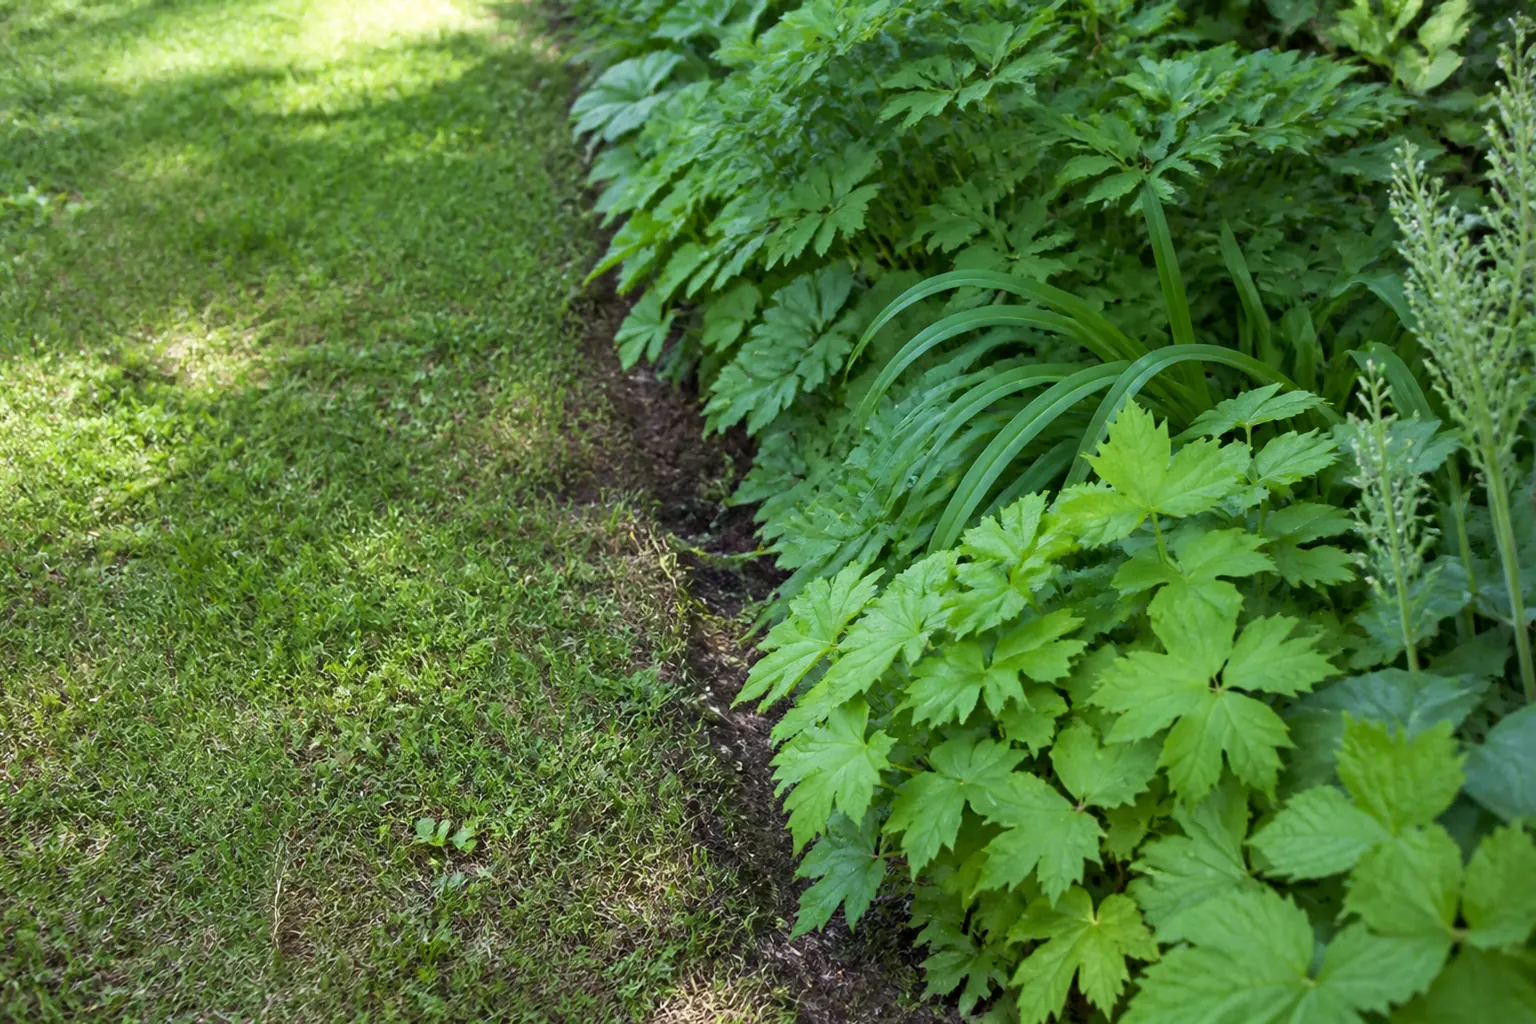
Stay at the level of low, medium and taller structure. A render may help you judge those broad relationships, but it cannot choose species for your soil, light, climate, mature spacing or maintenance. Those choices come after the layout and after real site conditions have been checked.
Use one render to test the relationships
Take a current photo that shows the main route and the parts of the garden you are deciding between. In Gardenly, choose one of the available garden styles and make a single render. The image model is instructed to keep the house, hardscape, camera position and lighting unchanged, but that instruction is not a guarantee. Compare the render with the source photo edge by edge.
Ignore invented details. Look instead at the amount of open ground, the balance of planting and paving, and whether the chosen use zones still read clearly. If the render changes a wall, path or level, do not copy that change into the plan. The article on how to compare AI landscape design directions explains a fuller comparison method if one visual test leaves a genuine fork unresolved.
Turn the direction into a measured brief
Keep the rough plan, source photo and chosen render together. Add the fixed facts, destinations, routes, broad zones, planting masses and unanswered site questions. Then measure what can be measured safely and ask the relevant professional to verify levels, drainage, structures, construction, regulations and final dimensions.
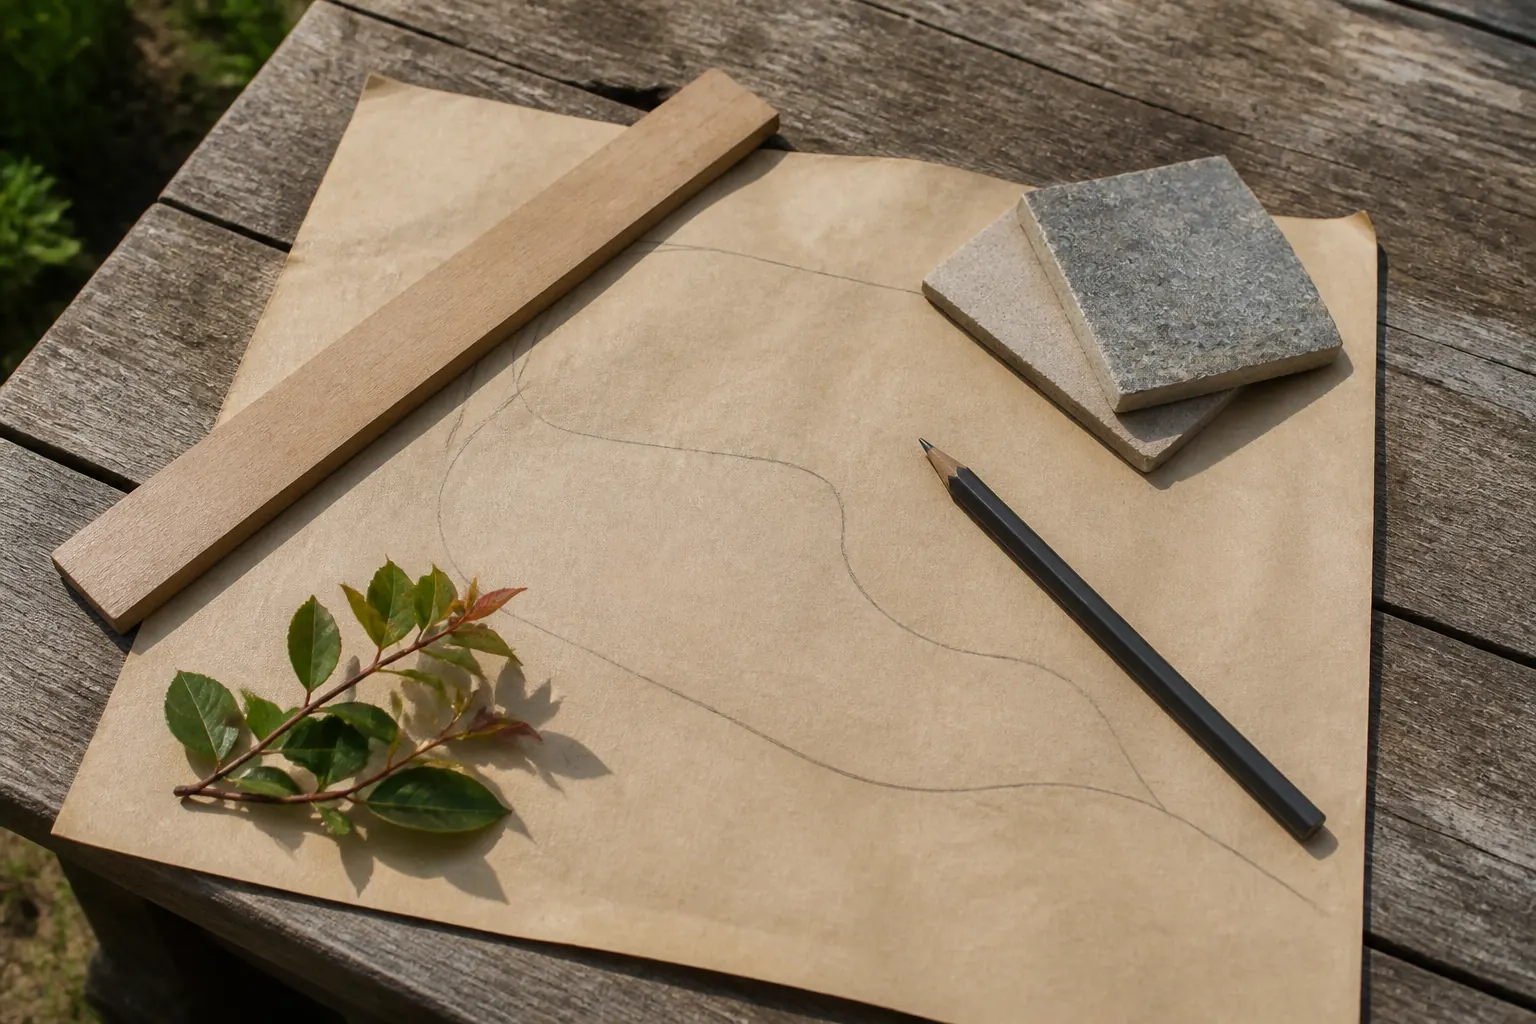
That package is useful because it explains the order behind the picture. A landscaper can see which relationships matter and which details are still open. The render gives the conversation a direction. The measured brief is what keeps that direction tied to the actual garden.