

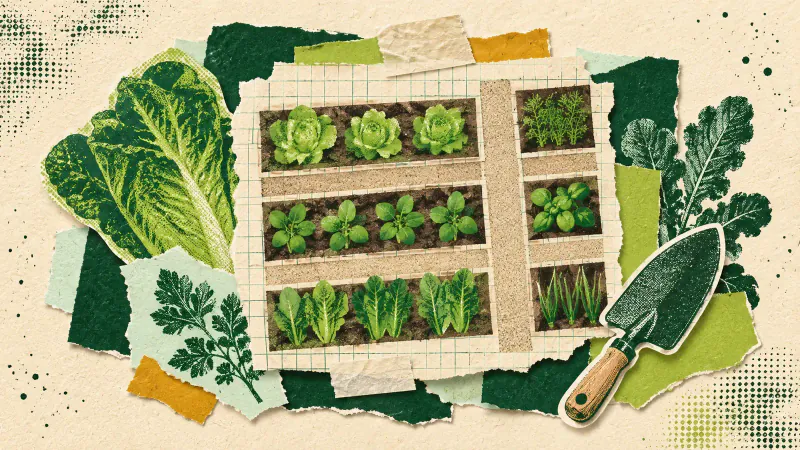
A useful vegetable garden layout starts with a short crop list and the ground you can reach and water. Find a suitable sunny patch, draw its working paths, then give each crop the space it needs when grown. Add dates to the plan so an empty patch has a purpose later in the season.
Start with an area you can look after on an ordinary busy week. A drawing filled with vegetables is easy to make; keeping up with them takes time. If you are still deciding where the growing area belongs in the wider garden, settle that first with the guide to planning a garden layout.
Check the growing position before dividing it up
Watch the proposed patch at different times on a clear day and record where direct sun reaches the ground. Repeat this as the season changes. A sunny corner in September does not describe every month of the growing year.
The RHS advice on positioning vegetables favours a sunny position, with some leafy crops tolerating shade better than fruiting crops. It also warns about competition from nearby trees and hedges. Match the crops to the place you have rather than copying a planting picture from a different site.
Walk the route from the water supply with the equipment you will use. Check that a hose can reach without dragging across a bed. Mark persistent wet patches for investigation before committing the ground to vegetables; the soil-testing guide explains how to gather useful soil evidence.
Draw the spaces you need to work
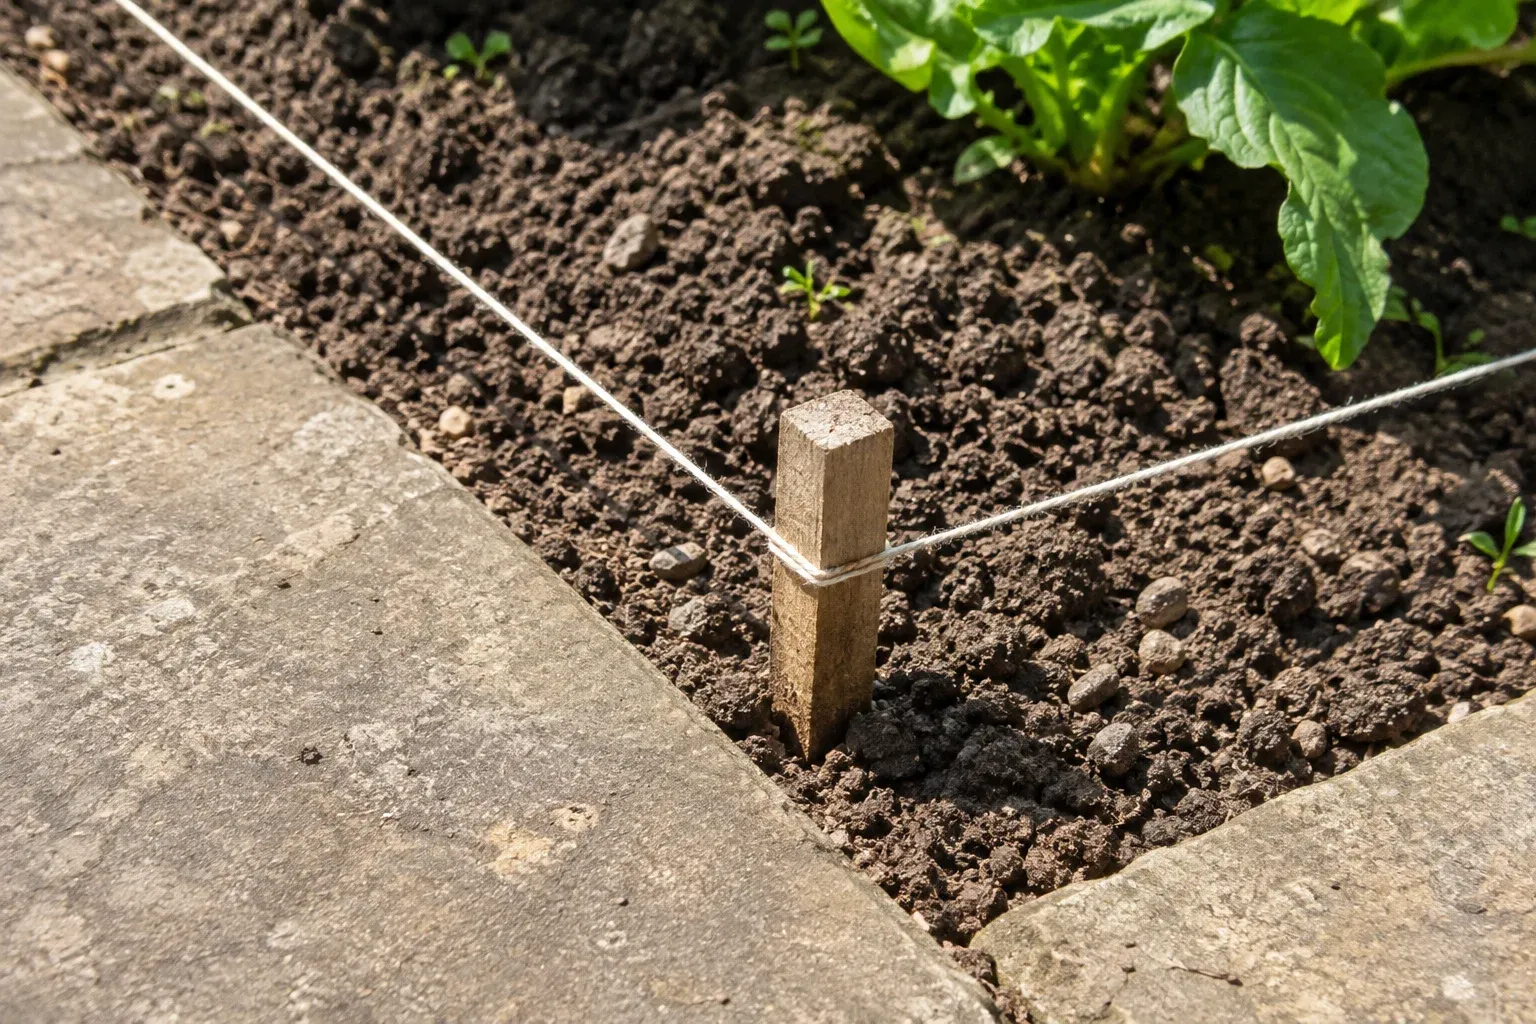
Sketch a small growing bed and mark it on the ground with temporary string. Stand outside the line and test whether you can comfortably reach its centre. Try the task you expect to do there, such as checking a seedling, without stepping onto the growing soil.
Leave working room beside the bed for a watering can or a harvest basket. A narrow gap that you can squeeze through may become awkward when leaves extend over it. Check access from both ends, especially where a fence prevents you walking around.
The University of Maryland's vegetable-garden planning guide recommends mapping access for watering, weeding and harvesting. Put those working spaces on paper before allocating every remaining piece of soil. You can begin with an ordinary in-ground bed; deciding to build raised sides is a separate project.
Give mature crops their space
Write down what you actually eat, then choose a manageable selection suited to your conditions. Leave an experimental crop for later if it would displace something you regularly use. The RHS vegetable-planning advice starts with preferences, quantities and the time available for care.
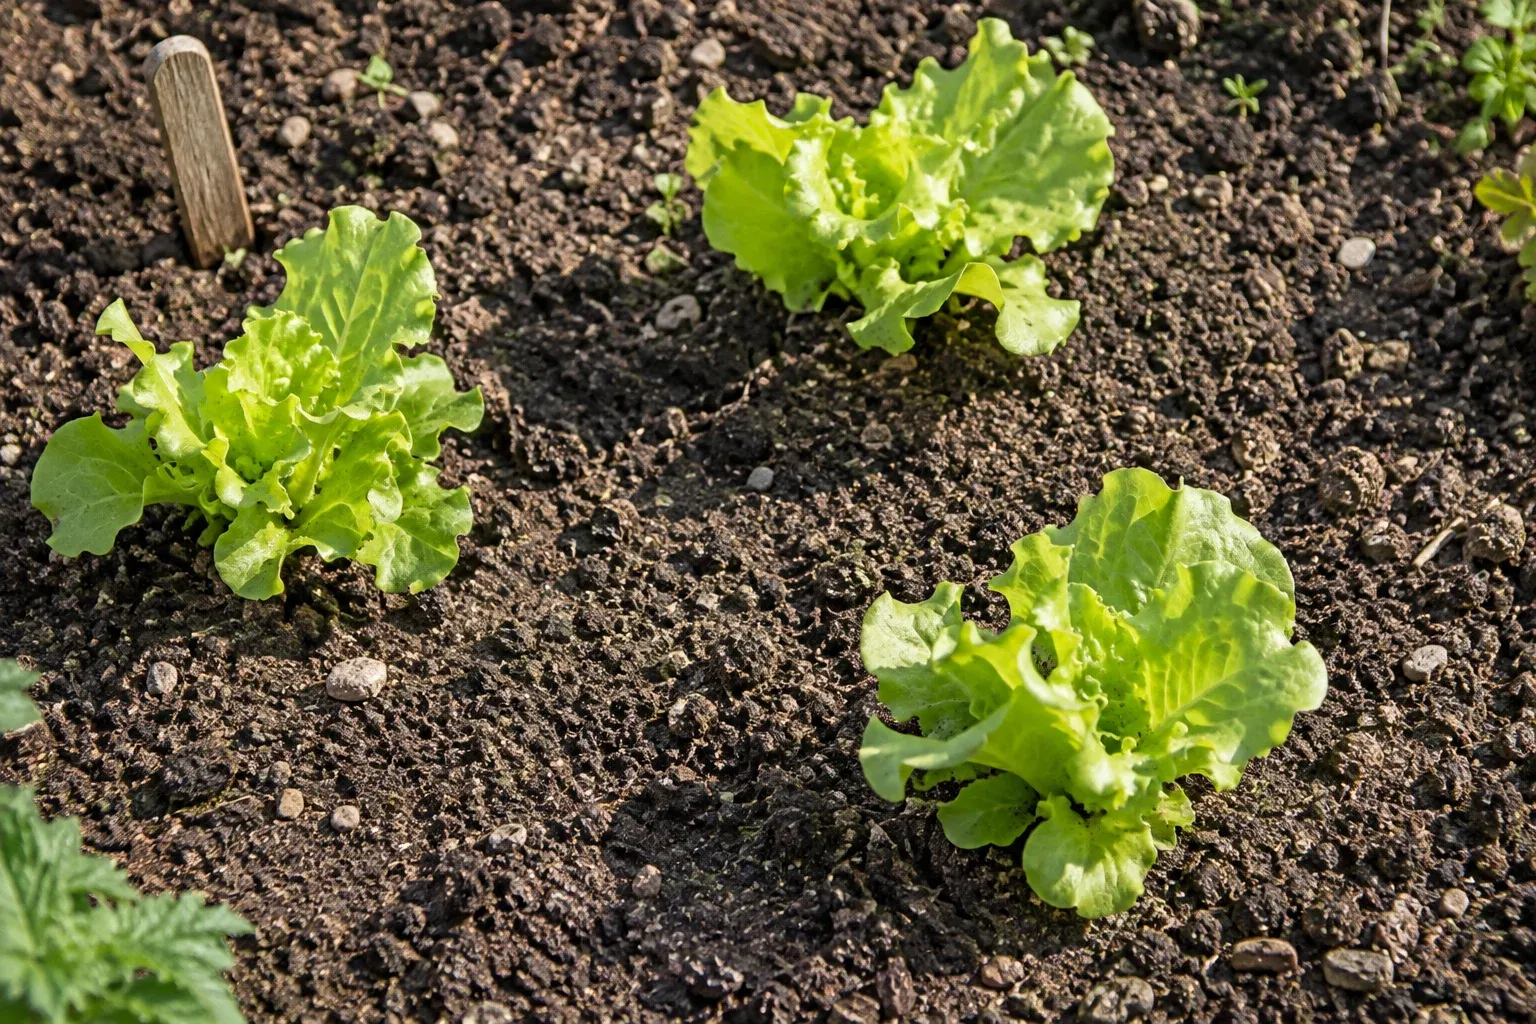
Read the spacing guidance for the particular crop and variety on its seed packet or growing instructions. Draw that occupied area on your plan. Small seedlings make spare soil look wasteful, but the gap is where their growth will go. If the planned number will not fit, reduce the number.
Mark tall supports and spreading growth as well as the plant positions. Check where their shade would fall across neighbouring crops and whether you could still get to the back of the bed. Use a plain marker to keep the planned section recognisable while the plants are small.
Put time on the drawing
Beside each crop, record its local sowing or planting window and its expected harvest period. Follow regional growing advice and the variety's instructions. A calendar from another climate is a reference to investigate, not a planting appointment.
Keep a second copy of the layout for later in the season. Only assign a follow-on crop when its planting window and the previous crop's likely removal date fit. The University of Maryland's succession-planting guide explains how timing changes the use of a growing space. You do not have to fill every gap immediately.
Keep the crop plan beside the garden image
Once the measured crop plan works, Gardenly can help you discuss the broad appearance of planting around the growing area. A render cannot verify crop identity, edible plants, spacing, sunlight or harvest timing. Keep those decisions on your written plan.
Compare any image with your original photo before carrying over a visual idea. Gardenly instructs the model to preserve the house and hardscape, but that instruction is not a guarantee. Take the crop list and marked plan outside again: the useful final check is whether you can reach the soil you have assigned to each crop.