

For useful garden soil testing, choose your test first, then collect representative soil from each distinct planting area using its instructions. Keep different beds separate, label the samples, and save a matching sketch. The result needs to belong to a place you can find again.
Do this before buying plants or spreading amendments. A pH result helps you check whether a plant suits the soil's acidity; a nutrient analysis answers the questions included in that particular test. Neither replaces looking at the bed after rain or checking how much sunlight it receives.
Decide what you need the test to answer
Start with a practical question: can the plants on your shortlist grow in this bed's pH range? A home pH kit may be enough for that first check. If you need nutrient advice as well, read a laboratory's test description before ordering. Different packages measure different things, so keep a copy of what you bought alongside the results.
The RHS guide to soil testing explains pH and the choice between home kits and laboratory analysis. Follow your chosen service's timing advice, especially if you recently added compost, fertilizer or lime. Write down what went on the bed and when; if you are unsure whether to sample now, ask the provider.
A basic gardening test is not evidence that soil is free of contamination. For example, Minnesota lists lead testing separately from its regular test. If previous land use raises that question, ask for advice on an appropriate investigation rather than treating ordinary pH or nutrient results as clearance.
Give each sample a place on your sketch
Draw the beds as simple shapes and give them names you will recognize: front border, vegetable bed, side strip. You do not need a scaled plan. A phone photo with the same names in its notes can help if the borders will move during the redesign.
Keep areas with different soil or treatment histories separate. A raised bed filled with imported material should not disappear into an average of the whole garden. Nor should a troublesome wet corner stand in for an otherwise ordinary border. Mark the corner separately and tell the lab what you are trying to understand.
Before going outside, prepare one record per area with room for the sample ID, collection date and recent additions. Put the same ID on the container and the submission form. A bag marked only "garden" becomes less useful as soon as you collect a second one.
Collect soil using the supplied method
Read the instructions all the way through before digging. Check the required depth, number of collection points, quantity to send, and any drying or packaging rules. Use the method for your intended planting area, rather than borrowing a depth from a lawn test.
The University of Minnesota's sampling guide illustrates why a sample should represent an area: it combines soil from scattered points within a uniform area and keeps differing areas apart. Your laboratory's own directions take priority.
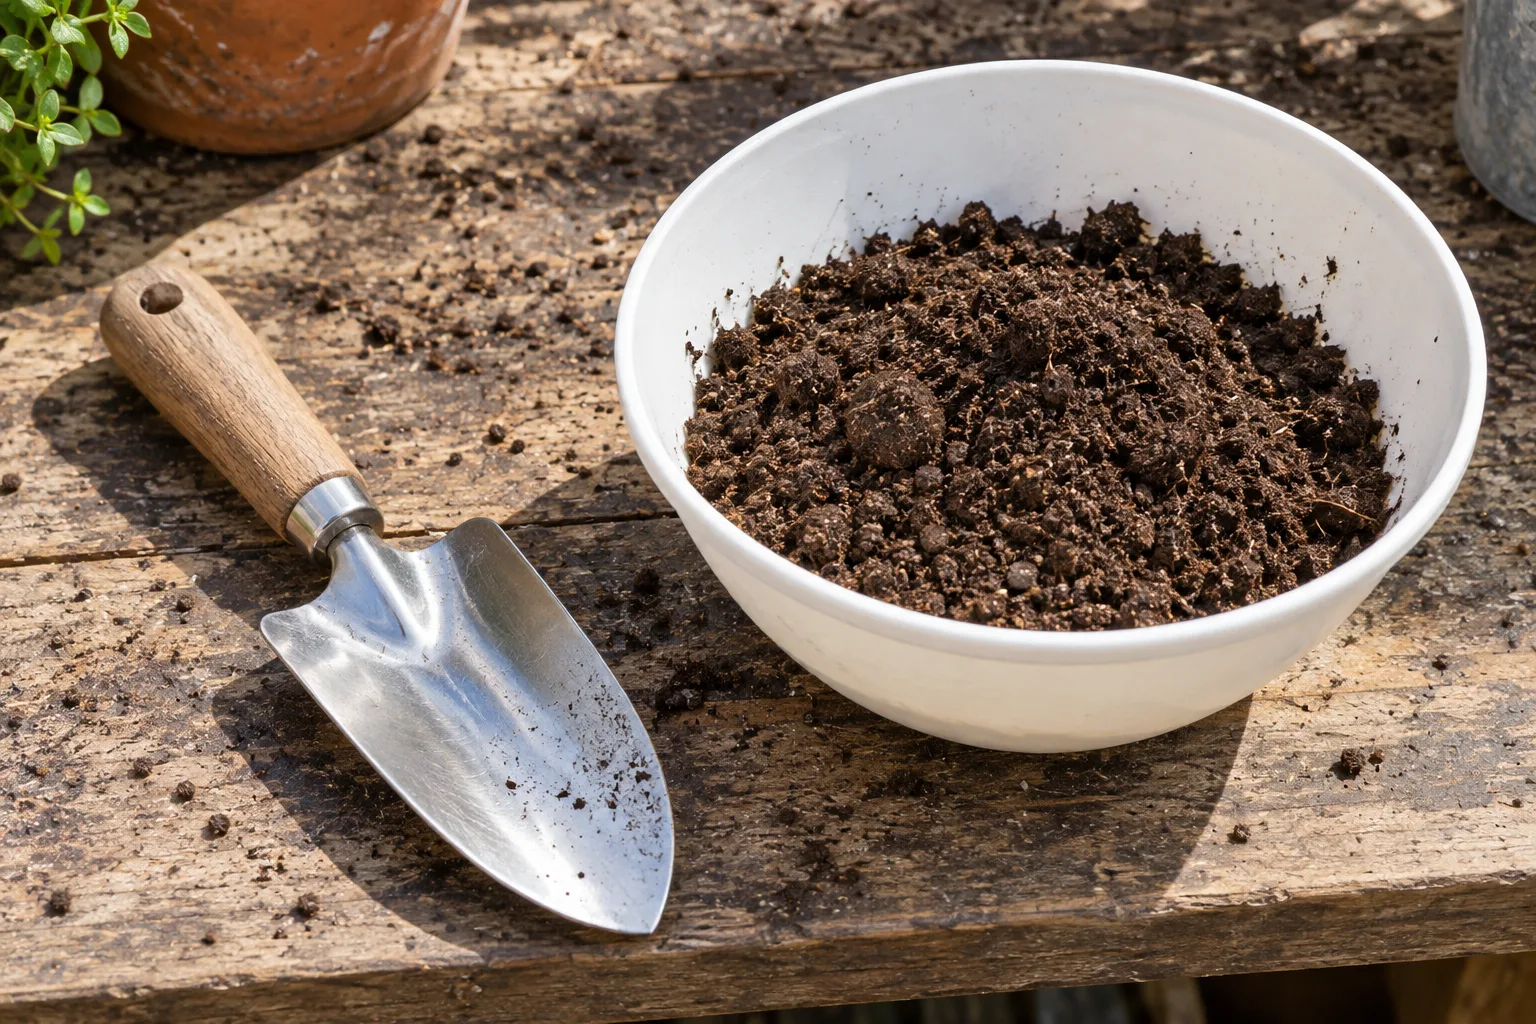
Set out the specified clean tools and container. Work on one area at a time, label it before moving on, and check that the final package matches your notes. Photograph the labelled container beside the relevant part of your sketch. That small administrative step is easier now than reconstructing it when the report arrives.
Keep observations beside the report
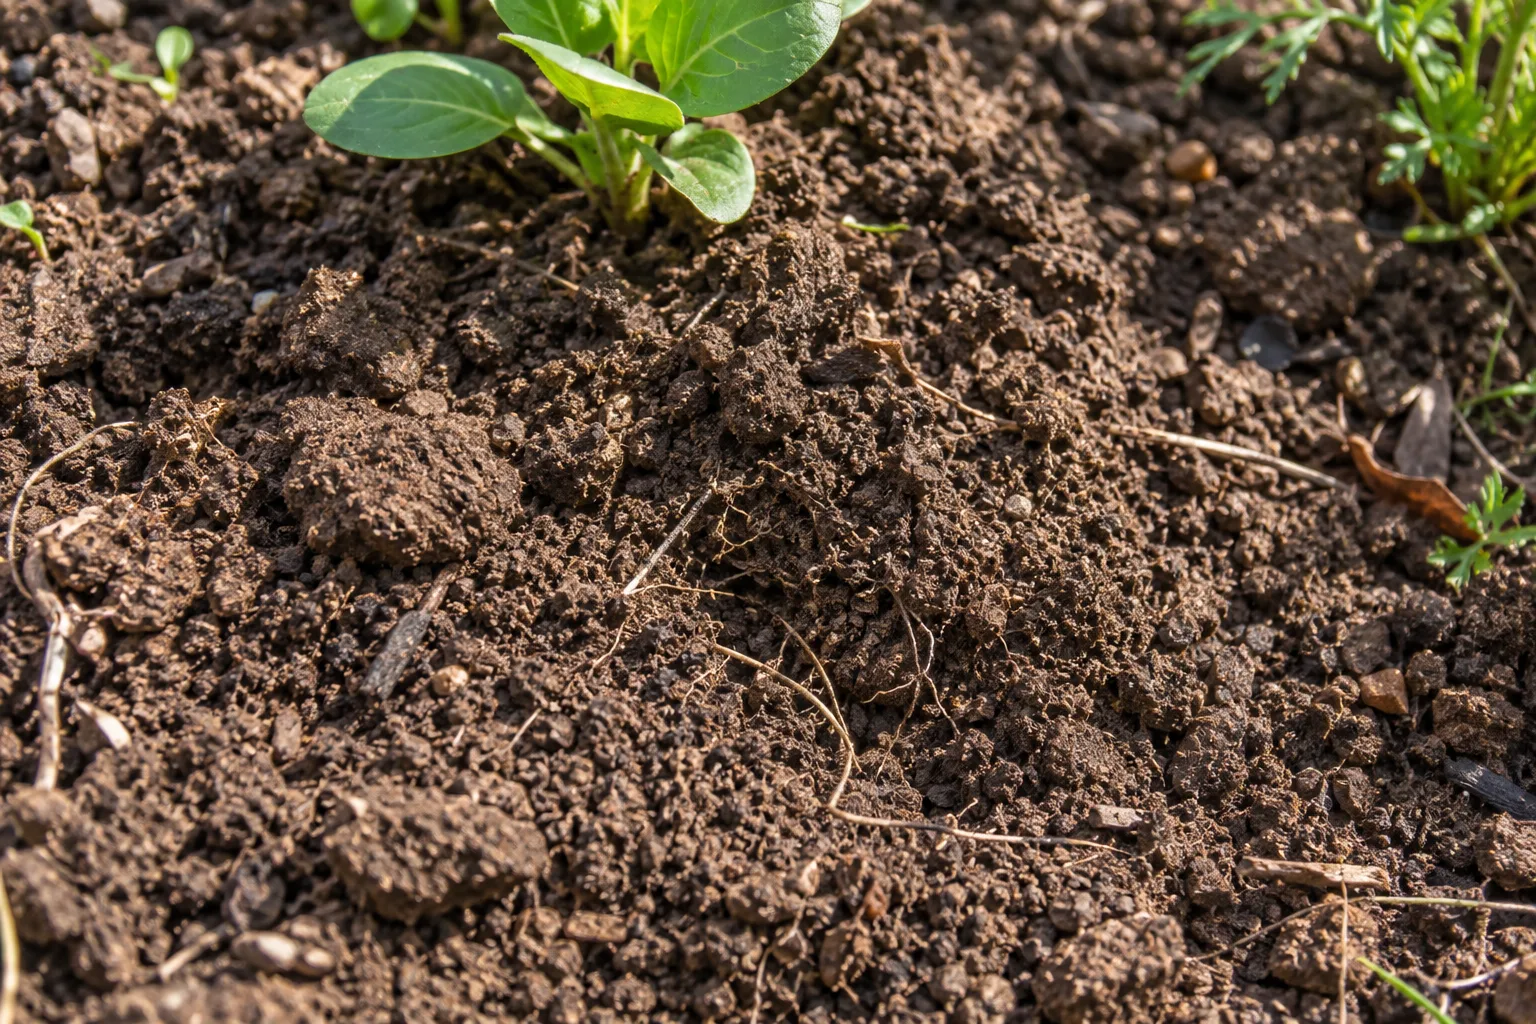
Make a separate space for what you can see and feel: gritty or sticky soil, a crusted surface, roots, and patches that stay wet after rain. These observations are useful context, but they are not pH readings. Likewise, a nutrient result does not show where rainwater travels. Use the garden drainage guide if water is the problem you need to trace.
When results arrive, attach each page to its named bed. Compare the plant shortlist with that bed's reported conditions, and ask the provider to explain unfamiliar units or recommendations before buying amendments. Keep the original report so a later test has a dated point of comparison.
For design ideas, Gardenly can help you explore the appearance of a garden from a photo. Keep your soil notes beside that picture: an AI image cannot establish what is underground. The next step is the plant-choice guide, using the measured conditions to check the plants behind the look you like.