

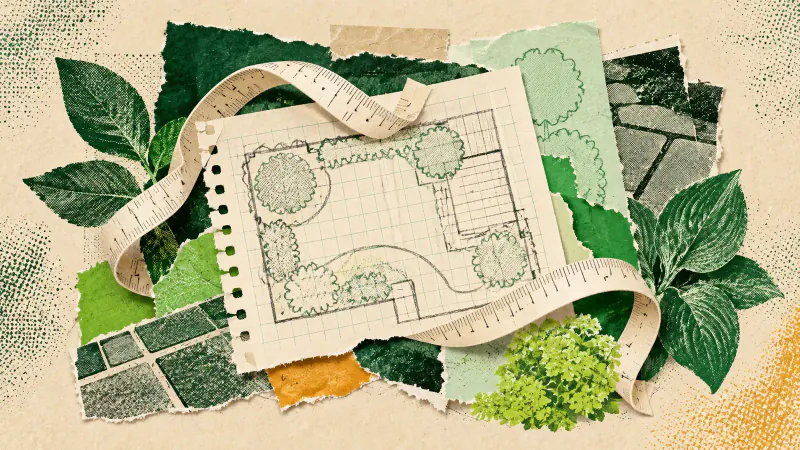
Learning how to measure a garden starts with a rough sketch and a tape measure. Record the space as it is, choose fixed points you can find again, and write down what each measurement connects. Keep your original notes when you draw the cleaner version.
This gives you a useful starting sheet for a new layout or a conversation with a garden designer. Work on ordinary, accessible ground. If a slope, dense planting or an awkward structure prevents a reliable reading, mark that part for help rather than filling the gap with a guess.
Make a sketch you can write on
Take paper, a pencil and a tape long enough for the distances you can reach safely. A helper makes long measurements easier. Leave plenty of room around the sketch for numbers; a beautiful drawing with measurements squeezed into a corner soon becomes hard to use.
Draw the house edge facing the garden, then add the visible perimeter and existing features. Give doors and gates enough space on the page to show where they open. Include the shed, established trees, paving and visible access covers. The University of Maryland Extension recommends recording existing features and access needs before making design decisions.
Use one unit throughout and write it at the top of the sheet. Add the date. Put new ideas on a separate page, so a proposed bed cannot quietly become part of your record of what is already there.
Choose reference points you can find again
Pick two clearly identifiable fixed points with an unobstructed line between them, such as accessible building corners. Label them A and B on your sketch and measure the distance between them. Take a close photograph of each point, especially if several nearby edges look similar.
For an accessible third point, C, measure A to C and B to C. Record both against those labels and show which side of A-B the point lies on. These two distances, together with A to B, let you plot C relative to your starting line. The RHS illustrates this method in its guide to creating a garden plan.
Be precise about the point you mean. The near corner of a shed and its far corner are different places; a measurement ending vaguely "at the shed" leaves tomorrow's drawing with a problem. If your helper holds the tape, agree on the same physical edge before reading it.
Record awkward parts honestly
Work around the garden in a consistent direction and tick off each feature as you measure it. Write readings immediately. If two numbers disagree, keep both visible until you have checked the endpoints and measured again. Don't average away a discrepancy you do not understand.
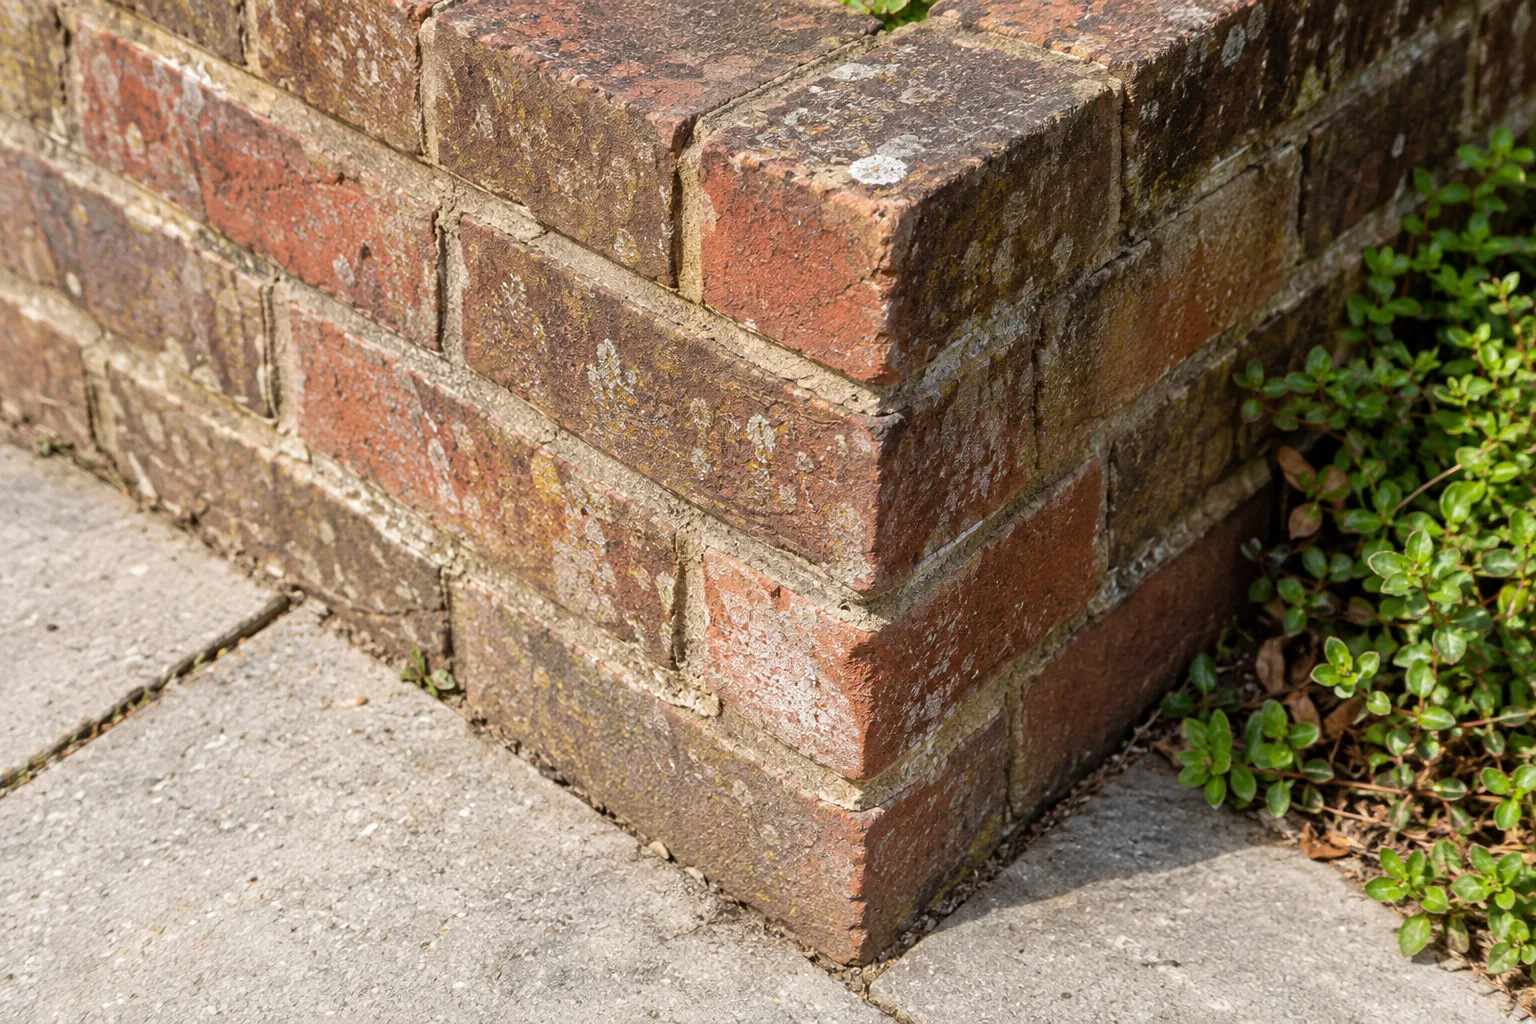
A hedge face is harder to describe than a brick corner. Note whether your sketch follows the outer foliage or another visible edge, and mark approximate outlines differently from measured points. For a curved edge, the RHS guide explains how a straight baseline and perpendicular offsets can locate several points along the curve. Follow its illustrated method rather than treating a curve as one straight distance.
Keep a short list of areas you could not reach or measure confidently. Photograph those areas from safe ground. For changes in level, record what you can see and leave the level measurements to someone equipped for the job. Your first sheet can have unanswered questions.
Draw from the notes, then test the design
Choose a scale that fits the page and write it beside the drawing. At 1:100, one centimetre on paper represents one metre outdoors. Keep a ruler handy and transfer the measurements consistently. If you resize or print the drawing later, check the scale before using it again.
Read the clean drawing against your rough notes feature by feature. Keep the date, original measurements and photographs together, including the uncertainties. Now you can start planning a garden layout around recorded space rather than a remembered impression.
Gardenly can help with the next visual question: how might a different planting mood look on a current photograph? Choose a direction from the garden style gallery, then keep that image alongside your measured notes. The model is instructed to retain the house and hardscape, camera and lighting, but this is not guaranteed.
Never take dimensions from the generated image or alter a recorded measurement to make it match. Bring the notes, source photo and preferred visual direction to your designer or landscaper. They can check the measurements needed for the actual work before materials are ordered or construction begins.