

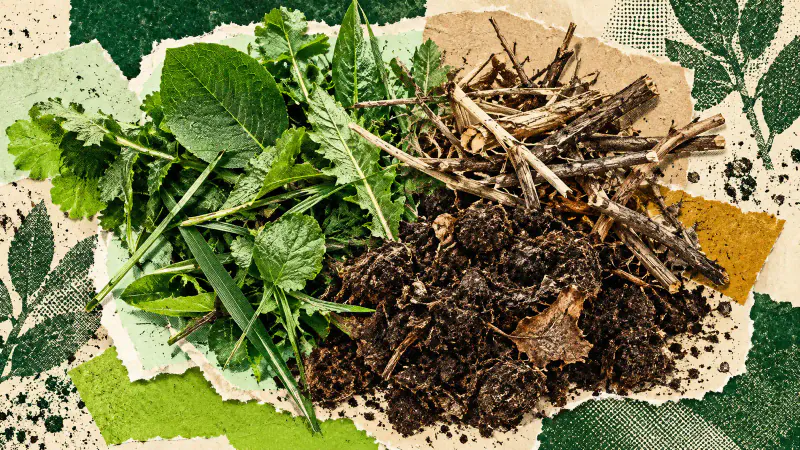
Start garden composting by choosing a bin you can reach easily, collecting a mixture of soft green and dry woody plant material, and checking that the contents have air and enough moisture. Give the finished material somewhere useful to go, such as an existing border. A bin full of clippings is only the beginning.
This guide covers an ordinary outdoor compost bin for garden waste and suitable raw vegetable scraps. A wormery or a specialist food-waste system has different instructions. Before buying anything, spend a week noticing what you actually throw away. A small paved courtyard and a garden with a lawn produce very different ingredients.
Make room to fill and empty the bin
Put a bucket where you think the bin should stand. Carry your usual garden waste to it, then imagine removing finished compost with a spade. Can you open the lid, stand comfortably and set down a container? Leave that working space on your garden sketch; the bin's footprint alone is misleading.
A sheltered, shaded position helps avoid extremes of drying and wetting. The RHS composting guide recommends easy access and explains how different bin sizes suit different amounts of waste. Check the bin manufacturer's base and drainage instructions before placing it.
Avoid choosing a large system merely because it looks purposeful. Compare the material you collect with the space you can spare. Oregon State University's guide to composting systems sets out options for different materials and levels of involvement. Choose one whose routine you can keep up.
Collect a mixture, then check the exclusions
Soft green clippings and raw vegetable peelings supply different ingredients from dry leaves and chopped woody stems. Keep a small reserve of dry material beside your composting area so it is available when a bucket of fresh clippings arrives. Break long pieces down before adding them. The EPA's home composting guidance covers this preparation and the balance of materials.
For a first batch, keep the ingredients uncomplicated. Leave out meat, dairy, pet waste, diseased plants, invasive weeds and weeds carrying seeds. Keep packaging out too, including items marked compostable; that label does not mean an ordinary garden bin can process them. Use your local waste guidance for anything you exclude.
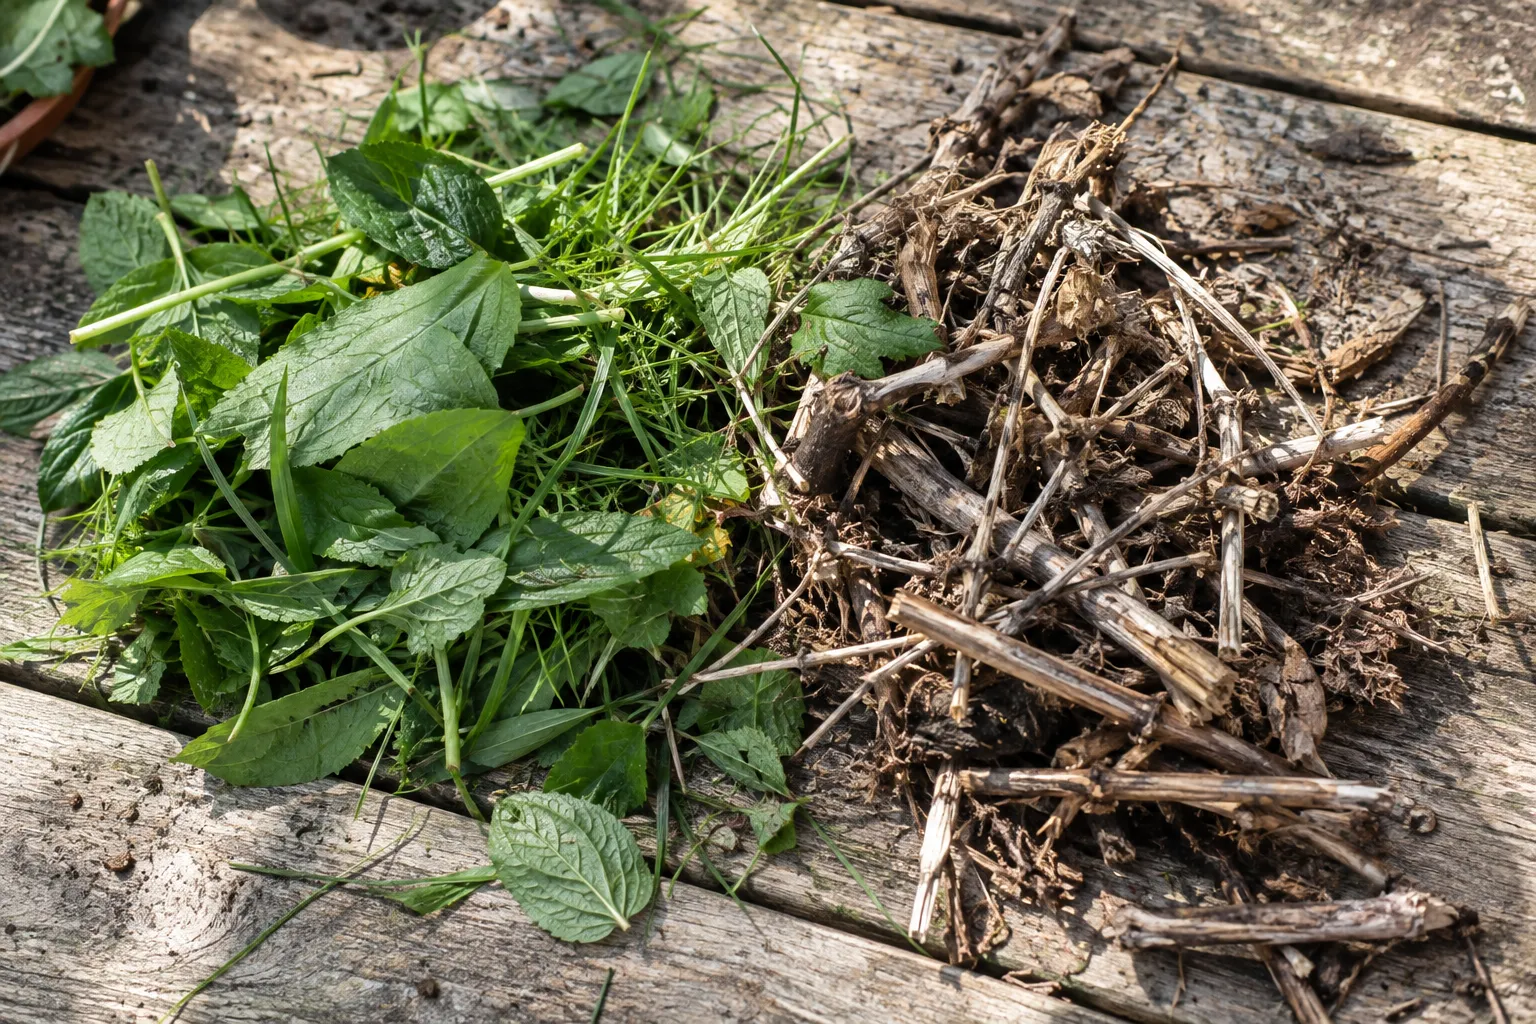
Decide where rejected material goes before you start tidying a border. Two containers at the work area are easier to manage than picking unwanted pieces out of a full bin afterwards. If you cannot identify a plant or suspect a disease, leave that material out while you check.
Read the contents when you add material
Lift the lid and look below the fresh top layer. Is the material loose enough to mix, or has it become a dense wet mat? Is the inside drying while the surface looks fine? Make this a brief part of adding each batch, rather than waiting until the bin smells.
The RHS describes two useful clues: wet, unpleasant-smelling contents need more air and dry material; very dry, fibrous contents need moisture and more green material. Follow the mixing method suited to your bin. An enclosed container that cannot be emptied and refilled needs a different routine from an open bay.
Keep a short note of what you changed and check again on your next visit. Do not respond by buying several additives at once. That makes it harder to tell whether the basic mixture and moisture have improved.
Give finished compost a specific job
Wait for a dark, crumbly material with an earthy smell, rather than declaring the batch ready on a calendar date. Recognisable woody pieces can go into the next batch. The RHS notes that smaller bins and cold conditions can make the process slower.
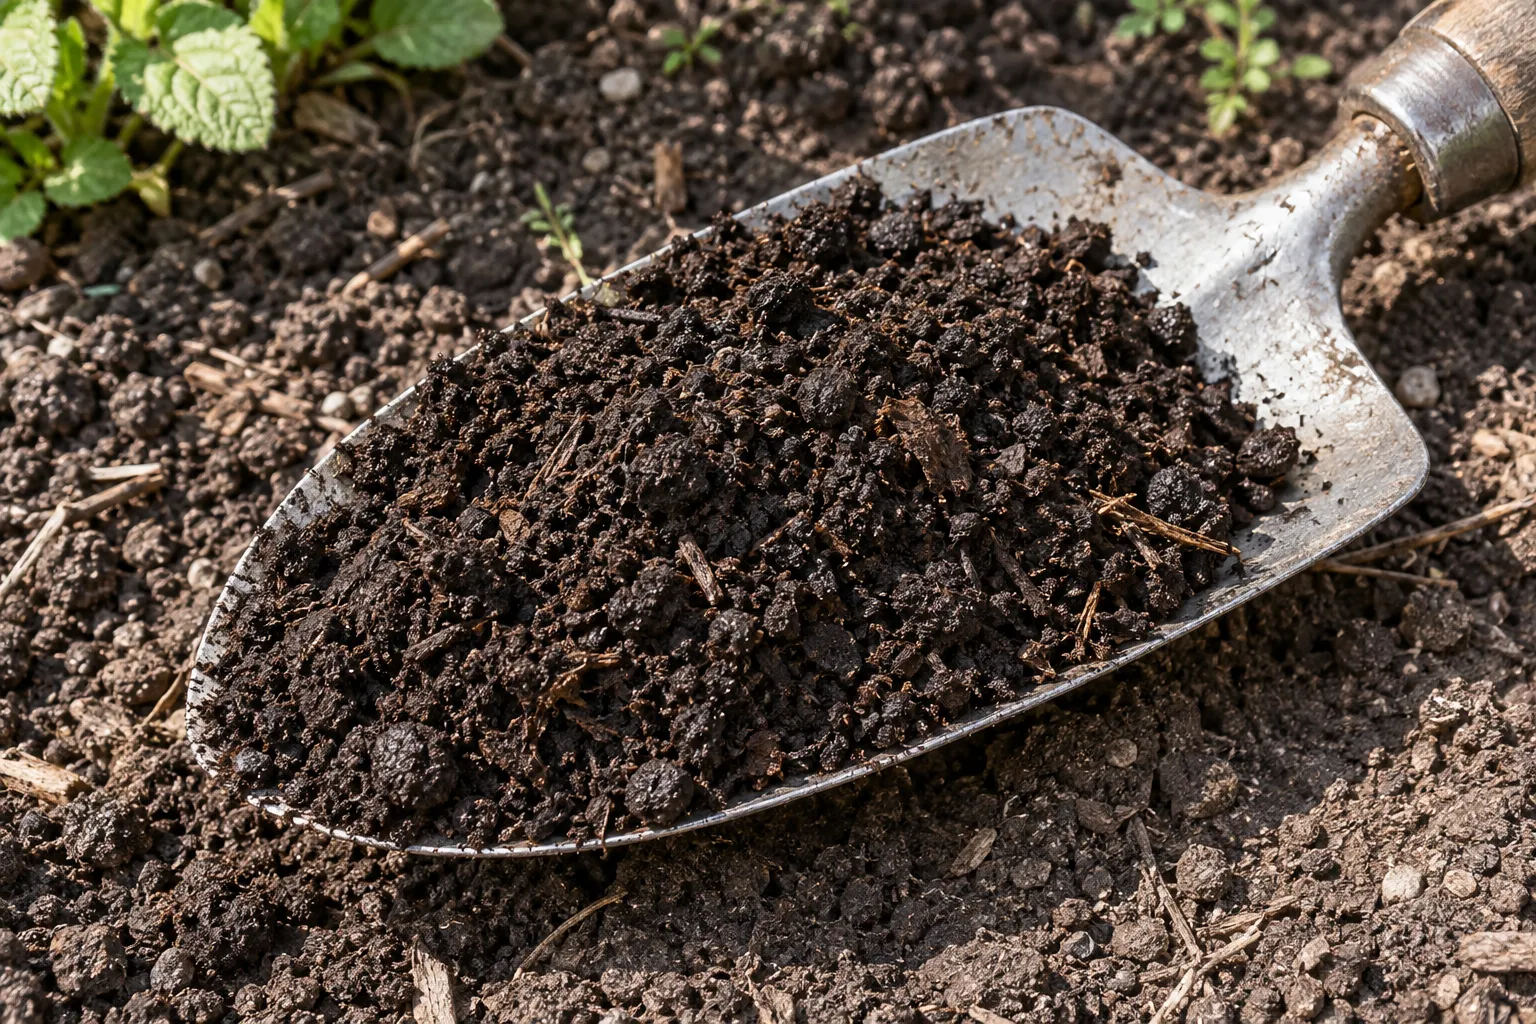
Plan its use around the soil and plants you have. Oregon State University's compost application guide explains why the amount and suitability matter. Homemade garden compost is a soil amendment, not a universal replacement for container potting mix. Our container gardening guide covers that separate choice.
If you are also changing the surrounding planting, Gardenly can help you explore its visual direction from a photograph. Keep the composting routine on your real garden plan: an image cannot tell you whether a batch is ready or whether you can comfortably empty the bin. Test that with the actual tools before planting around it.