

Useful sloped backyard ideas start by separating visual choices from construction decisions. You can explore where one usable area might sit, how a route could feel and whether planting should read as one broad mass. You cannot read the slope, soil, runoff or wall loads from a photograph.
That distinction is worth making early. Gardenly can place a style over your photo so you can compare broad relationships. It does not produce measurements, grading, drainage, retaining-wall details or a safe step layout. Those need a measured survey and qualified local advice before anyone digs.
Record the slope before you sketch
Walk the garden on a dry day and again after rain. Mark doors, gates, existing steps, walls, drains and the places where you already cross the slope. Note puddles, washed soil, exposed roots and damp patches. They are clues to investigate, not proof of a particular drainage problem.
The RHS drainage guide recommends identifying where drainage is poor and where surplus water could actually go before installing anything. It also treats large piped systems as skilled work. A nice line on a concept image cannot answer either question.
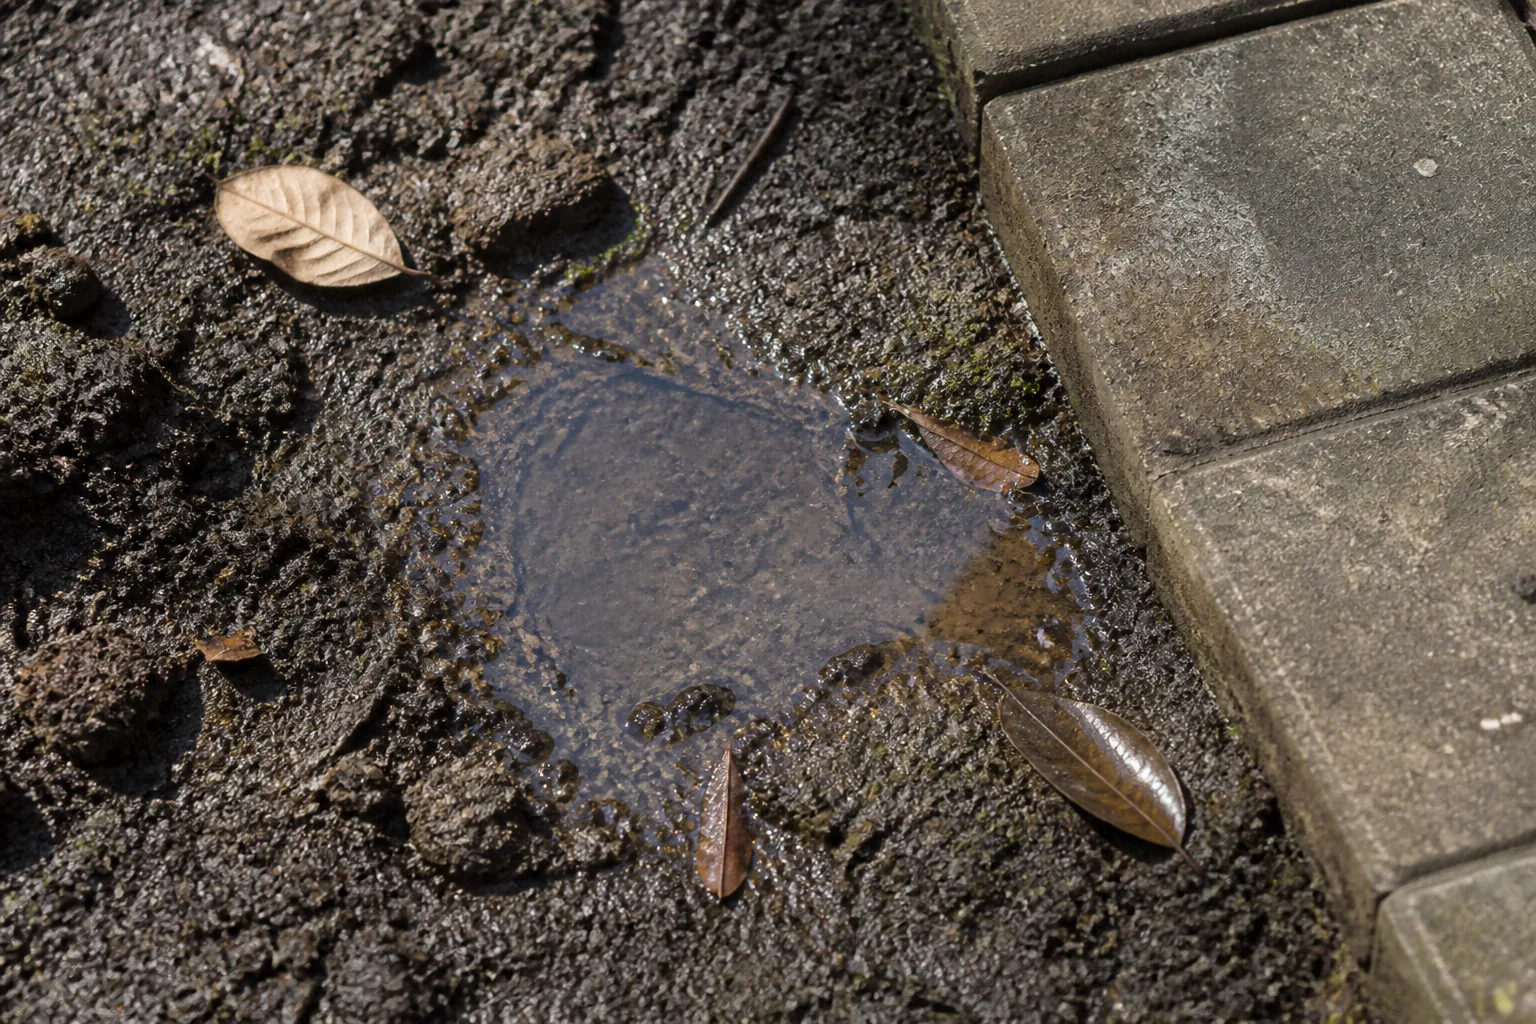
Keep the record plain: one current photo, a rough plan with visible level changes and a short list of unknowns. If a wall leans, a bank moves, water collects against a building or erosion is active, pause the design exercise and get the site assessed.
Choose one useful level and a route
A slope becomes easier to discuss when one area has a clear job. It might be a modest sitting place, a working patch near the shed or open ground where children play. Place that zone where access already makes sense instead of forcing it into the most dramatic part of the garden.
Then trace the route to it. Think about the trip with a bin, watering can or chair, not just an empty-handed walk on a sunny day. The published guide to garden path ideas explains how to test width, turns and surface junctions once the route itself is known.
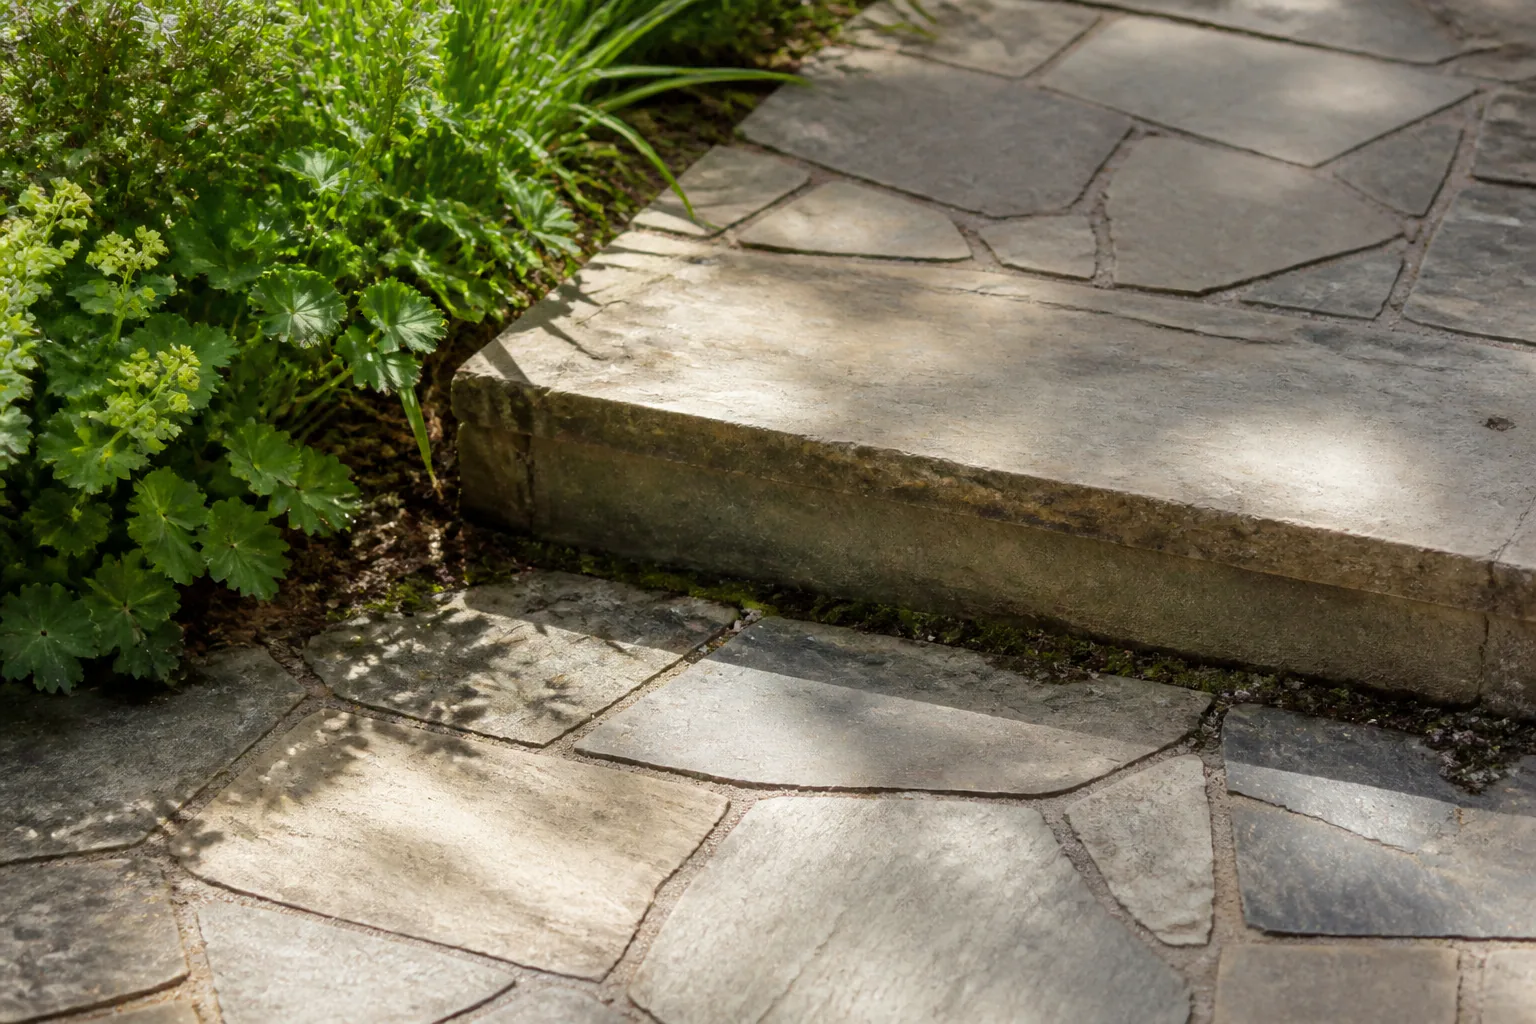
Do not size steps or invent new levels from the image. The Mississippi State University Extension guide to gardening on steep slopes warns that larger retaining structures need expertise and proper drainage, and that local codes should be checked. Stability, risers, guards, permits and construction all belong in that measured conversation.
Test planting mass, not a plant list
Once the useful zone and route are clear, look at the remaining incline as a few large visual areas. A lower carpet, a looser middle layer and one denser shrub mass may be enough to compare balance. Keep some soil visible in your notes so the practical questions do not disappear under attractive leaves.
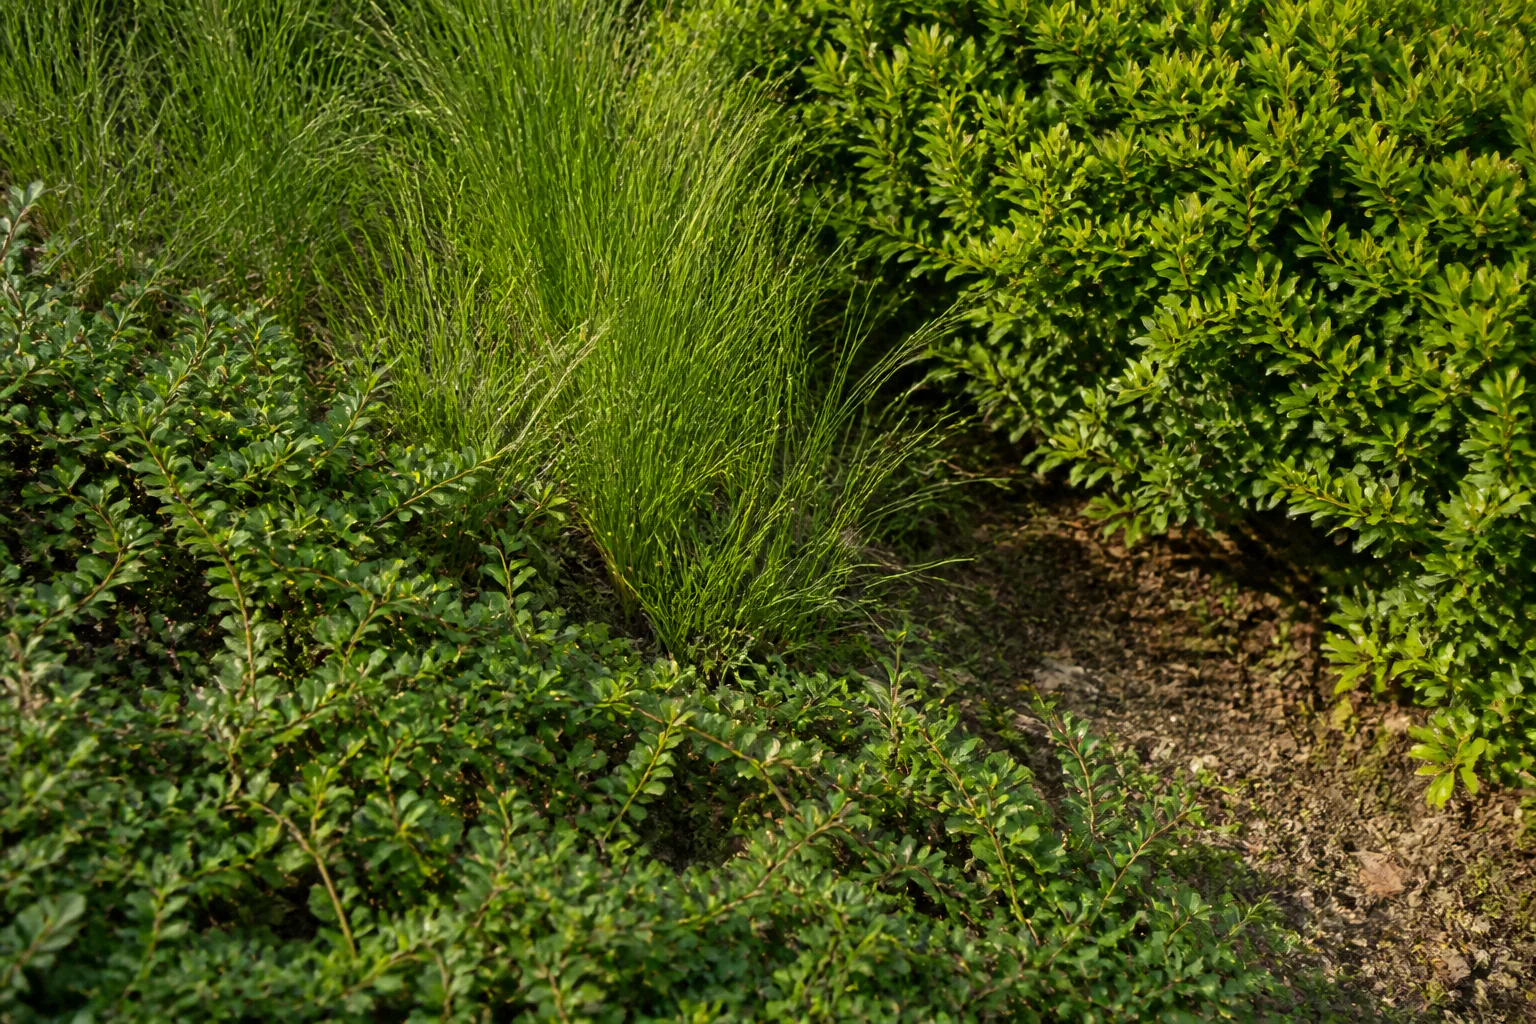
A render can suggest height, density and repetition. It cannot identify what will root safely on your slope or suit the soil, light, climate and maintenance. Use the same site checks described in the shade garden guide, then ask a local professional or nursery to turn the chosen structure into real plants.
Treat the render as a conversation image
Choose a photo that shows the useful zone and the visible change in level without hiding the existing route. In Gardenly, select one style and generate a direction from that photo. The model is instructed to keep buildings, walls, paths, hardscape, camera position and lighting unchanged, but that instruction is not a guarantee. Compare every edge with the original.
Judge only what the image can reasonably show: the amount of open ground, the balance between planting and paving, the visual weight of materials and whether the useful area feels connected to the rest. Ignore any invented wall, altered step or implausibly level surface.
Share the original photo beside the render, plus your rough plan and list of unknowns. Ask the landscaper or designer to measure the slope, trace water movement and check whether the route and useful zone can be built safely. The picture starts that conversation. It does not settle it.