

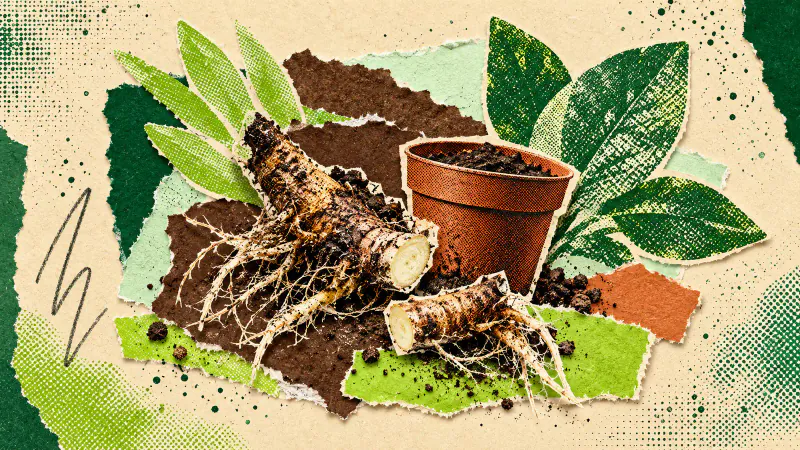
Take root cuttings from a suitable dormant perennial by removing a few healthy roots, cutting them into sections and planting them the right way up in a freely draining potting mix. Each section has to produce a new plant. Start with a small batch and leave the parent with most of its roots intact.
This is a job for an identified plant, such as an Oriental poppy, rather than any root found while digging. It grows shoots from pieces of root. Our guides to hardwood cuttings and dividing perennials cover different starting material: woody stems and whole rooted pieces respectively.
Confirm the plant and its season
Check the original plant label before lifting anything. The RHS Oriental poppy profile recommends root propagation in late autumn and early winter for that group. It also notes that seedlings may differ from their parent, which matters when you want another plant like the one you already enjoy.
Follow species and local guidance. A calendar date alone does not show whether a plant is ready. University of Florida Extension describes late winter or early spring collection before growth starts. Regional methods differ; choose one appropriate to your plant and climate, including its overwintering conditions.
Decide where the pot will stay before you begin. Put the plant name in your notebook, with space to record the collection date and anything you notice next spring. If you cannot identify the plant or provide its required conditions, leave it alone for now.
Prepare the pot before lifting
Use a clean pot with open drainage holes, fresh propagation mix, a blank label and a clean, sharp cutting tool. Set them on a clear working surface where roots will not get mixed with prunings. The NC State propagation handbook describes a rooting medium that drains and retains some moisture while leaving air around the material.
Prepare enough mix for one modest batch. A second empty pot nearby is useful if you discover you need more room; pressing every cutting into the first container makes inspection awkward. Moisten the mix and allow surplus water to drain.
Keep one plant's material on the bench at a time. Add its name to the label now, while there is no doubt which plant you have. An empty pot with a name is easier to correct than an anonymous pot full of buried roots.
Take a few sound roots and mark their direction
For the RHS thick-rooted perennial method, lift a vigorous dormant clump and wash away soil so you can inspect the roots. Select young roots roughly pencil thickness. Take no more than one-third of the root system and replant the parent promptly. Stop sooner if you already have enough material.
Trim away fine side roots and the thin tip. Cut the selected roots into sections about 5 to 10 cm long. Keep track of which end was nearest the crown, where stems meet roots.
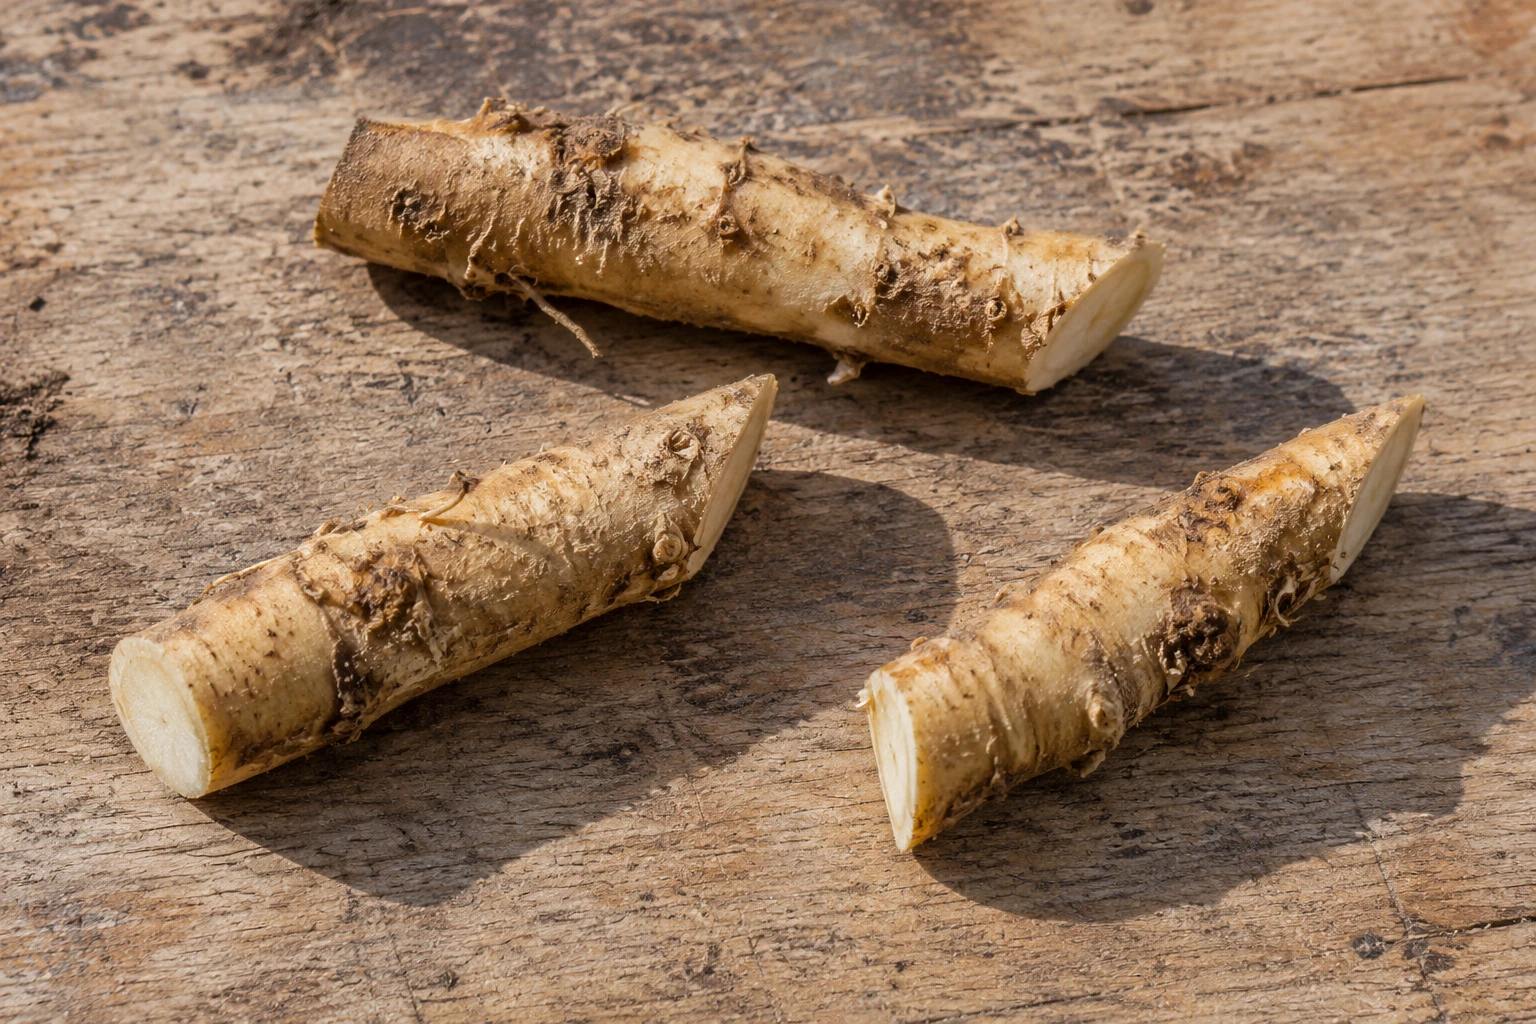
The NC State root-cutting guide describes making the crown end straight and the distant end slanted. Lay the pieces facing the same direction as you work. This marks orientation without relying on memory once several similar pieces are on the board.
Plant, label and let the batch develop
Follow the RHS container method for these thick perennial roots: insert them vertically, straight end uppermost and just beneath the mix surface, about 4 cm apart. Add roughly 1 cm of horticultural grit, water lightly and place the pot in a cold frame. Thin-rooted plants need a different, horizontal method; do not shorten their roots to copy this example.
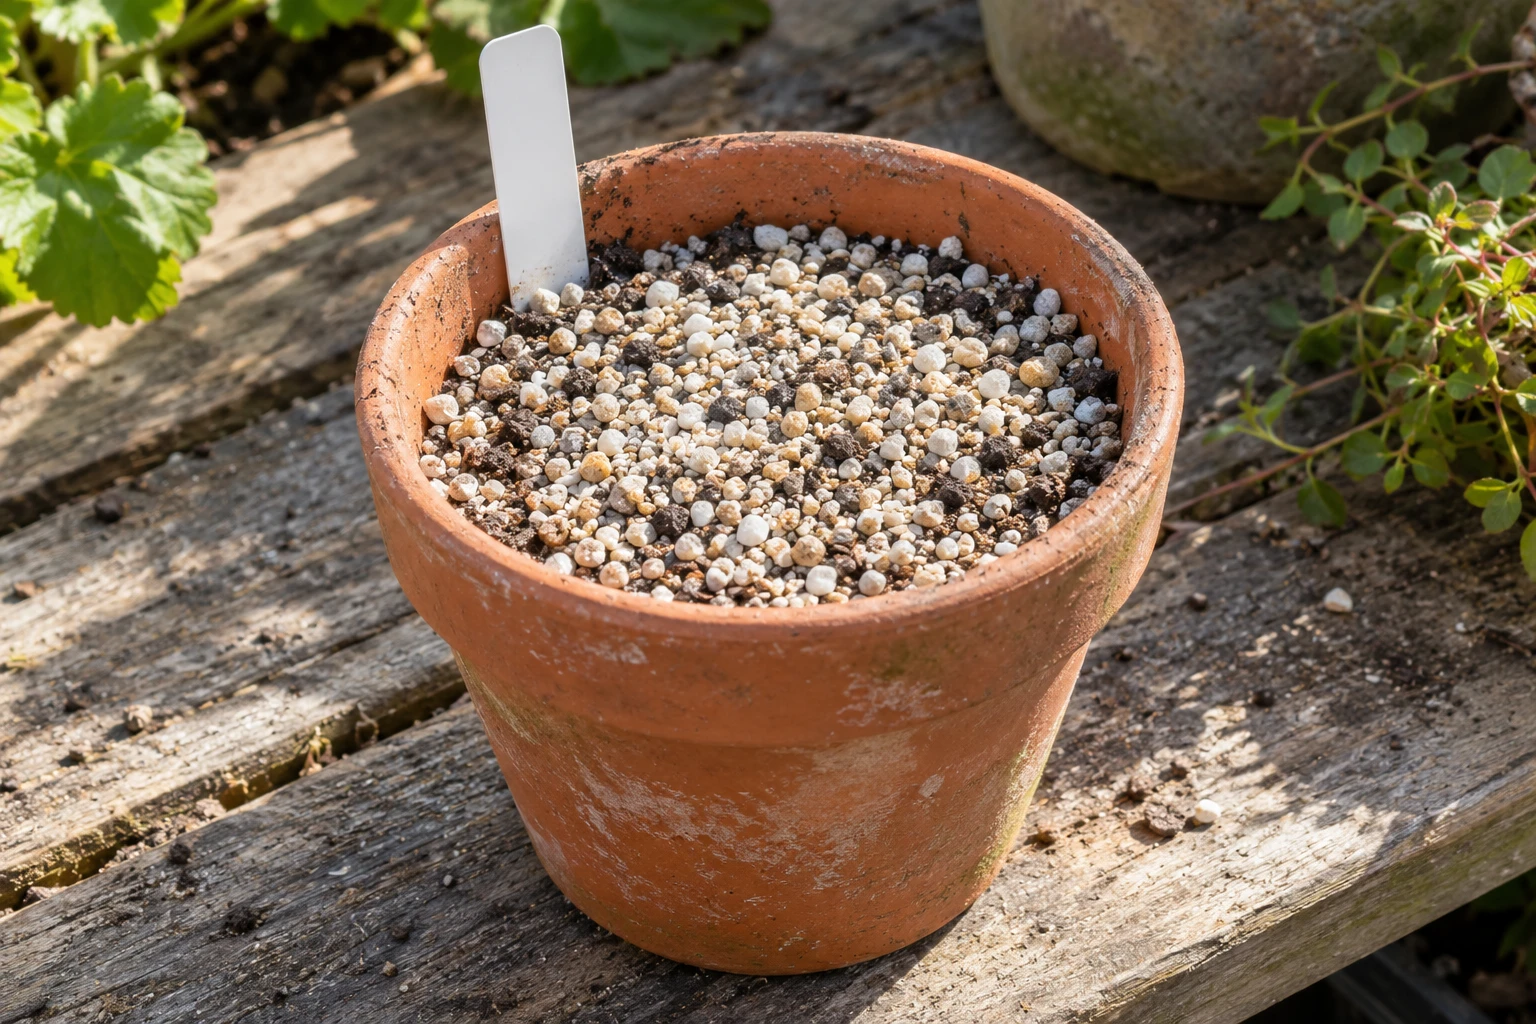
Keep the plant name and date with the pot. Check moisture through winter and avoid keeping the mix saturated. In spring, wait for both growth and a developed root system before potting plants separately. The RHS method grows them on for planting out the following year, so leave room for that extra stage.
For the eventual border's appearance, Gardenly can explore planting shapes from a garden photograph. Keep propagation notes beside the real pots. A garden render cannot identify root material or tell you whether the cuttings have established.
