

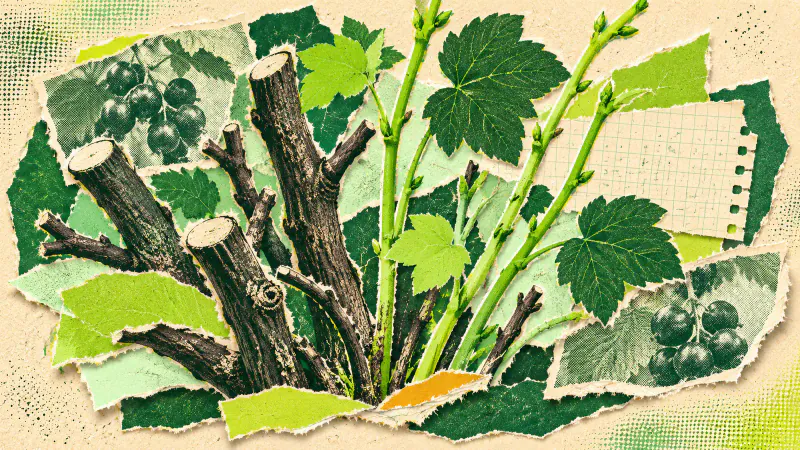
For an established bush, pruning blackcurrants means removing selected old stems near the base and keeping strong younger growth. Start with a plant you know is a blackcurrant, Ribes nigrum. Redcurrants, whitecurrants and a newly planted bush need different treatment.
November is a useful time to identify the stems and find your local pruning guidance. It does not give every garden the same cutting date. This guide covers routine renewal of a healthy, established bush, rather than rescuing a badly neglected plant or training a new one.
Confirm the bush and the local timing
Check the plant label or your purchase record. If the identity is uncertain, take photographs to a nursery before cutting. A leafless berry patch is a poor place to rely on memory. Put a durable label beside the correct plant once you have confirmed it.
The RHS blackcurrant guide recommends winter renewal pruning for bushes aged four years or more. Its treatment of young plants is different. If yours has only recently settled in, use its age-specific instructions.
Regional timing matters. University of Minnesota Extension advises pruning established currants between late winter and early spring, after the risk of extreme winter temperatures and before new growth. Follow advice for your climate and cultivar. If that means waiting, use this visit to record the bush and prepare the tools.
Find the old stems before choosing a cut
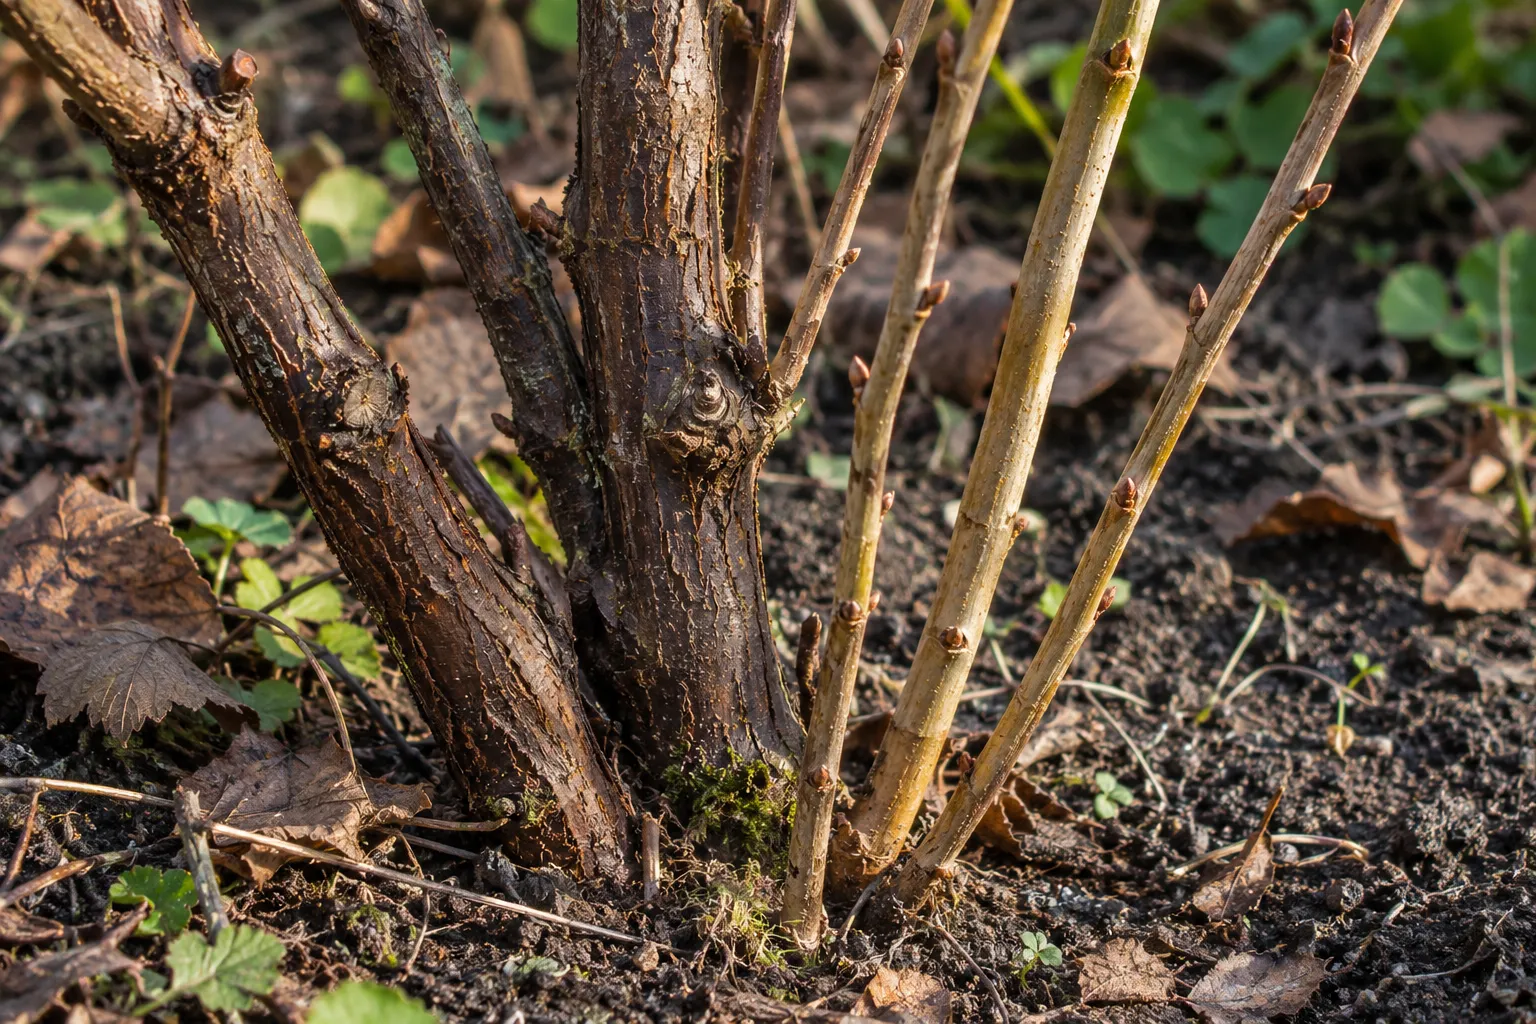
Look at the base from more than one side. Trace each main stem upward with your eyes, then back down to its origin. A branch passing across the front may start on the far side. Moving around the bush can change which stem you thought you were following.
Older blackcurrant stems are generally thicker and darker than the younger shoots. The RHS recommends removing up to a third of the oldest stems on an established bush. Keep the strong younger growth that will replace them. Blackcurrants crop best on young wood, so shortening every stem to one neat height would remove useful growth.
Make a short note of the stems you intend to remove. Count main stems at the base, not every small side branch. If you cannot separate old wood from weak young growth with confidence, ask a fruit grower to look at the plant before you proceed.
Remove selected stems with room for the tool
Prepare clean, sharp cutting tools and read their instructions. Small stems may suit hand pruning shears; thicker old wood can need loppers or a pruning saw. Check the actual stem diameter and the space available to operate the tool.
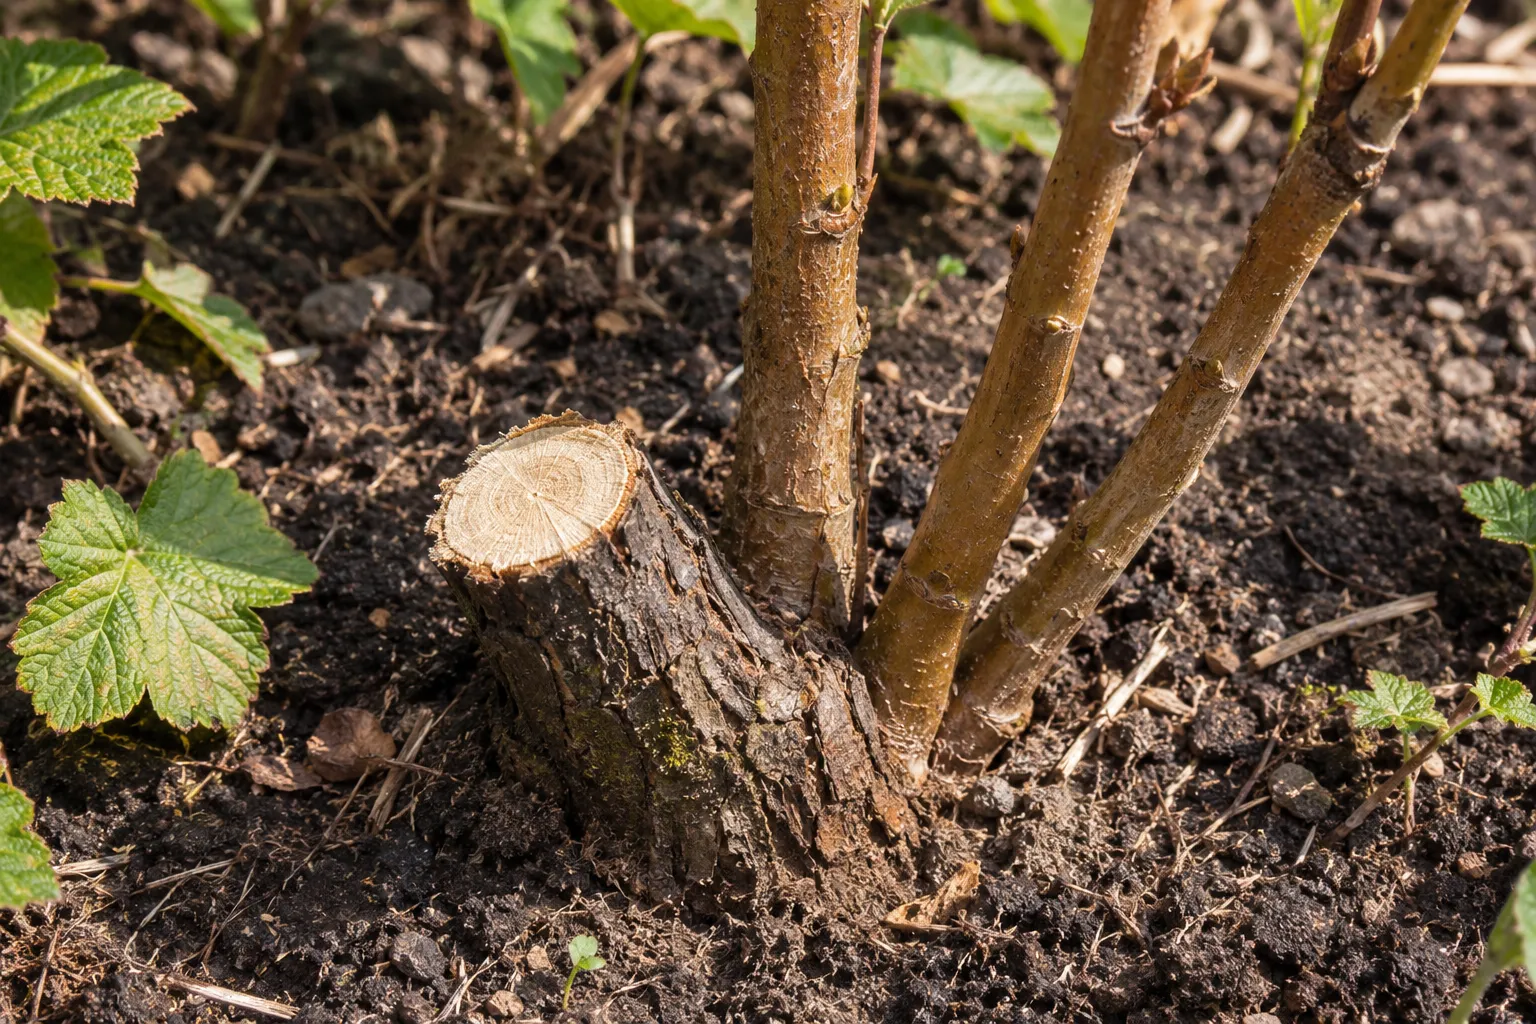
At the locally suitable dormant time, work on one selected stem. Find its base again before closing the blades. Keep neighbouring shoots clear of the cutting path. If the tool will not fit or the cut needs excessive force, stop and change the approach or seek help.
Cut the selected old stem low at its base. The RHS advises cutting just above an outward-facing bud where one is visible. Remove the severed branch carefully, then inspect the remaining plant before choosing another. Keep a count as you work so a few large branches do not turn into a general clear-out.
Record what remains and check spring growth
Collect the prunings and clear the working area. If you find unexplained dieback, unusual buds or damaged wood, photograph the symptoms and obtain local advice before continuing routine pruning. Keep suspect material separate while you establish how to dispose of it.
Take a photograph from the same position as your first record. Note the date and which old stems came out. In spring, check where replacement shoots appear and keep the record for next winter. This makes the next decision easier than trying to remember the age of every branch.
For ideas about the surrounding planting, Gardenly's styles can help you compare broad appearance on a garden photo. A generated design cannot identify the bush, date its wood or choose a pruning cut. Keep the real plant record beside any visual ideas you save.
