

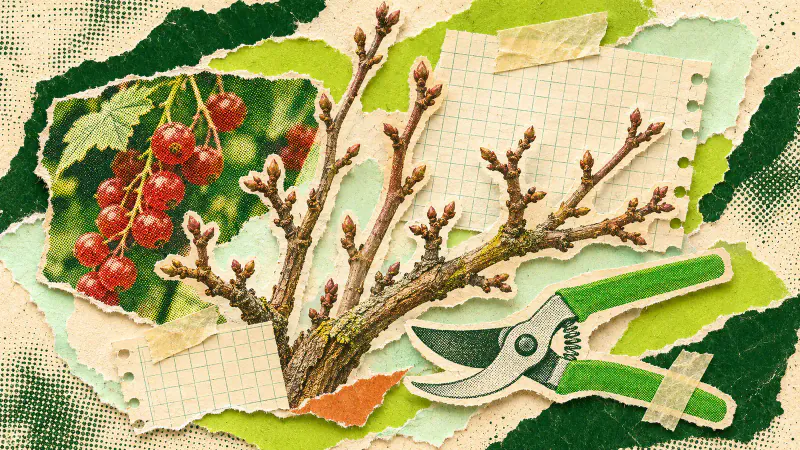
For an established redcurrant bush, keep a useful framework of main branches and shorten the side shoots that grow from it. Work while the plant is dormant, at the time advised for your region. Prepare for pruning red currants by identifying branches now and having tools ready for a later winter visit.
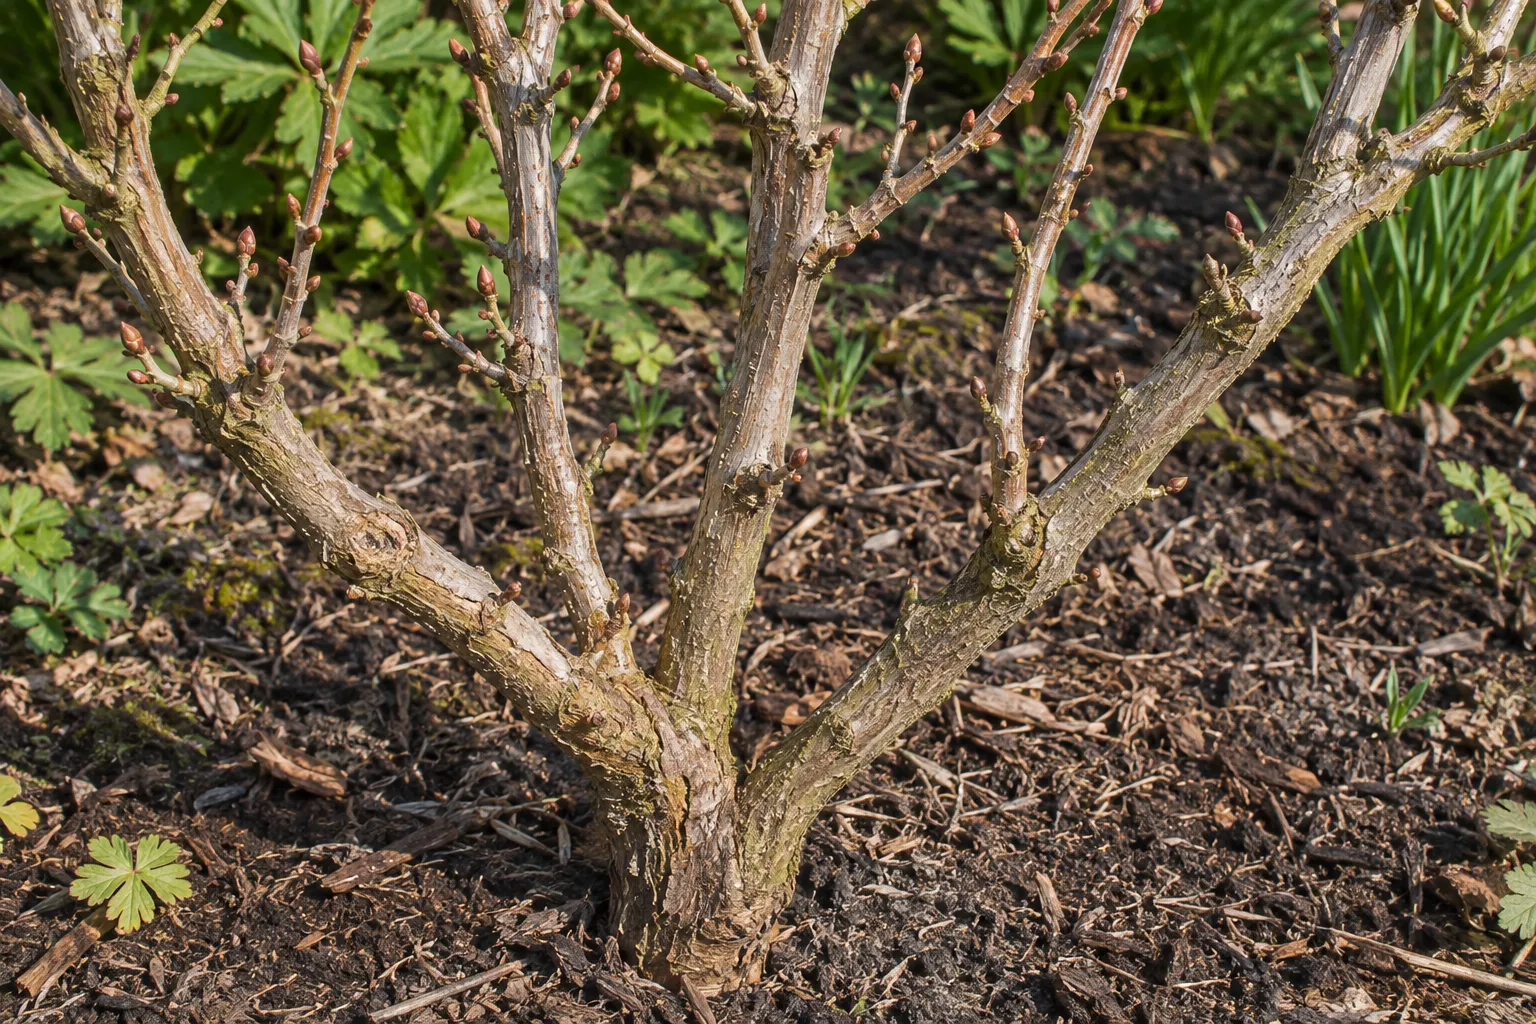
This guide follows the open-centred bush method, with main branches spreading from a short trunk. A newly planted bush, a neglected tangle or a plant trained flat against wires needs its own instructions. Check the label and previous photographs before making cuts.
Confirm the plant and the season
Redcurrants carry fruit on short shoots on older branches and at the base of the previous year's growth. Those short fruiting shoots are called spurs. Keep them in mind as you look through the bare branches. A knobbly section of older wood can still have a useful job.
Blackcurrants need a different renewal routine. If your label says blackcurrant, use our blackcurrant pruning guide before choosing stems to remove. Do not apply the same cutting pattern to both plants just because they stand beside each other.
The Royal Horticultural Society redcurrant guide places routine pruning in late winter to early spring, before growth starts. In colder regions, University of Minnesota Extension advises waiting until the risk of extreme winter temperatures has passed. Use local advice for your cultivar and climate. Leaf fall alone does not set a pruning date.
Trace the branches you intend to keep
Take a photograph before pruning. Start at the short trunk and follow each main branch towards its tip. Identify the thinner side shoots growing from it. Look from another side when two branches cross in the photograph; they may be well apart in the real bush.
Check which growth belongs to last season. Nursery advice or an experienced fruit grower can help if you cannot see the boundary between older wood and the latest extension. Ask before shortening a branch whose role you cannot identify.
Choose useful young shoots that can replace an old branch later. Leave those intact when you shorten ordinary side shoots. Put the planned replacement on your photograph so you can find it again after removing nearby growth.
Make the cuts in separate passes
Use clean, sharp tools suited to the branch thickness. Our hand pruner guide explains fit and cutting limits. Check that you can place the blades without trapping another shoot. Keep your free hand clear and stop if the tool needs force beyond its intended use.
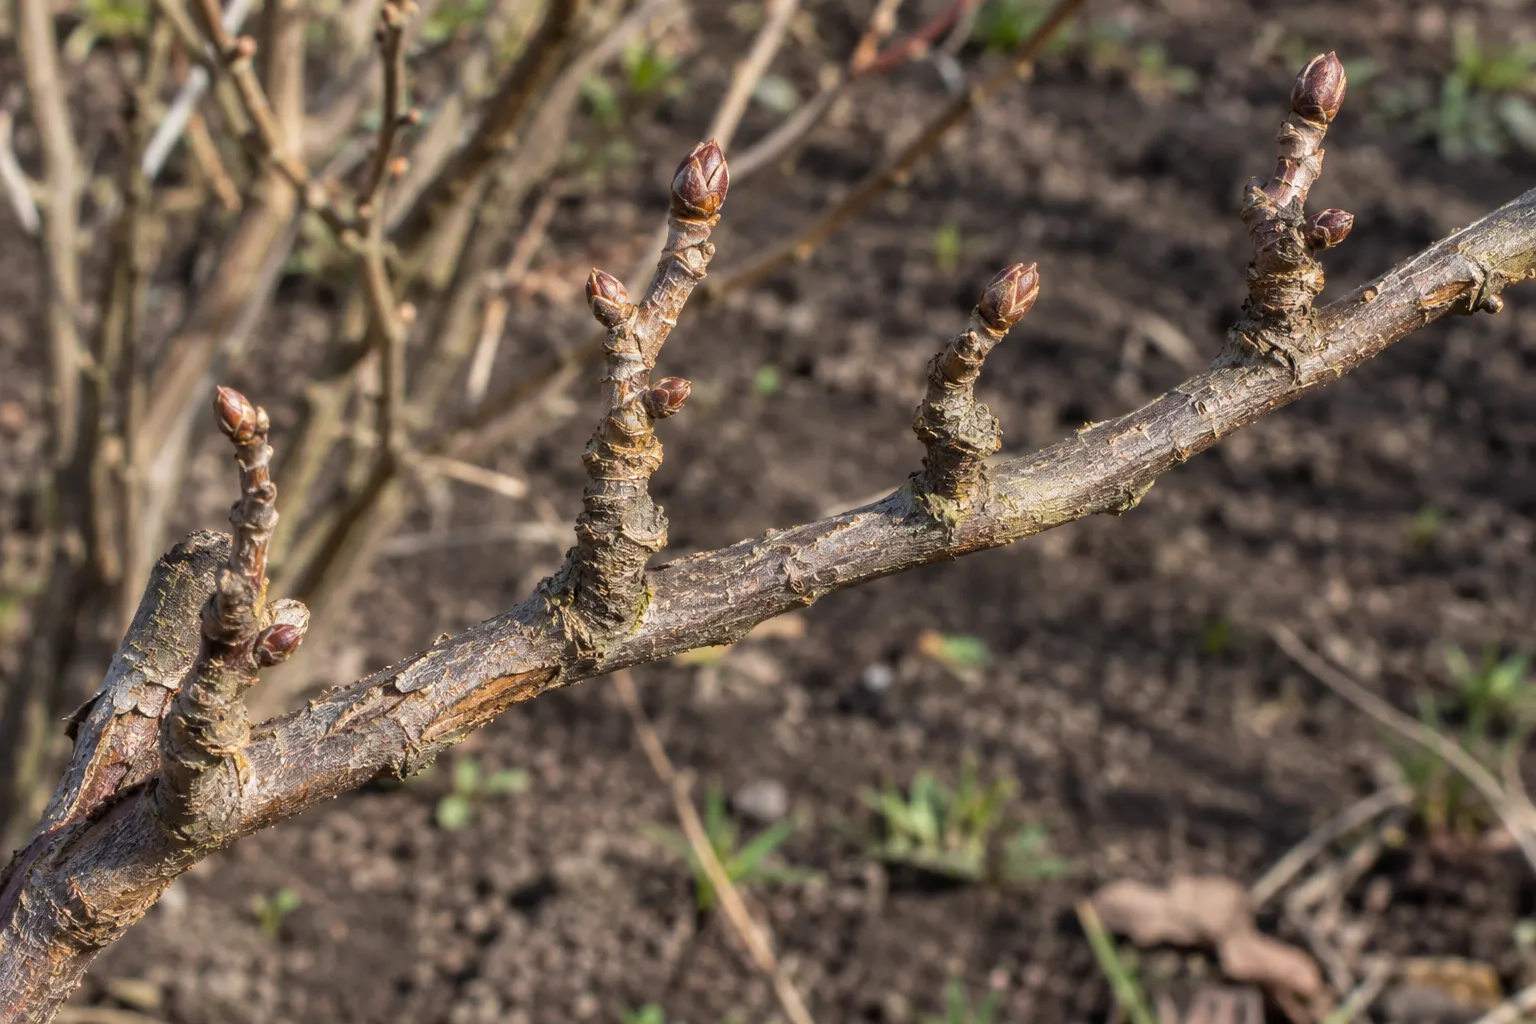
First remove dead or damaged growth. Investigate unusual dieback before treating it as routine pruning. For an established bush, the RHS method then shortens last season's extension on main branches by a quarter to a half. Ordinary side shoots are cut back to one or two buds, while selected replacement growth stays.
Work on one branch at a time. Find where a side shoot joins the branch, count its retained buds and check the cut position before closing the blades. Recheck the framework when you move to the next main branch. Several small side shoots can hide one another when viewed from above.
On a mature bush, replace one or two older, less fruitful branches as needed, annually or every other year under the RHS method. A strong existing side shoot can take over a branch's role. Remove low branches that would hang towards the soil under a crop. If several large branches appear to need removal, ask a grower to assess the bush before attempting renovation.
Keep a record for the next crop
Collect the cut material and photograph the remaining branches from your original position. Record the date, the branches removed and the young growth kept for replacement. Keep suspect material separate while you check local disposal advice.
Watch where growth and fruit develop during the next season. Add a note when you harvest, while you can still identify which branch carried each cluster. That record helps you choose less fruitful old wood next winter without relying on bark colour alone.
For the planting around your fruit area, Gardenly's styles can help you compare broad visual directions on a garden photo. Use real plant records to decide pruning. A generated design cannot identify fruiting wood or choose a cut.
