

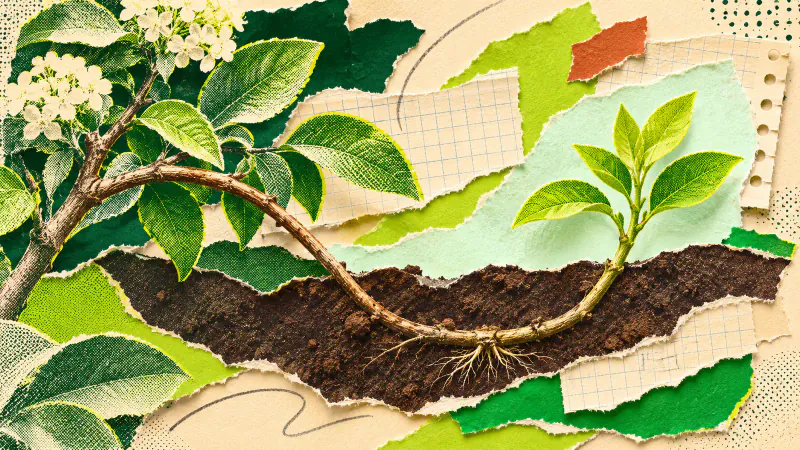
Start layering plants by bending one flexible, attached shrub stem to the ground, securing a short section beneath soil and leaving its tip above the surface. Keep that section moist while roots develop. Separate the new plant only when it has a root system capable of supporting it.
Simple ground layering suits a small number of new plants and needs space beside the parent for months. The stem keeps its connection to the parent throughout rooting. If you have already removed woody shoots, follow our hardwood cuttings guide, which starts with detached material.
Choose a shrub and a suitable season
Identify the plant before bending anything. Forsythia is one shrub listed for simple layering by NC State Extension. Start with a healthy plant whose low outer shoots can reach the soil. Leave stems with damage or suspicious growth alone.
The RHS layering guide recommends autumn or spring for deciduous plants and spring for evergreens. Local guidance still matters. UC Marin's propagation advice describes early spring or late summer. Choose a method and season appropriate to your named plant and climate, and postpone work if the ground is frozen or waterlogged.
Look at the eventual planting space too. Propagation produces another shrub with the parent's growth habit; a small rooted plant will need its mature space later. Mark a possible destination in your notes before making several copies of a plant you can only accommodate once.
Test the stem's reach before preparing soil
Gently bring a young, supple outer shoot towards the ground. It needs enough length for a buried section and an exposed tip that can point upwards. Stop if it resists or begins to split. A thick upright branch is a poor candidate for this small ground-level job.
Mark where the middle section reaches. Keep the position clear of a footpath and somewhere you can revisit with a watering can. You will need to leave the connection undisturbed during ordinary weeding and garden maintenance.
Prepare a small patch of workable soil at that point, removing weeds and breaking up firm lumps. Set a sturdy wire peg and a short support cane within reach. Have a plant label ready, with the name and starting date. A forgotten low branch is easily caught by the next tidy-up.
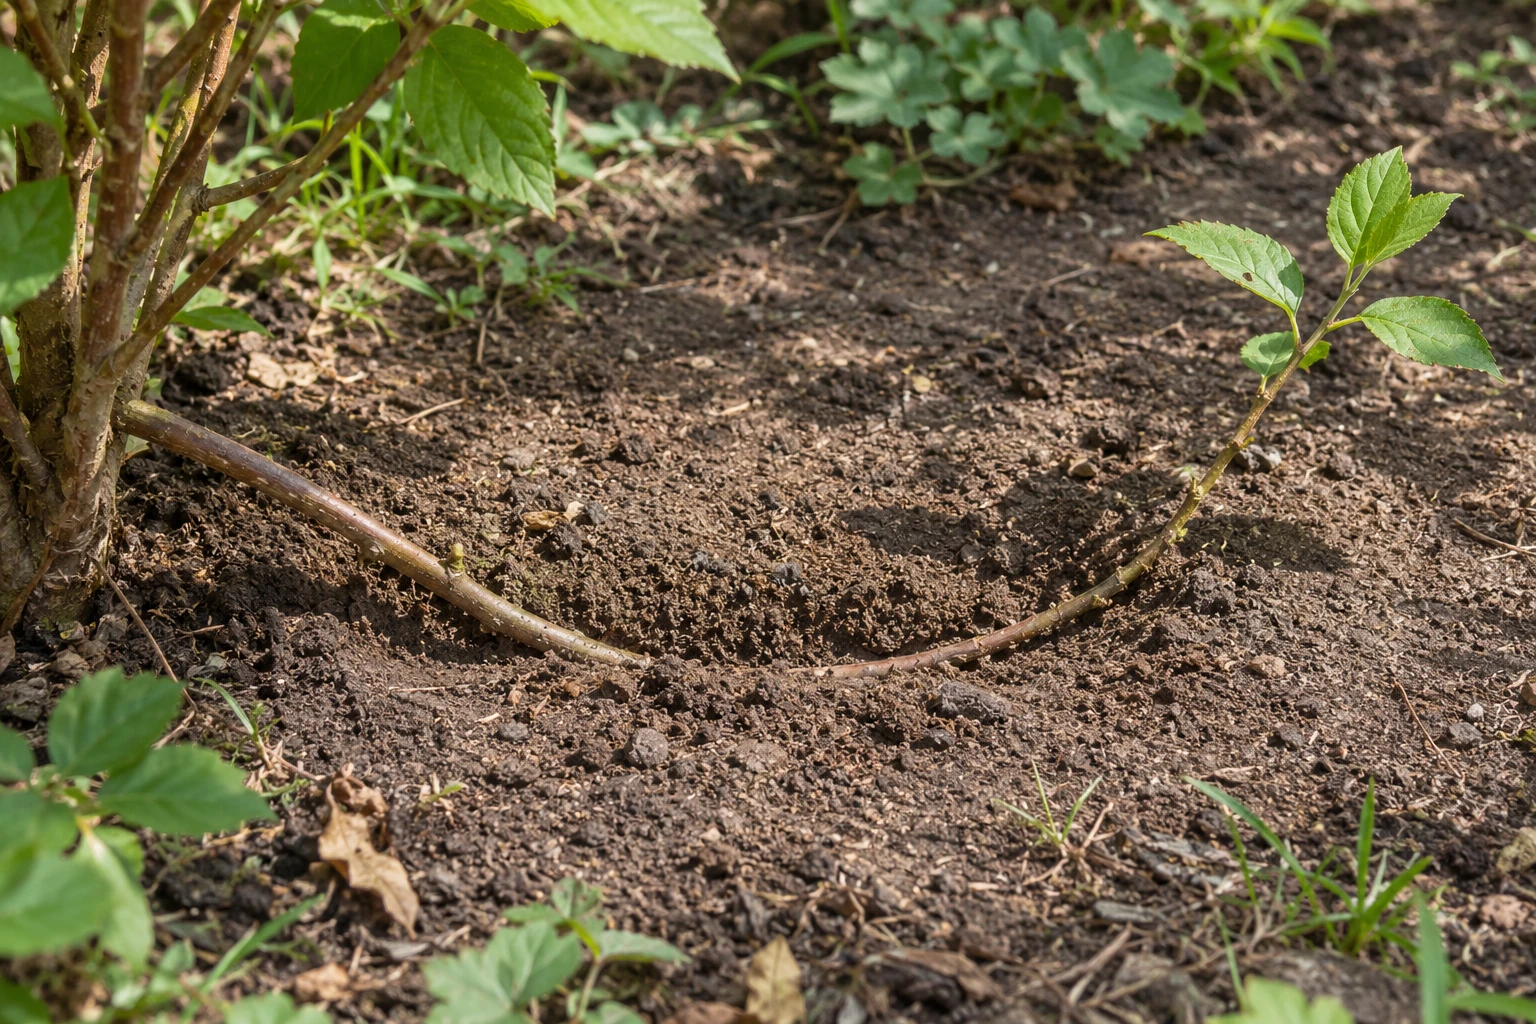
Secure the middle and leave the tip upright
Make a shallow groove where the stem will rest. Follow your plant's propagation instructions for any wound or rooting treatment before covering it. The University of Florida's simple-layering explanation notes that wounding is sometimes used to encourage roots; it is not permission to cut every stem through.
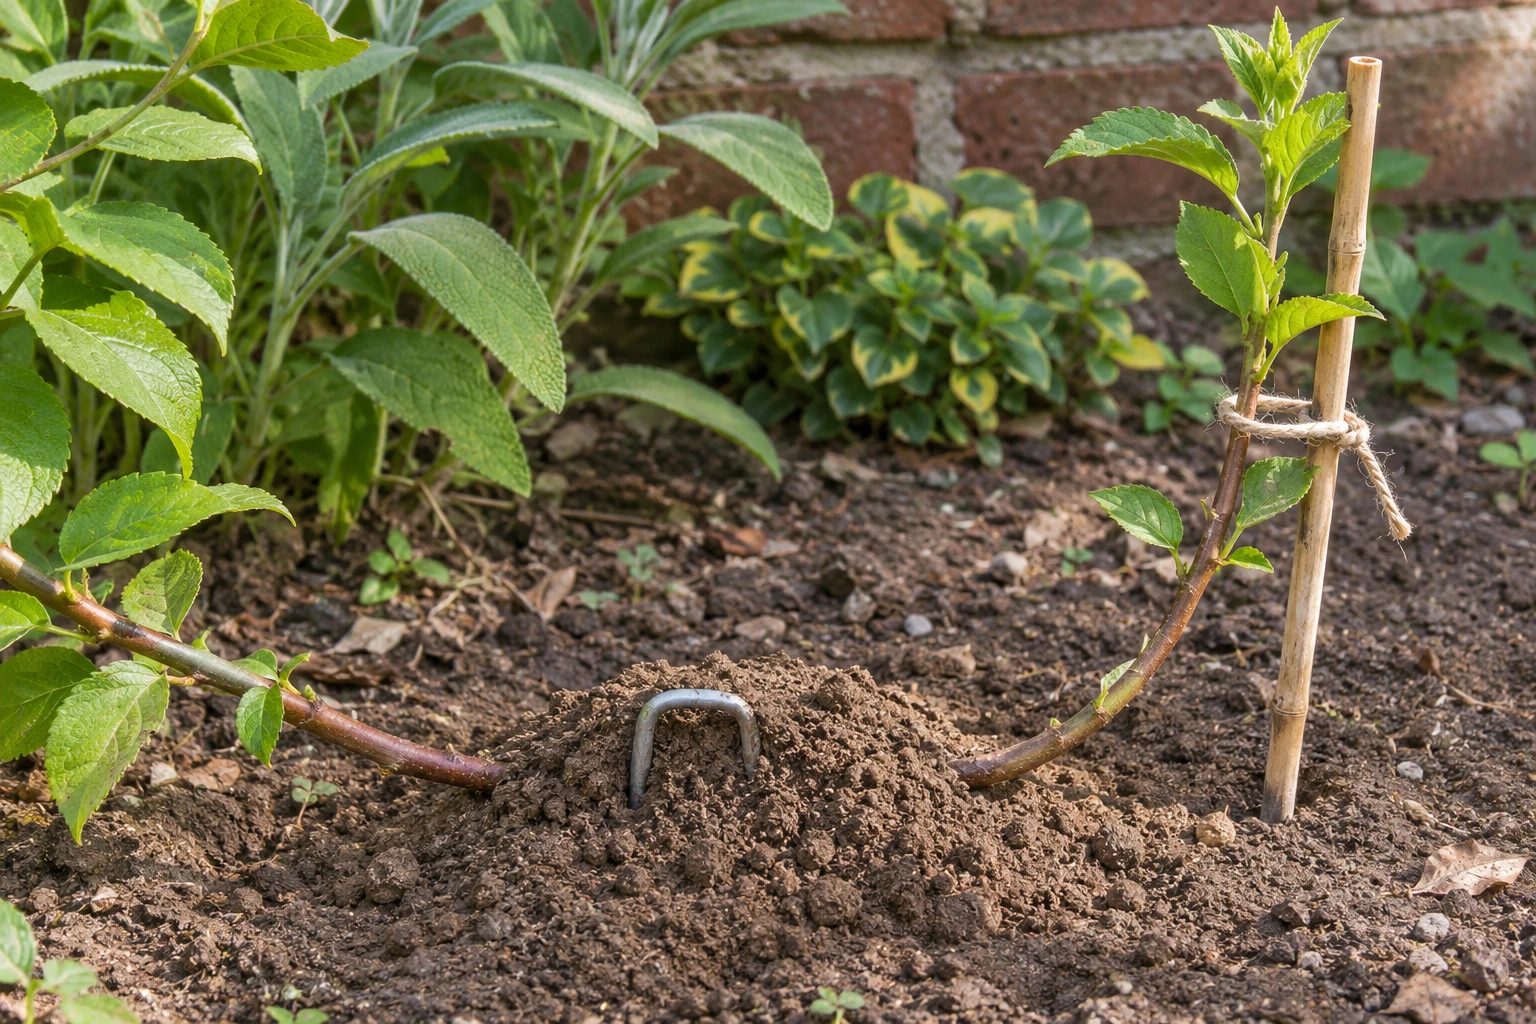
For the basic method described by NC State, bury part of the stem and leave about 15 to 30 cm of its end exposed. Bend the tip upwards and support it with the cane. Use a loose tie that holds the tip without squeezing the stem.
Peg the section firmly into its groove, cover it with soil and gently settle the surface. Keep leaves out of the buried section. Water if the soil is dry, allowing the water to soak in. Check that the stem stays in contact with the soil and that the tip remains exposed after watering.
Care for the layer until it has its own roots
Check soil moisture around the buried section regularly, especially as the weather warms. Keep it moist without leaving it saturated. NC State explains that the rooting medium needs both moisture and air. Clear competing weeds carefully and keep the peg in place if the branch tries to lift.
Allow a growing season or longer, depending on the plant. Purdue Extension describes rooting over one season or more for most shrubs. A date in the diary is a reminder to inspect, not an automatic cutting day.
When the appropriate checking season arrives, ease soil aside carefully to look for developed roots. If there are only a few, cover them again and keep caring for the attached stem. Once it has a good root system, sever the connection on the parent's side and lift the young plant with its roots protected. Pot it on or plant it in a suitable prepared place, then monitor moisture as it establishes.
For the later border's appearance, Gardenly can help compare planting shapes from a photograph. Keep the propagation notes with the real plant. A render cannot show whether the buried stem has rooted.
