

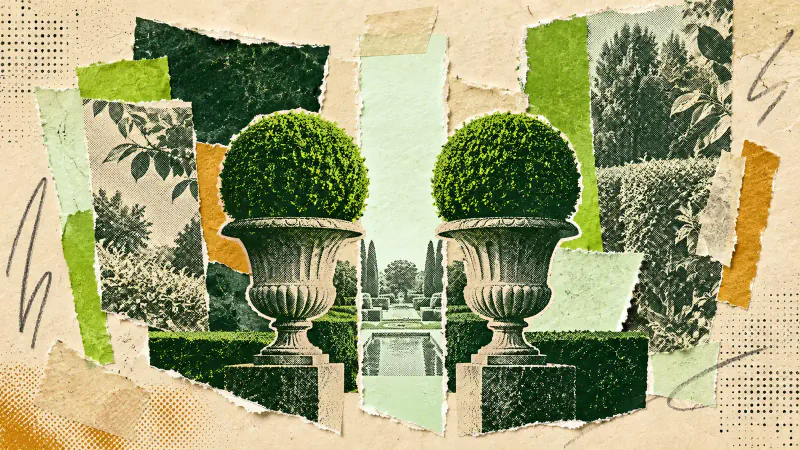
You can try formal garden design without making the entire plot symmetrical. Choose one view you use often, give it a clear centre, and place matching pots or plant shapes on either side. Start after the practical layout works: a balanced picture is little help if one planter blocks the gate.
The RHS describes formal gardens through symmetry, straight lines and geometric forms. In an ordinary garden, you can borrow that order for a single scene. A pair of rounded shrubs beside an existing step may be enough. The rest of the planting can stay loose.
Choose the centre from where you actually look
Stand at the kitchen window or sit in the chair you use most. Find an existing feature that makes a useful centre: the middle of a step, a bench or an opening in a hedge. Imagine a line running through it towards you. That is the line your pair will sit around.
Keep this local. A garden with an off-centre door and a diagonal boundary need not become a symmetrical diagram. Trying to mirror every edge can force awkward leftover spaces. Frame the bench, for example, and let the route beside it continue doing its job.
Take a straight, level photograph from that position before moving anything. Mark the centre on a copy and sketch two simple shapes beside it. This is a quick way to notice that the proposed pair would hide a seat or crowd a doorway. Check the same arrangement from outdoors too; nobody uses a garden solely through glass.
Match the pair, then measure its position
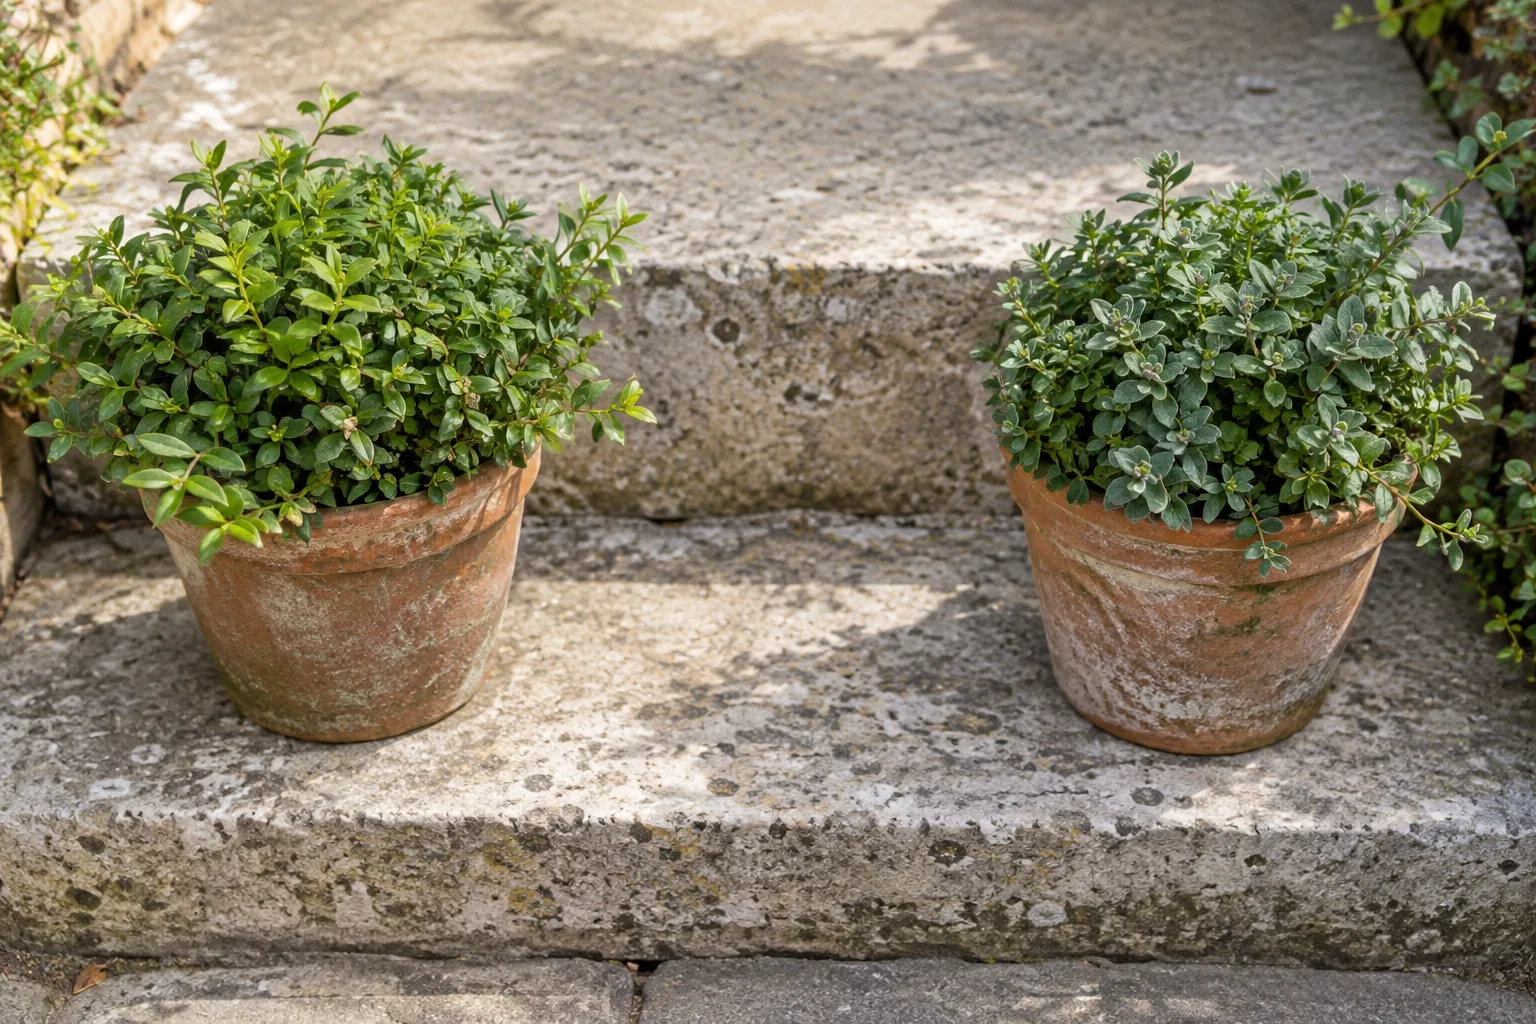
For a first trial, use two containers with the same height, width and finish. Their silhouettes should read as a pair before you add plants. Two almost-matching pots can look accidental when they sit close together, so save a mixed collection for another part of the garden.
Measure each pot's distance from the centre and from the same fixed edge. Equal spacing is easier to judge against an existing paving joint or step than against irregular foliage. Choose the spacing by testing the real objects; there is no universal gap that suits every entrance or pot.
Leave the arrangement in place while you open doors, pull out a chair and carry a watering can through. Include the foliage in that test, not just the pot bases. If the pair narrows the route, move both outward or try smaller containers. Do this before filling heavy pots.
Decide how much clipping you want to do
Rounded or upright plant forms make the relationship easy to see. Start with one repeated shape and judge it from your chosen viewpoint. A whole row of clipped specimens commits you to more work before you know whether you like the effect.
Choose plants for the conditions on each side. Note where shade falls and whether one position is more exposed. Matching containers do not make those conditions identical. Ask a nursery about suitable plants and their mature sizes before buying a pair; a render cannot make that decision for you.
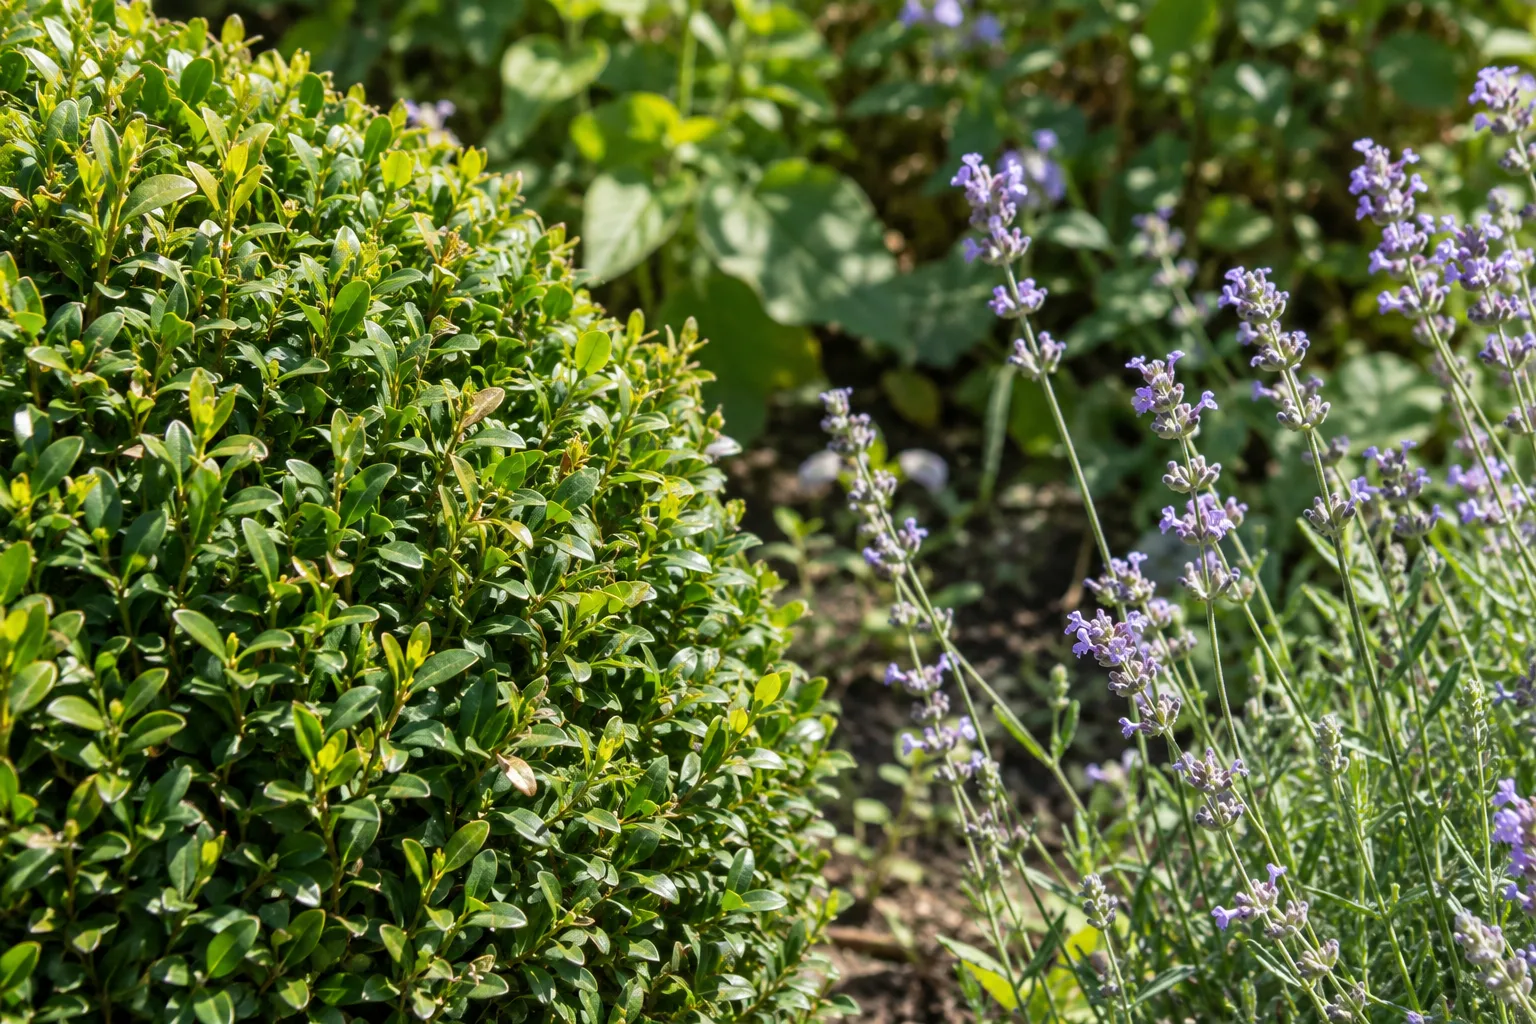
You can also keep the formal structure in the containers and allow softer growth above them. This is useful when precise clipping sounds like a chore. Keep the overall plant height and spread comparable, while accepting that leaves and flowers will never form a perfect reflection.
Loose planting behind a defined shape gives the eye somewhere to relax. Avoid trimming every neighbour into a ball merely because the first one looks tidy.
Preview Neoclassic and check the real garden
Gardenly's catalogue describes Neoclassic as "Greek elegance with symmetric layouts." Its useful question here is whether a balanced composition suits your chosen view. Modern garden ideas focus on clean lines and natural texture; minimalist landscape ideas reduce visual noise. Neither requires a matching object on each side of a centre.
Choose Neoclassic in Gardenly and apply it to your original photo. The Gardenly style gallery shows the available styles. The app instructs the image model to keep the house, hardscape, camera angle and lighting unchanged while redrawing the garden. That instruction is not a guarantee. Check the original step, paving and boundaries against the result before judging the planting.
Use the image to settle one decision: whether the pair improves that view. Then return to the actual pot positions and check access, plant suitability and room for growth. If the image adds a convincing-looking stair or widens a path, leave that suggestion out of your trial. Take the picture and your measurements to a landscaper if the idea needs building work.