

Start cleaning plant pots by brushing out loose soil and roots, then wash the empty containers with warm soapy water and rinse them. Check the rim, underside and drainage holes before leaving them to dry. Washing removes visible dirt; disinfection is a separate treatment to consider before the pots hold another plant.
This routine covers ordinary reusable outdoor pots made of plastic, glazed ceramic or terracotta. Read the maker's care instructions first, especially for painted surfaces, decorative finishes or removable inserts. Keep pots from a suspected diseased planting separate while you find out what treatment they need.
Empty and inspect each pot
Work with pots that have already finished their job. Remove remaining roots, old labels and loose ties, and collect leftover growing mix in a separate container. If you suspect disease, seek advice about that material before spreading it elsewhere in the garden.
Look over each empty pot in good light. Set aside cracked ceramic, crumbling rims or brittle plastic for a closer decision about repair or replacement. Check removable saucers too. An intact pot may still have a thick layer of soil underneath where you could not see it while it was planted.
Prepare a place for dirty pots, a washing bowl and a clean draining area. Leave enough room to turn each pot comfortably. For a large container, check that you can reach its base without trying to lift it while full of wash water.
Brush the rim, base and drainage holes
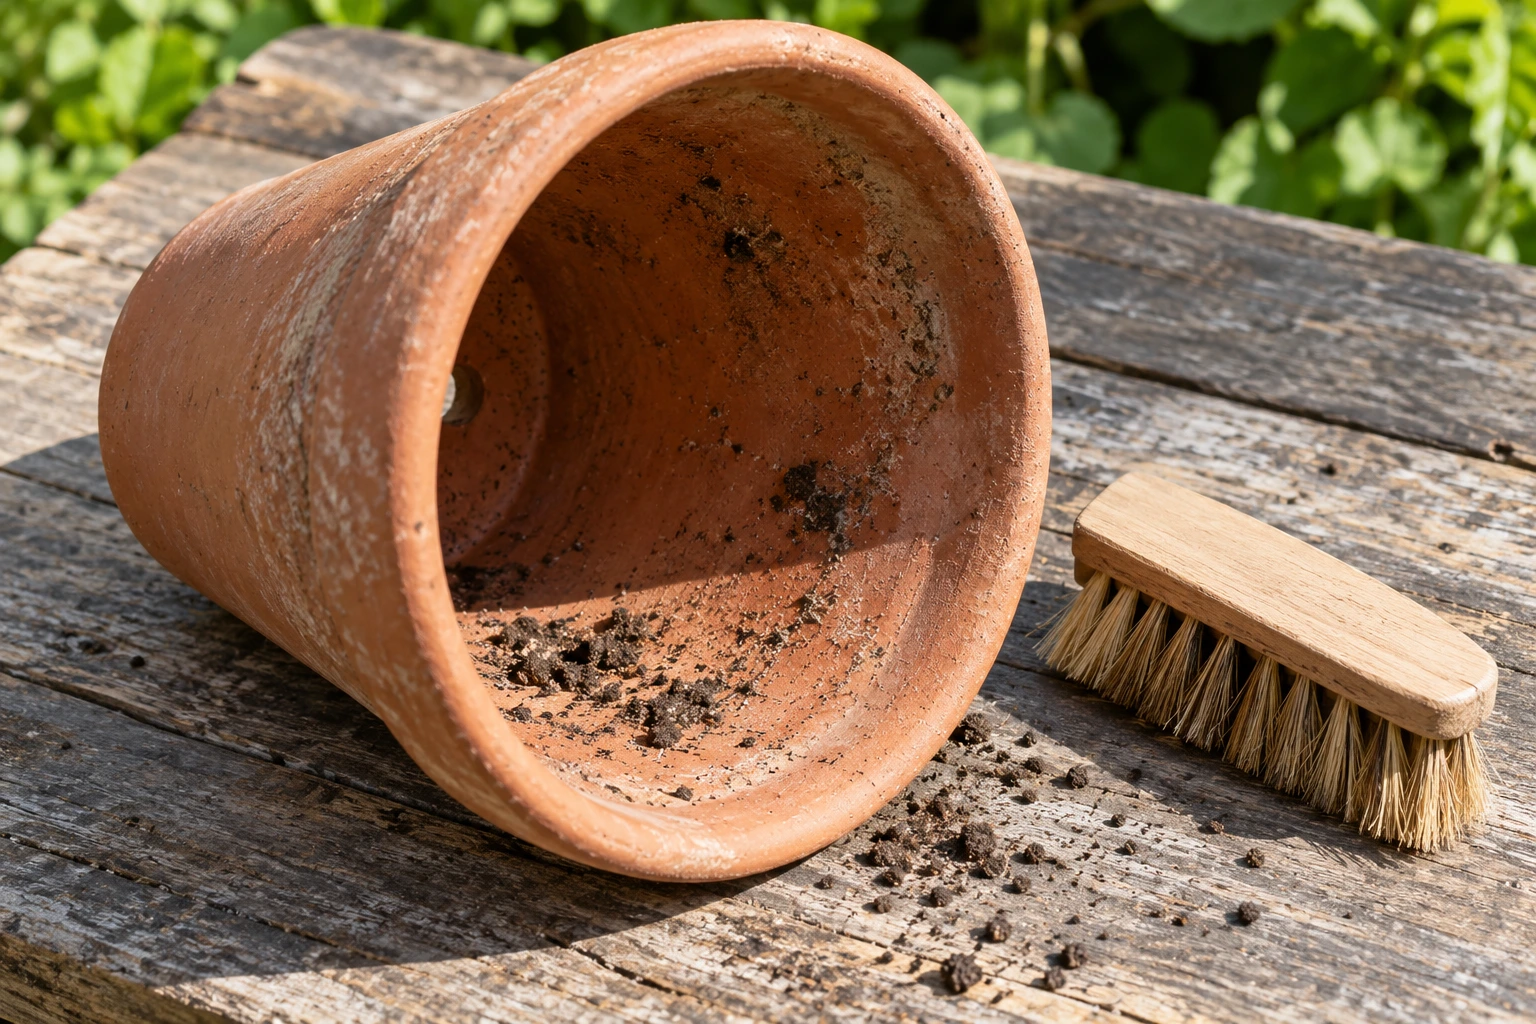
Use a brush suitable for the surface to loosen dry soil inside and outside. Work around the inner rim, where roots and growing mix can catch, then turn the pot over and clean the base. A smaller brush helps with moulded feet and narrow recesses.
Ease roots and soil out of existing drainage holes without enlarging them. Clear the matching saucer separately. Collect the loosened debris before moving on to washing, so you can see what still clings to the surface.
Turn the pot slowly as you inspect it. The underside of a rolled lip is easy to miss when you only look down into the opening.
Wash gently and check remaining deposits
The RHS recommends warm soapy water for pots. Wash the inside, outside and base, using a brush or cloth that the pot's finish allows. Rinse away loosened dirt and soap with clean water. Check awkward recesses again after rinsing.
Choose the cleaning tool by the actual surface. For example, elho's care advice recommends a soft brush or cloth for its pots and warns that scouring pads can damage them. Follow your own pot's instructions before using abrasives or stronger products.
A white crust around the rim can be mineral deposits. Iowa State Extension describes salts collecting near the soil line and on porous clay surfaces. Inspect those areas after washing. If deposits remain, check the manufacturer's removal advice rather than scraping an unfamiliar glaze or coating with a blade.
Decide on disinfection before replanting
Clean-looking pots can still carry plant pathogens. University of Minnesota Extension explains that soil and plant debris can carry disease, and that removing them comes before disinfection. It particularly stresses disinfection after contact with infected plants.
Iowa State recommends disinfecting used pots each time they are reused. For pots with an unknown history or a suspected disease, get horticultural advice appropriate to the intended plants and the problem. Keep those pots out of the ready-to-use group until the treatment question is resolved.
Use a suitable product according to its label and the pot maker's instructions, including dilution, contact time, rinsing and drying requirements. Different products and materials need different handling. Do not mix cleaning chemicals or assume that a stronger solution gives a better result.
Drain and dry before putting pots away
After washing and any required treatment, let pots drain on a clean surface with space between them. Turn ordinary empty pots upside down where their shape allows water to escape. Avoid nesting wet pots immediately; leave their surfaces exposed while they dry.
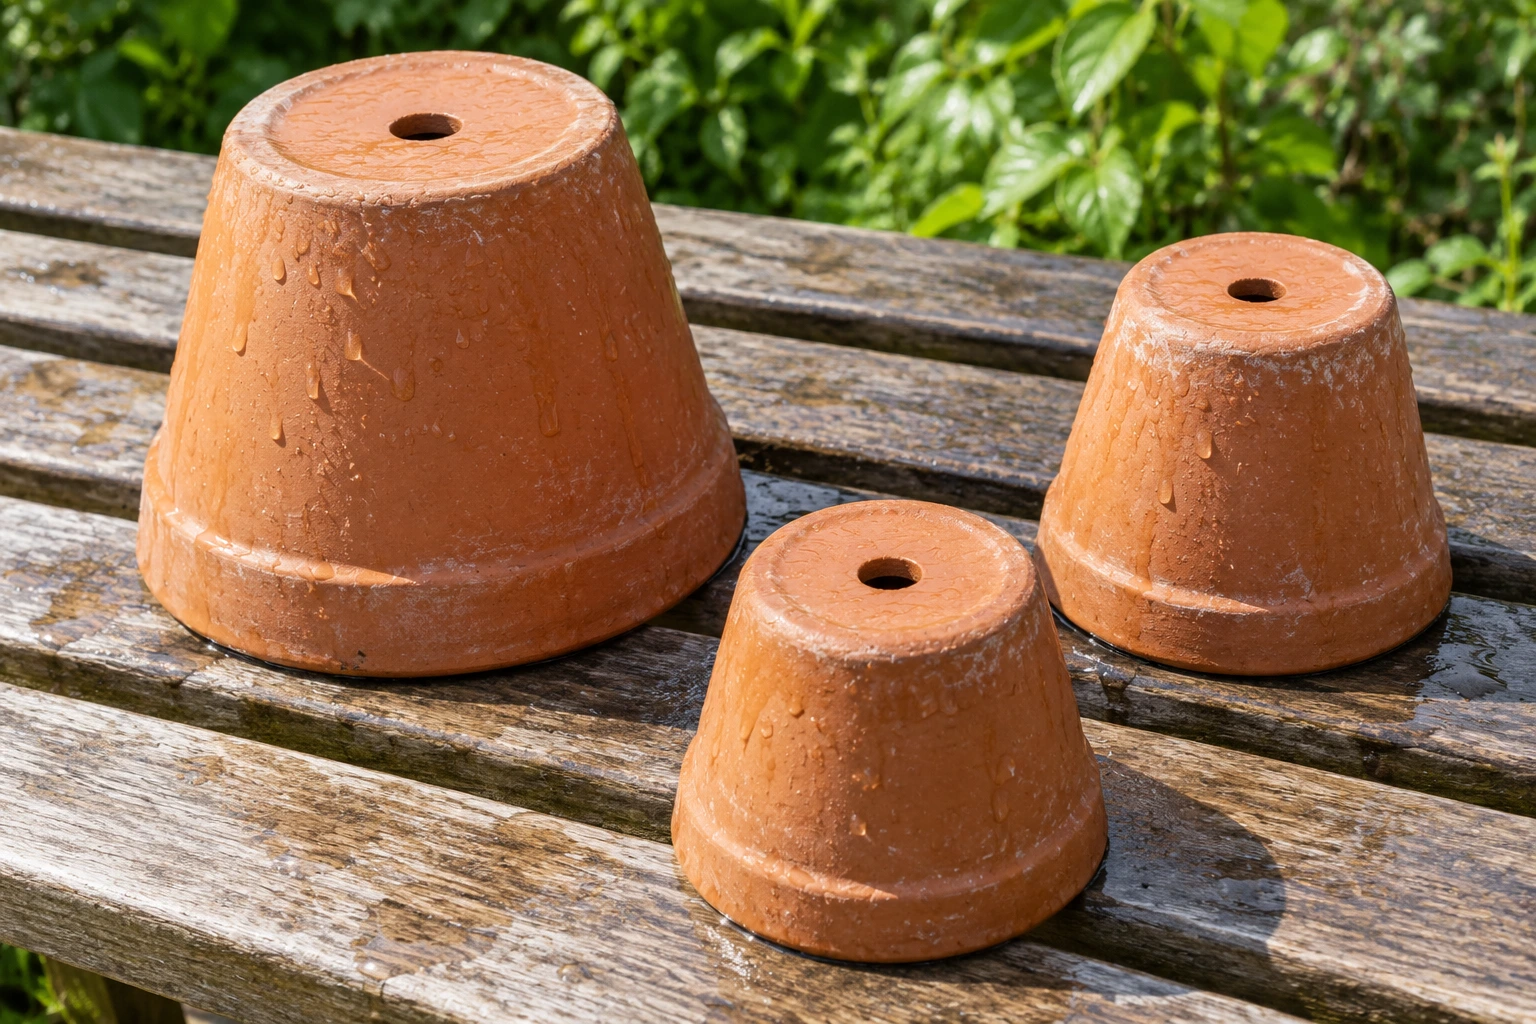
For winter storage, Brooklyn Botanic Garden advises keeping empty clay pots upside down or on their sides in a dry place. Check your pots' own frost-care instructions before leaving them outside.
When you are ready to refill them, the container planting guide covers growing mix and plant requirements. For ideas about the surrounding planting, browse Gardenly's styles gallery. Keep any pot still awaiting treatment or a damage check apart from the finished batch.