

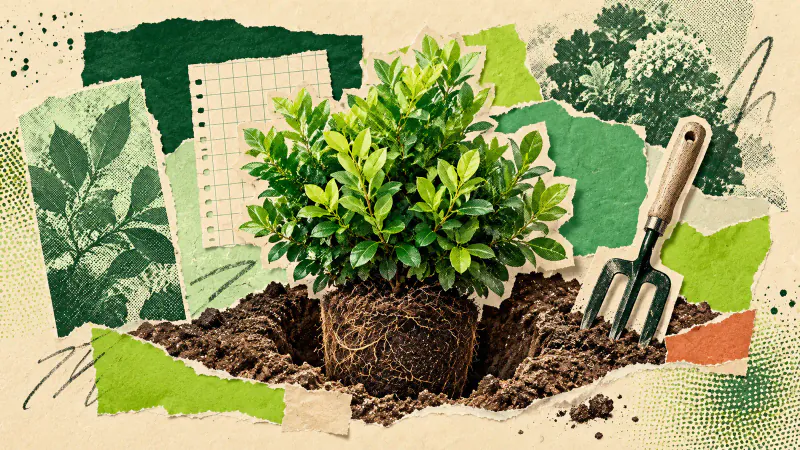
To plant a shrub bought in a pot, water its root ball, prepare a broad hole, remove the container and set the plant at the correct depth for its species. Backfill with the excavated soil, water thoroughly and keep checking moisture while the roots establish.
This guide explains how to plant shrubs one at a time in an existing border. Start with an ordinary container-grown ornamental shrub already chosen for your conditions. Keep its label nearby. Bare-root plants, moving an established shrub and specialist planting requirements need their own instructions.
Check the spot and the planting date
Check the label for mature spread, light and soil requirements. The University of Minnesota site guide explains the conditions to match. Put the pot where you intend to plant, then measure the available space. Picture the branches at their eventual width beside the plants and path already there. A convenient gap today may be too small later.
Autumn can suit planting, but October is not permission by itself. The RHS planting guide says to avoid frozen or waterlogged soil. In colder regions, some shrubs need an earlier start: Iowa State Extension warns that evergreens planted late in its autumn may not establish before winter. Check guidance for your species and local climate before digging.
Set out a spade, watering can, hand fork and somewhere to put the soil. Pull existing mulch back so you can see the actual ground level. Avoid disturbing neighbouring plants just to squeeze the new arrival in.
Prepare a broad hole
Water the pot well before removing it. Check the intended planting level in the supplier's instructions, then measure the root ball. Keep these measurements separate from the height of the plastic pot.
University of Maryland Extension recommends a hole at least twice the root ball's width, with a firm base beneath it. For an ordinary shrub, locate where the first roots spread from the woody base; the RHS places that level at the surrounding soil surface. Follow any species-specific instructions from the supplier. Measure from that point, rather than assuming surplus potting compost belongs underground. If you cannot identify that level, ask the nursery before proceeding.
Keep the excavated soil alongside the hole. If the hole exposes persistent standing water or unsuitable ground, stop and reassess the site. Making the hole deeper is not a fix for a shrub that needs different drainage.
Remove the pot and check the depth
Lay the container carefully on its side and support the root ball as you slide it out. Lift by the pot or root ball rather than hauling on the stems. Inspect the outside before lowering it into the hole.
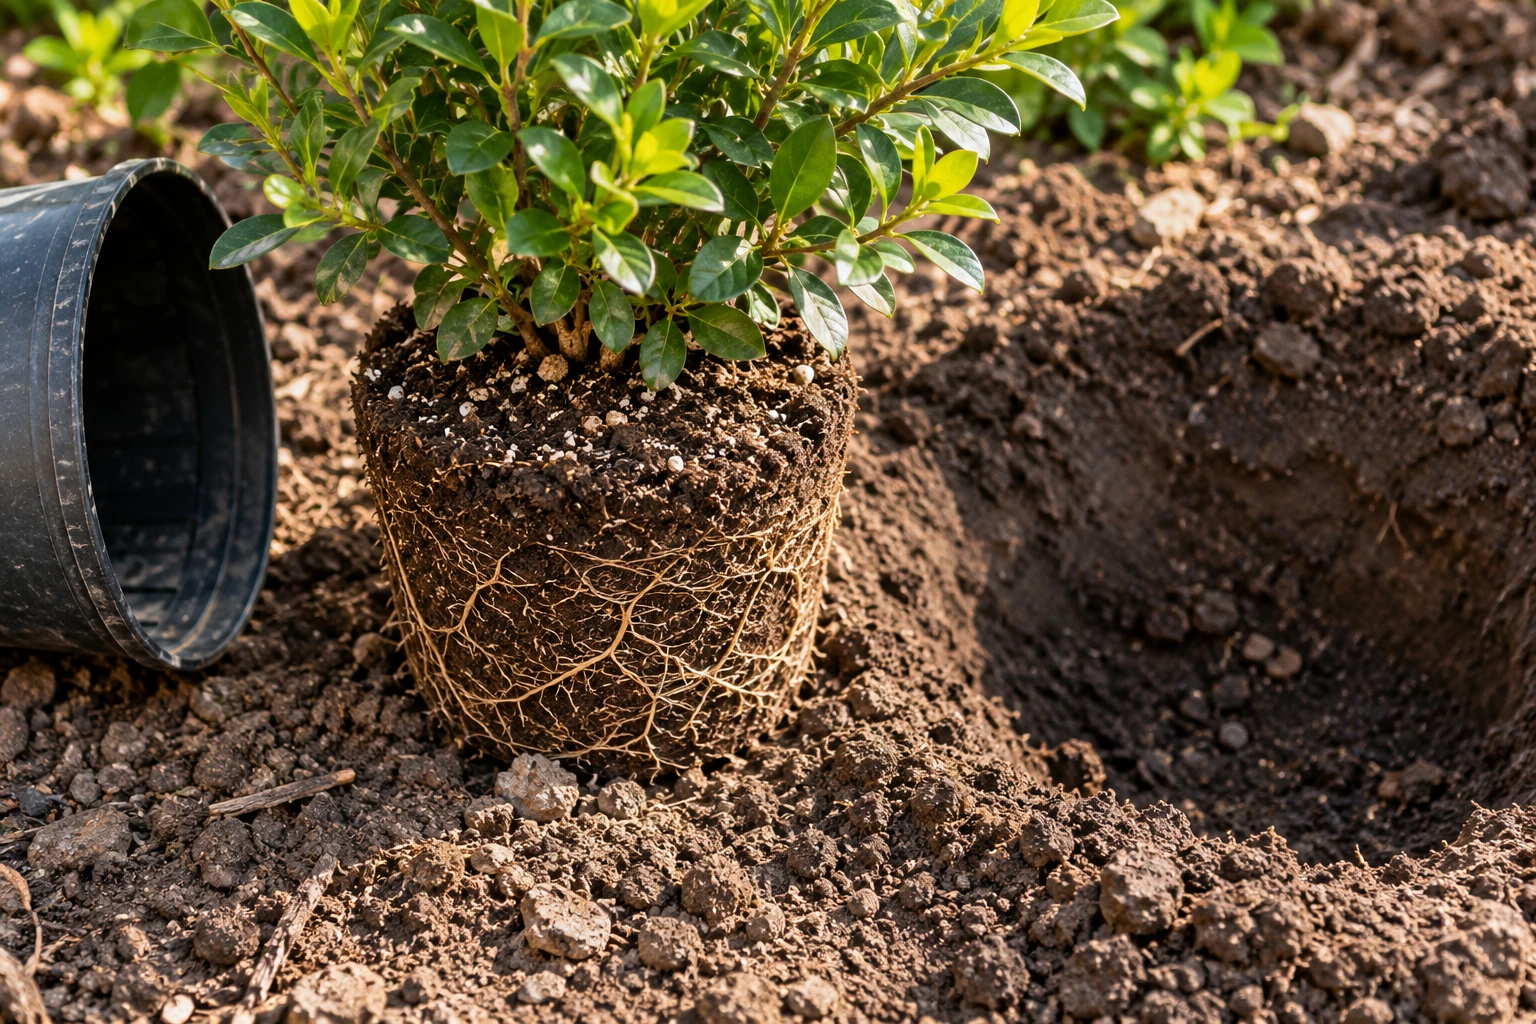
If roots form a dense circling mat, pause for species-specific advice from the supplier. Root correction varies, and some plants resent disturbance. Leave an unbound root ball intact.
Set the shrub upright and recheck its specified planting level against the surrounding soil. You can lay a straight handle across the opening to see the level clearly. Correct the depth now, before returning the excavated soil. Work it gently around the root ball with your hands; leave the stems uncovered.
Water the root ball and surrounding soil
Water slowly after planting, allowing it to soak into the root ball and nearby ground. Stop if water pools without draining away. A quick splash over the leaves tells you little about what reached the roots.
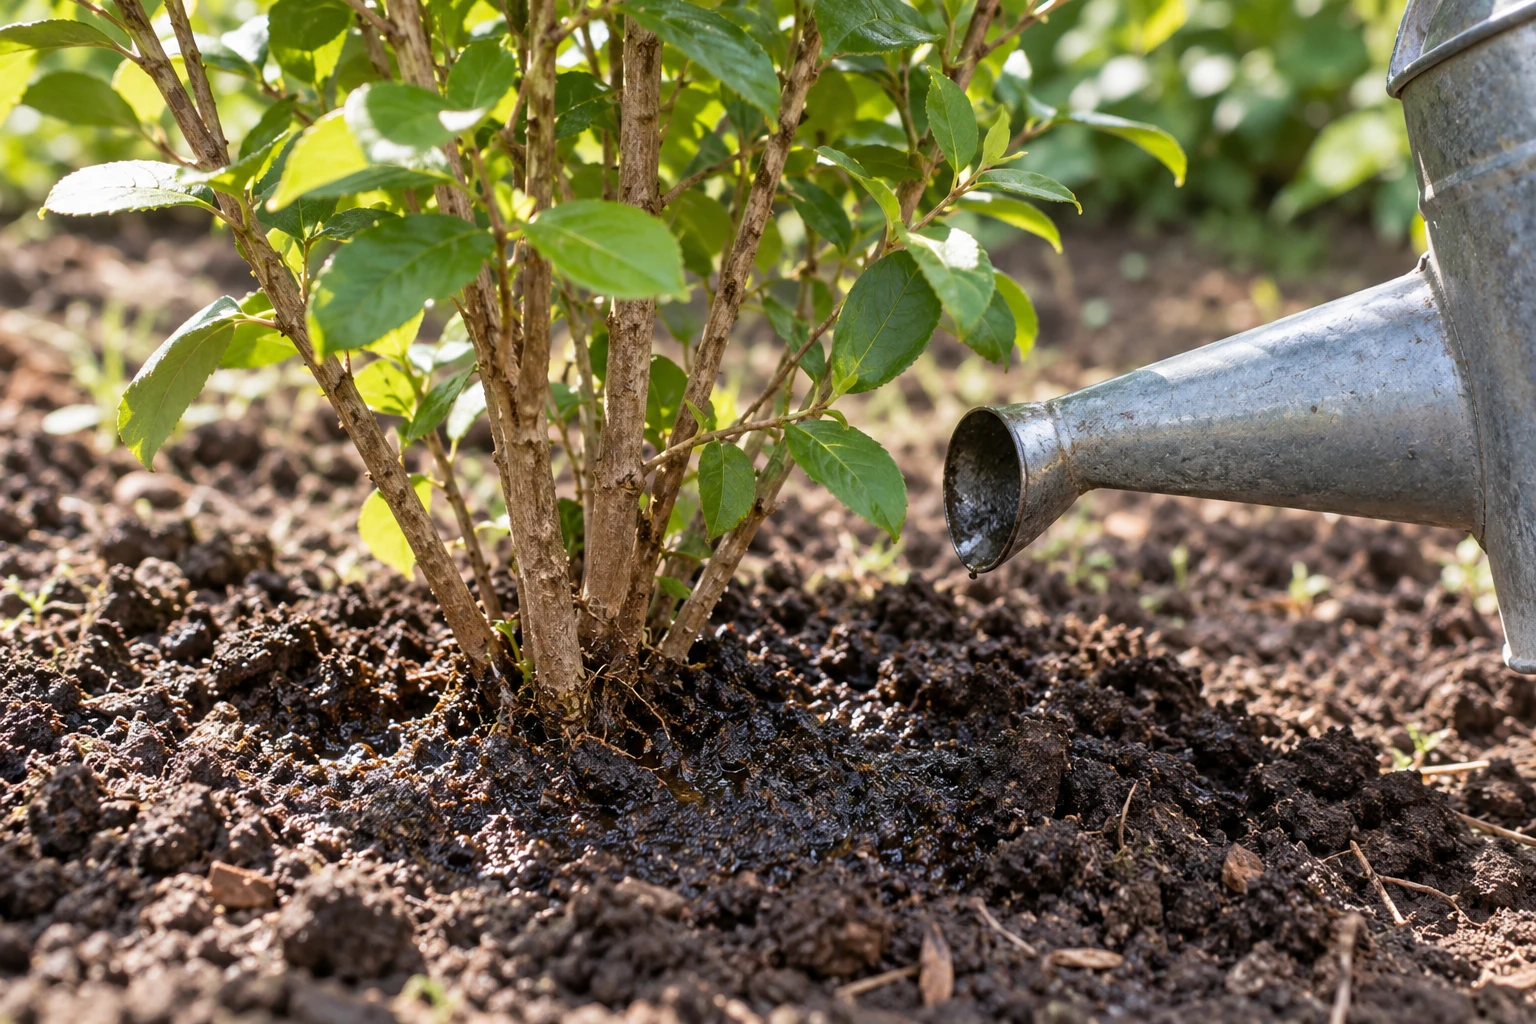
Maryland's watering guide recommends checking moisture daily for the first two weeks, then at least weekly during the first two years. Check below the surface and water when needed; adapt to your plant, soil and weather. Damp soil needs a different response from a dry root ball, even if both plants look slightly wilted.
Keep the planting easy to inspect
Leave yourself access to check the root ball. If you add bark, keep it clear of the woody bases and follow the depth guidance for that material. Our garden mulch guide covers measuring and spreading the layer.
Save the label and note the planting date. Put a reminder beside the watering can for the first checks. Revisit the shrub after rain rather than assuming the weather has done the job.
For the surrounding border's appearance, Gardenly can help explore a visual direction from a photograph. Keep the plant label and site measurements as your practical references: a generated image cannot assess soil, planting depth or winter hardiness.