

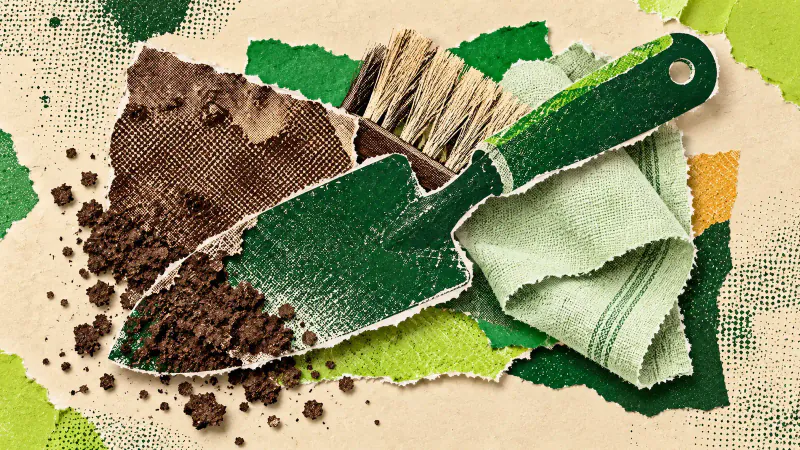
A routine for cleaning garden tools starts with brushing off soil, washing away stubborn dirt and drying everything thoroughly before putting it away. Start with the trowel or hand fork you have just used. Pay attention to the back of the blade and the place where metal meets the handle; a quick wipe across the front leaves those awkward spots untouched.
This routine covers ordinary manual digging and cultivating tools. Cutting tools, powered equipment and tools used around diseased plants need their own care instructions. Keep the manufacturer's guidance beside you if you are dealing with an unfamiliar coating, loose part or persistent rust.
Set out one tool at a time
Choose a stable surface with room for the tool, a stiff brush and an old towel. Work where loose soil is easy to collect. Keep the dirty tool apart from anything already cleaned, and avoid balancing several sharp or pointed objects on the edge of the bench.
Look at the handle and head before starting. A split handle or a head that moves independently of it needs attention before the next job. Put that tool aside for repair instead of returning it to the usual caddy, where someone might pick it up without noticing.
Check what the tool is made of. A painted surface, bare metal and a wooden handle may have different care requirements. Start with the least aggressive cleaning method allowed by its instructions; heavy abrasion is a poor default for an unknown finish.
Brush away soil, then wash what remains
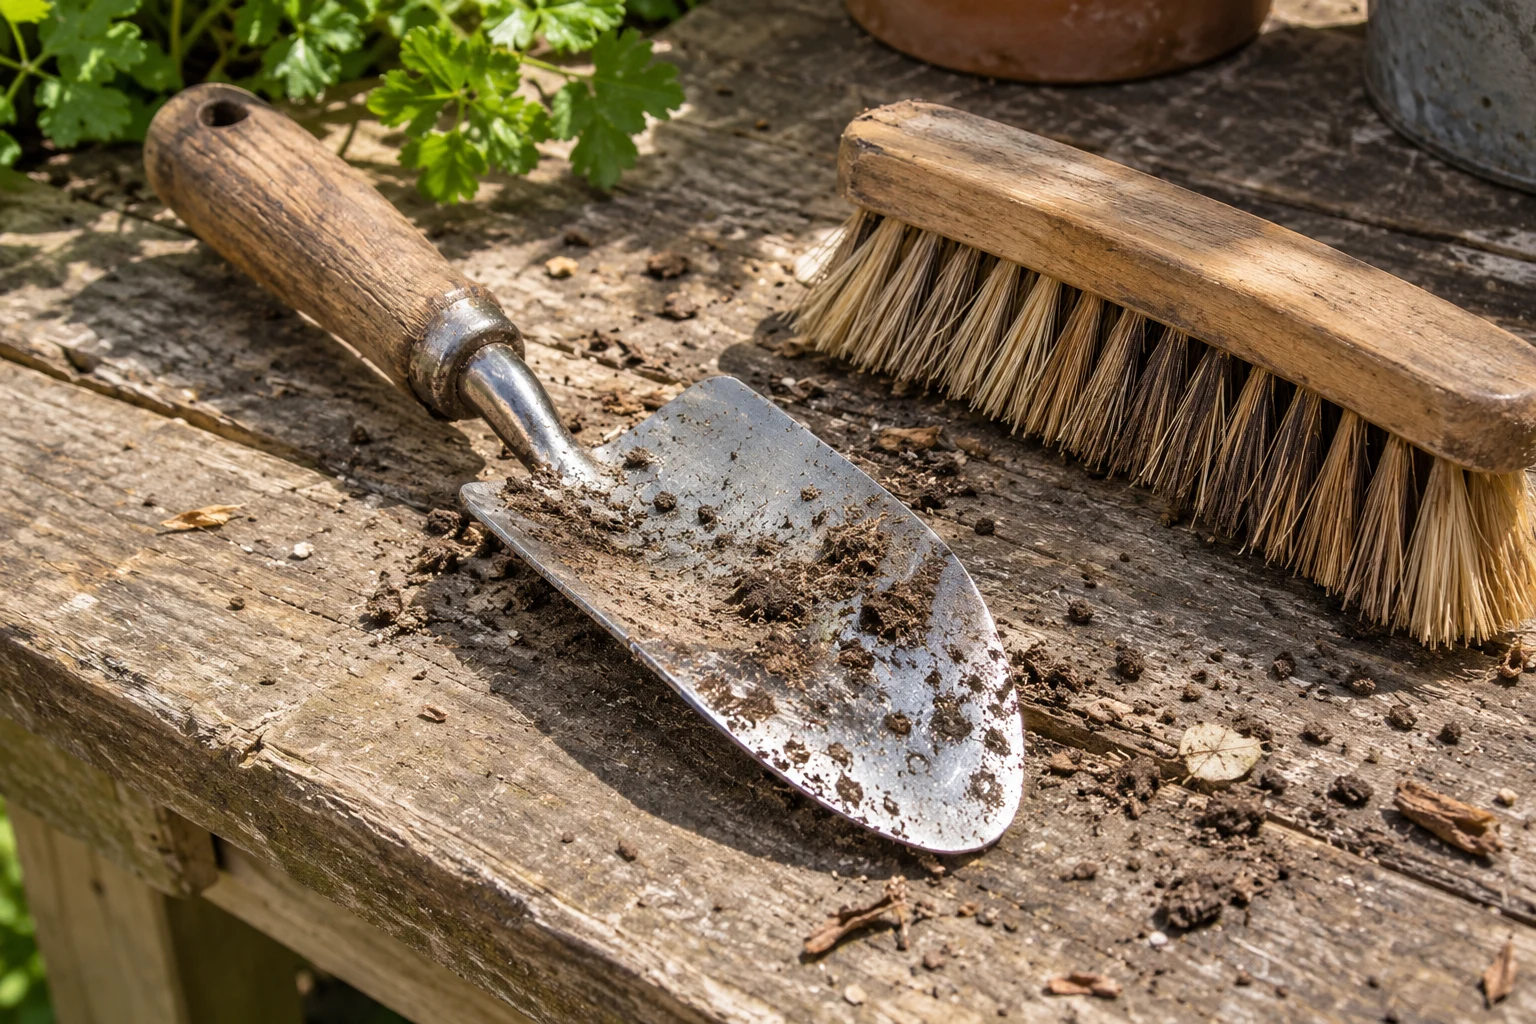
Hold the tool securely and brush soil from both sides of the head. Turn it so you can see behind the fork tines or into the curve of the trowel. Use the brush to reach those places rather than probing blindly with your fingers.
The RHS guide to cleaning hand tools recommends a stiff brush for cultivation tools and washing very muddy ones before towel drying. Work through the visible dirt first. If a lump remains, clean that area again instead of covering it with oil or packing the tool away.
Lay the tool down and look from the other side. The part that rested against the bench is easy to miss. Clear the loosened soil from the work surface before placing a cleaned tool there.
Dry the handle connection carefully
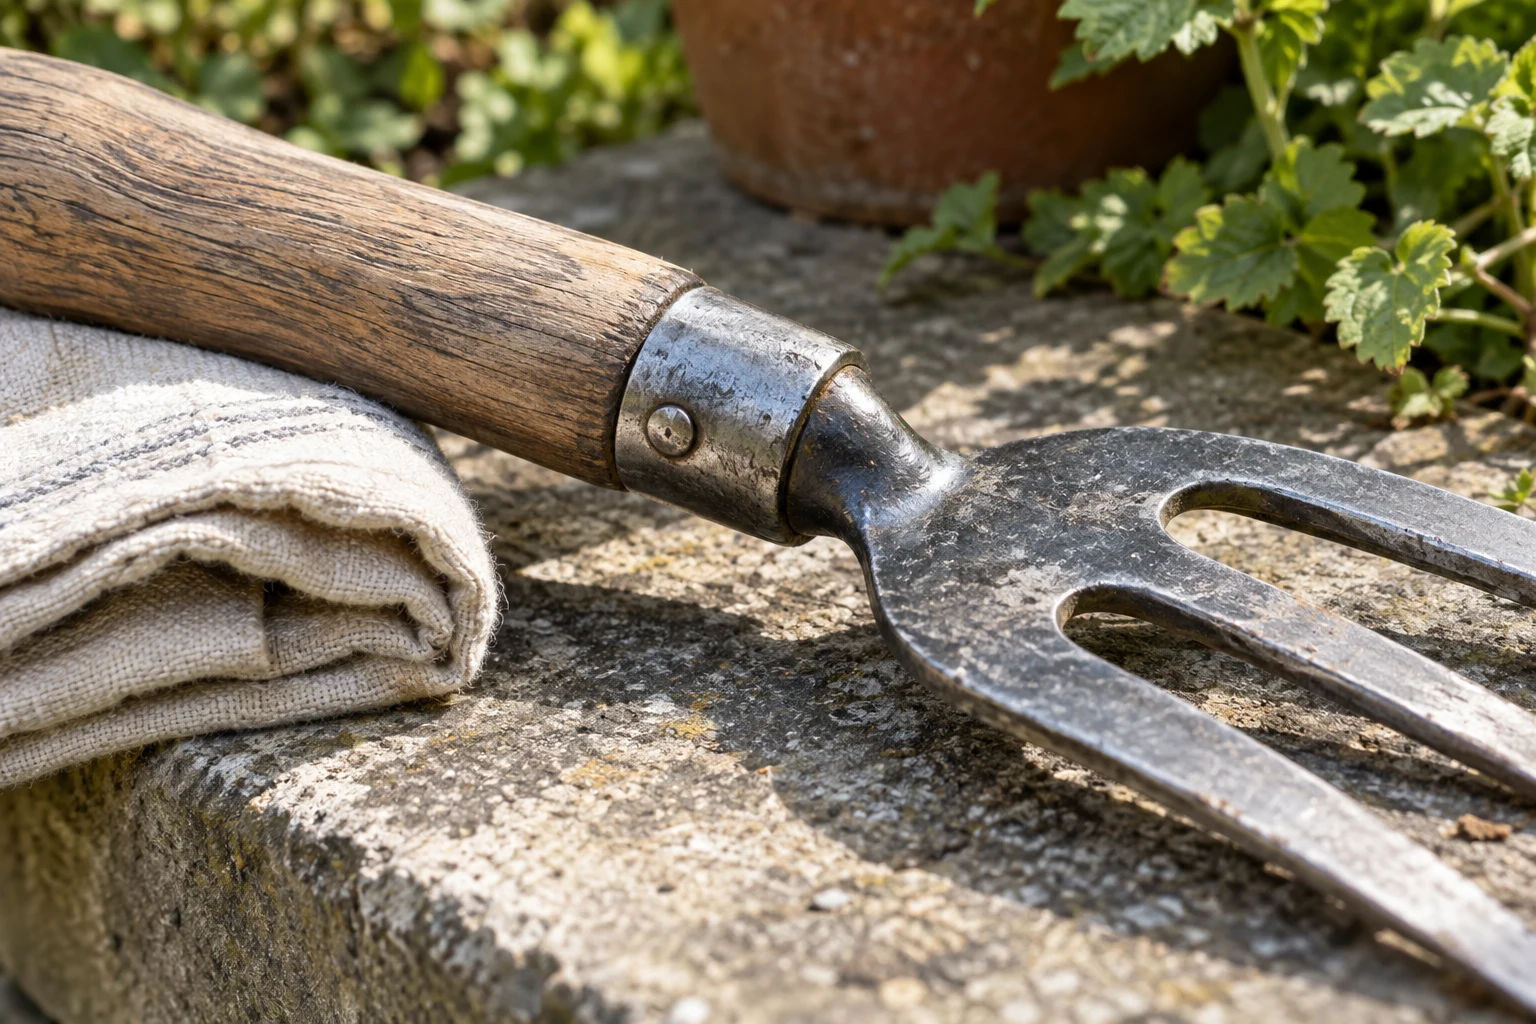
Wipe the washed tool with the towel, including the underside and the connection between the handle and head. Move to a dry part of the cloth when it becomes wet. Leave the tool somewhere sheltered to finish drying before putting it in a closed container.
The RHS explains that drying helps prevent rust and stops wooden handles taking up water and swelling. This is also a useful moment to look closely at what was hidden by mud: a crack, a missing fixing or a rough patch you need to investigate.
A cleaned surface need not look factory-new. Ordinary wear is different from damage that affects use. If you cannot tell whether a defect matters, ask the maker or a repair service before using the tool again. Check its instructions before applying protective oil or attempting rust removal.
Separate routine cleaning from disease control
A visibly clean tool is not necessarily disinfected. University of Minnesota Extension's tool hygiene guidance explains that plant pathogens can remain after visible debris has gone. It highlights tools used on infected plants or in another garden as cases needing cleaning and disinfection before further use.
For those situations, follow current horticultural guidance and a suitable product's label alongside the tool maker's instructions. Keep affected tools separate while you sort out the appropriate treatment. An ordinary brush-and-dry routine does not settle that question.
Return tools ready for the next job
Only return a tool when it is dry and any repair question is resolved. The garden storage guide covers arranging the caddy or shelf so putting things away stays easy. Here, the final check is the condition of the tool going into it.
If maintenance prompts a wider rethink of the garden, Gardenly can help explore its appearance from a photo. Judge equipment condition by inspecting the actual tools. Leave the brush and a dry towel where you will find them after the next muddy job.