

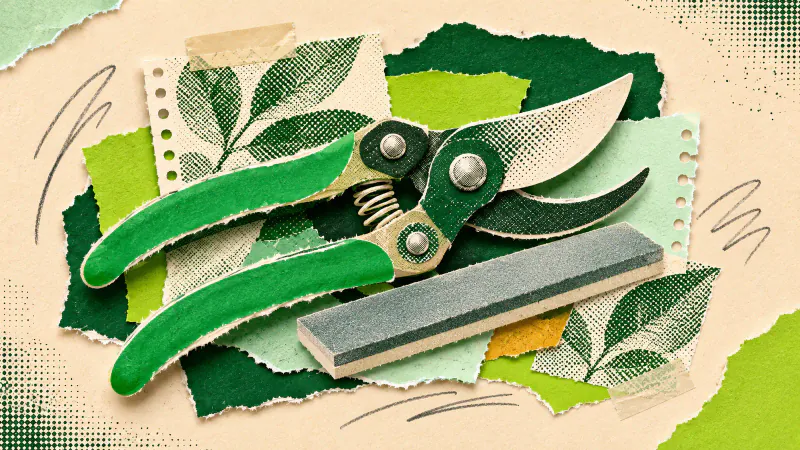
For ordinary bypass hand pruners, sharpening pruning shears starts with a clean blade and the tool's own maintenance instructions. Work along the existing bevel on the cutting blade, remove the small burr without making a second bevel, then reassemble and check the action. Stop if the blade is damaged or you cannot identify the surfaces you should sharpen.
A sticky pivot can feel like a blunt edge. Clean and inspect the tool before removing metal, particularly if it has been left in a damp shed. This routine covers manual bypass pruners. Anvil tools, hedge shears, saws and powered equipment need their own directions.
Find the instructions before opening the tool
Look up the exact model. Establish whether the maker permits dismantling, which sharpener it recommends and how the pivot is adjusted afterwards. The RHS sharpening guide points out that some secateurs cannot be taken apart. A central bolt alone does not answer the question.
Set up a firm, well-lit work surface. Keep a cloth or shallow tray ready for any removable parts, with room to put each piece down in order. Follow the maker's protective-equipment directions and keep fingers clear of exposed edges. Position the work so sharpening strokes move away from your body.
If you do dismantle the tool, follow its instructions and keep track of the spring and fixings. Avoid forcing a seized bolt. A repair service is a better next step when the parts will not move as described or the original blade shape is no longer clear.
Clean the blade and check what remains
Remove loose dirt, then treat sticky sap with a cleaner approved for the blade and its coating. Wipe away the loosened residue before inspecting both faces. FELCO's maintenance guidance starts with cleaning because deposits hide the steel's condition.
Check for cracks, deep damage, a loose pivot and a spring that does not return smoothly. Sharpening cannot correct every fault. If the blades are out of alignment or a part needs replacing, identify the correct repair before continuing. Our hand-pruner selection guide explains the bypass mechanism and what to check when a replacement is necessary.
Do not test an edge by running a fingertip along it. Look closely under good light and handle the tool by its safe surfaces. A worn finish can remain after cleaning; you do not need to scour the whole head until it shines.
Follow the bevel already on the cutting blade
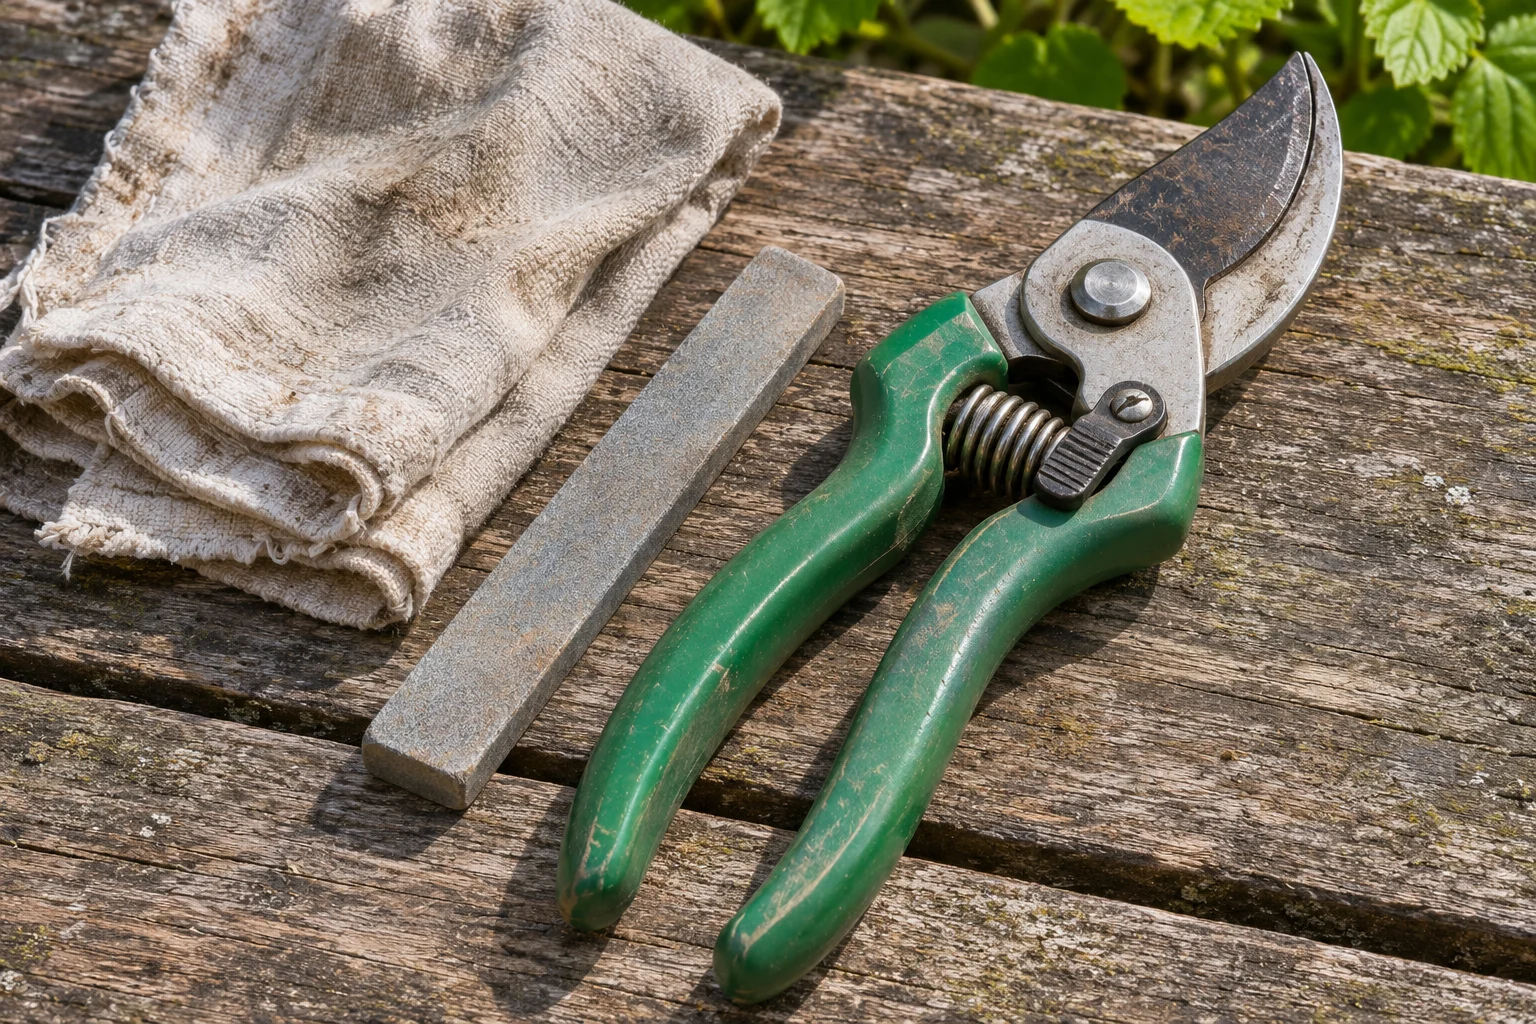
Identify the sloping ground face of the cutting blade. On a bypass tool, it passes the supporting counterblade. Sharpen the cutting blade's bevel only. Leave the counterblade alone unless the exact model's instructions specify otherwise.
Use a suitable hand sharpener and its stated preparation method. University of New Hampshire Extension advises following the factory bevel. Match that existing angle instead of choosing a generic number. Make controlled strokes along the curve towards the tip, keeping the angle steady and inspecting your progress frequently. The aim is an even working edge with as little metal removed as necessary.
Finish with the recommended fine abrasive. A thin lip of metal, called a burr, can form on the reverse face. Following the tool's directions, lay the fine sharpener flat against that face to remove it. Tilting it to grind another bevel changes how the blades meet. If you cannot keep the blade secure while reaching the edge, stop and have the tool serviced.
Reassemble, test and put it away dry
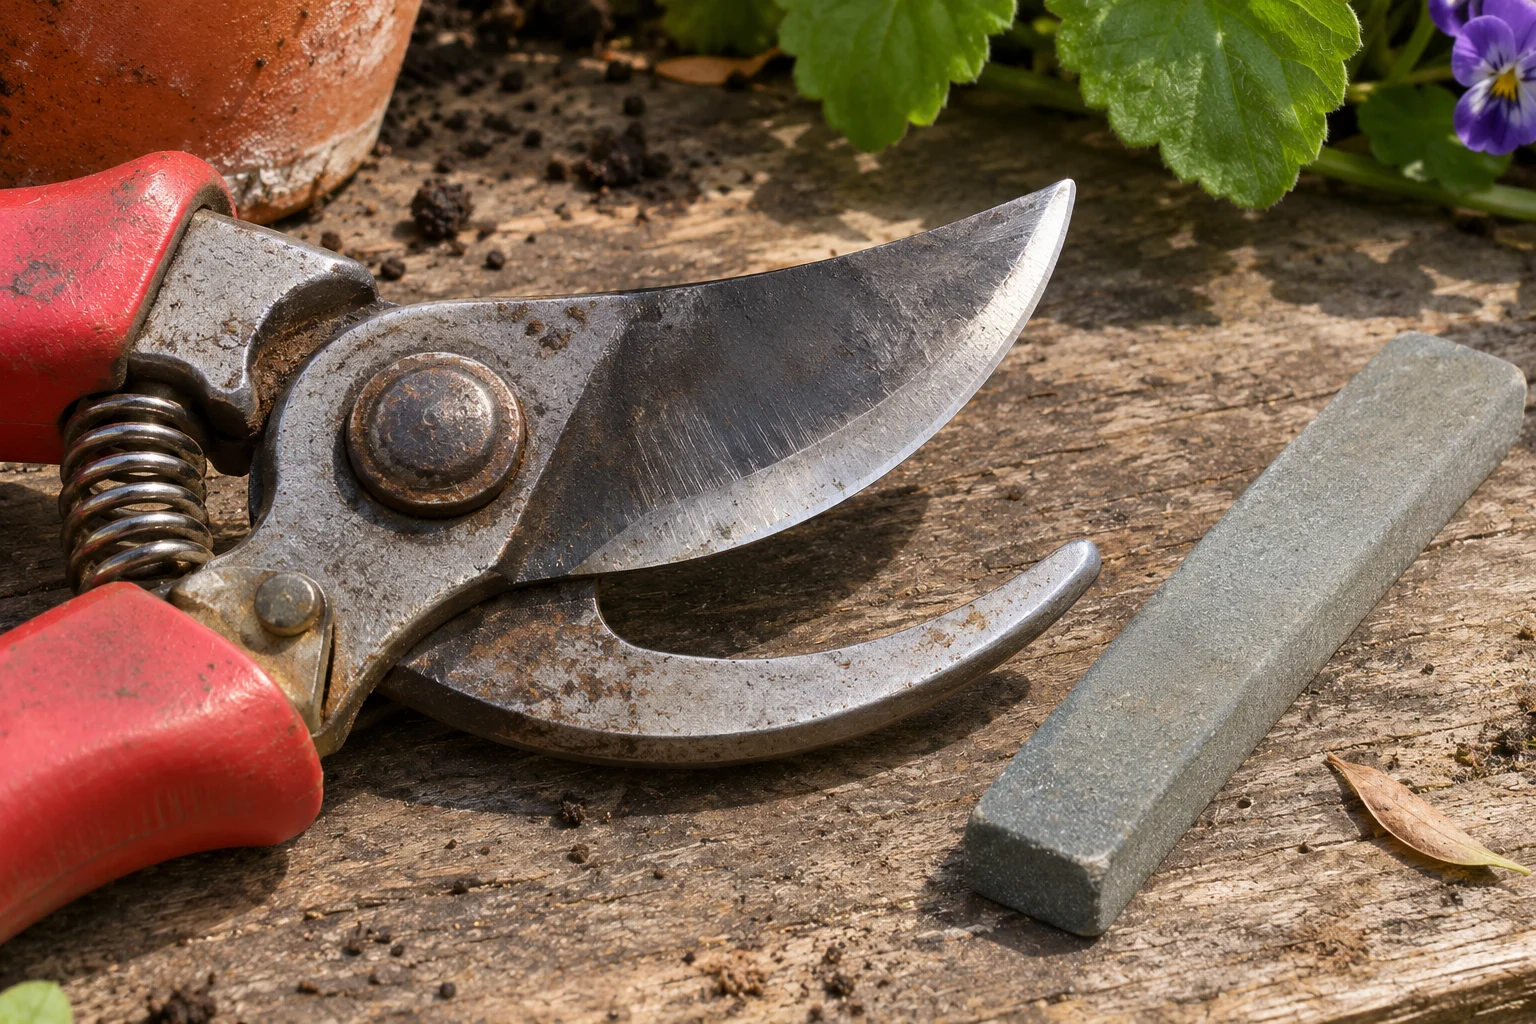
Wipe away sharpening residue. Refit permitted removable parts in the correct order, lubricate the specified moving points and adjust the pivot as the manufacturer directs. Open and close the handles slowly. They should move smoothly, with the blades meeting correctly and the lock operating normally.
The RHS suggests cutting paper to check the edge. Keep the supporting hand away from the blades and look for a clean cut. If the paper folds or jams, inspect cleaning and adjustment again before taking off more metal. Persistent trouble calls for repair advice.
Cleaning and sharpening do not disinfect a tool. University of Minnesota Extension explains that pathogens can remain after visible debris has gone. After contact with diseased plants, follow appropriate plant-health guidance, the disinfectant label and the tool's material-care instructions before further use.
Store the finished tool dry, closed and secured as its instructions require. For ideas about the surrounding planting, explore Gardenly's styles. Judge the pruners' condition from the actual blade and mechanism before the next job.
