

For most hardy spring flowers, planting spring bulbs is an autumn job. Choose bulbs suited to your climate, find a border with the light and drainage they need, then follow the packet's depth and spacing. The flowers arrive later; the planting decisions happen while the garden still looks nothing like spring.
Start with one group in an existing bed. This guide covers dormant bulbs such as daffodils and tulips planted outdoors in temperate Northern Hemisphere gardens. Tender summer bulbs follow a different calendar. In warm-winter regions, ask a local bulb supplier which kinds suit your conditions and whether they need chilling before planting.
Check the local planting window
A date printed on a general gardening calendar is only a starting point. The University of Minnesota Extension bulb guide gives mid-September to mid-October for its cold climate, allowing roots to establish before the ground freezes.
For Britain, the RHS growing guide places many spring bulbs in September and October, with tulips later, in October and November. Those dates are regional guidance, not a universal deadline. Use advice for your area and the particular bulb; don't keep daffodils waiting simply because tulips can go in later.
Check the packet before buying, and plan a planting session you can actually fit in. A bag forgotten behind the watering can is a poor storage system.
Choose firm bulbs and keep their names
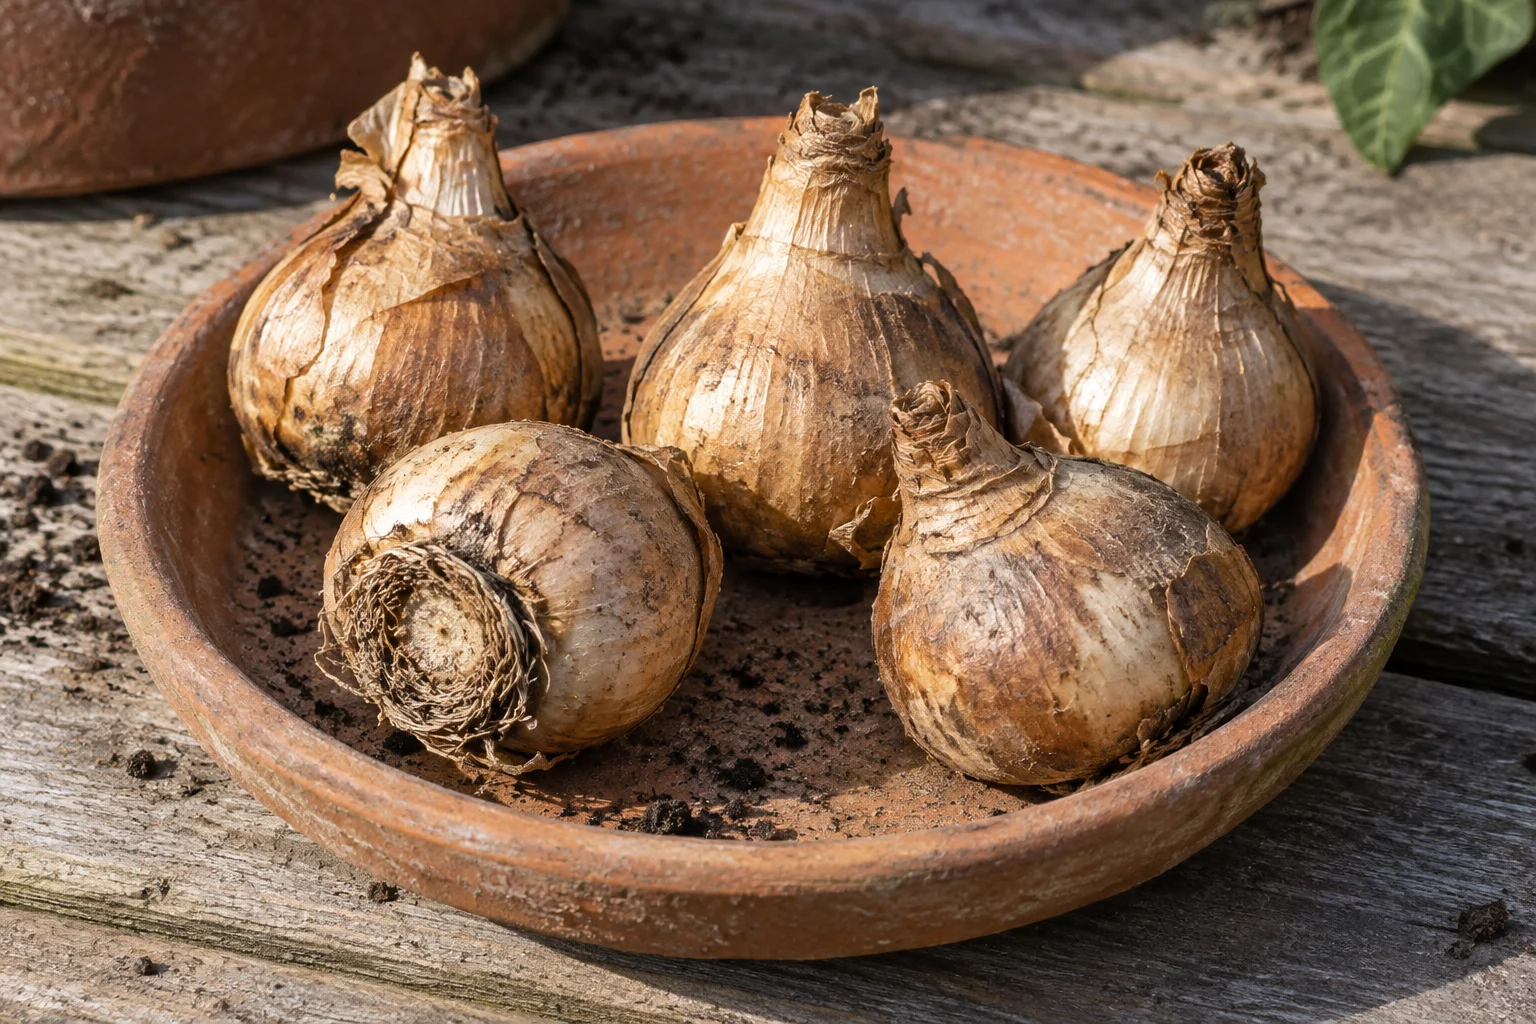
Look for solid bulbs without soft patches, visible mould or damage. Iowa State Extension's selection advice also warns against shrivelled, unusually light bulbs. If planting must wait, keep them cool and dry until the appropriate time.
Save the packaging. The cultivar name connects the bulb to its eventual height, flowering period and care instructions. Put each kind in a separate labelled container while you work. Two brown bulbs can look much more alike than their flowers do.
Choose one repeatable group before trying a mixed display. On your sketch, write the intended position and number alongside the name. That gives you something useful to compare with the flowers next year.
Find room in the existing border
Check the growing conditions on the label against the real spot. Many familiar spring bulbs need sun and soil that drains freely. Avoid a patch where water regularly stands; the Minnesota guide identifies wet ground as a cause of bulb rot.
Set the packets beside the proposed groups and look from the window or path where you will see them. Keep room for existing plants and future maintenance. If the bed itself still needs reshaping, settle its outline with the flower bed guide first.
Gardenly can help explore the broad appearance of planting around a bed. Keep the bulb list and planting positions in your own notes: an AI garden image does not establish a bulb's identity, flowering schedule or suitability for the soil.
Measure the hole before covering it
Read the supplied depth and spacing first. For many ordinary bulbs, the RHS planting guide uses a hole two to three times the bulb's height, measured down to where its base will sit. Follow specific instructions when they differ.
Open a hole wide enough for the group and its recommended spacing. Set pointed bulbs upright, with their bases resting on the soil. Replace the soil gently without stamping on the bulbs. If the ground is dry, water after planting; damp autumn ground may not need extra water.
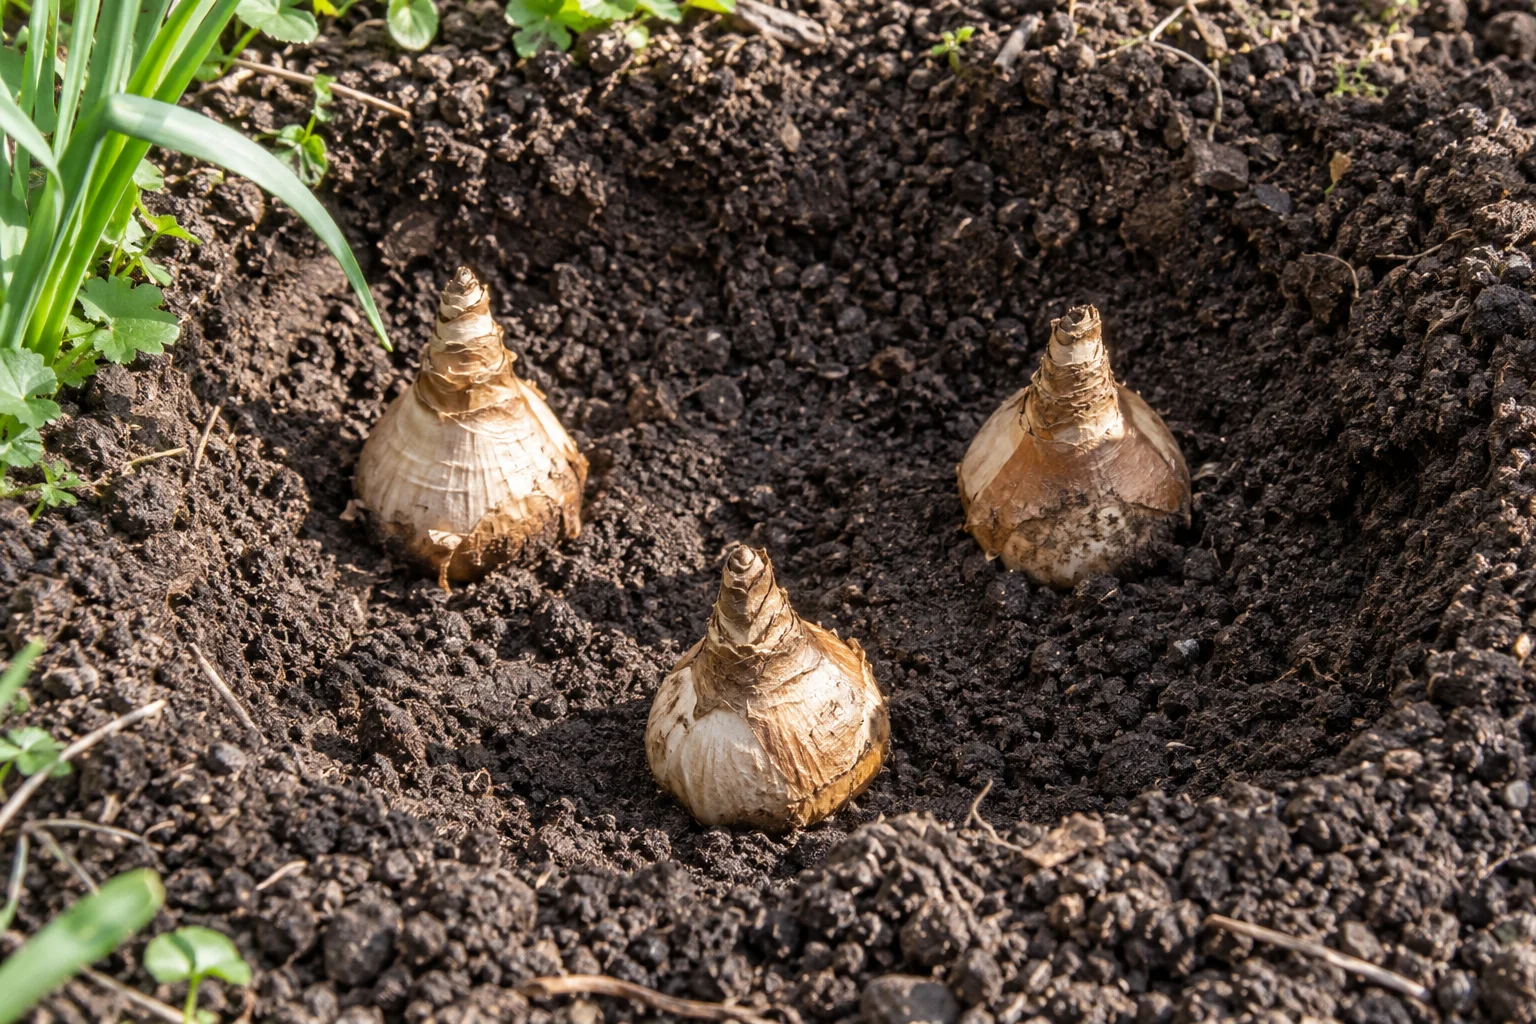
Mark the group and photograph its position before moving on. The photograph records where you planted; measure depth in the actual hole.
Leave space for the leaves after flowering
Spring flowers are only part of the plant's season. For daffodils, the RHS care guide says to leave the leaves until they yellow, usually around six weeks after flowering. Don't knot them to make the border tidier: those leaves replenish the bulb's reserves.
Keep the label or sketch through summer so routine planting doesn't disturb the resting bulbs. When flowers appear, note their height and timing from your usual viewpoint. Use that record to decide where another group would help next autumn.